

Trendy flat long shadow icon tutorial with the Motion extension. How to create a flat long shadow icon in Inkscape?
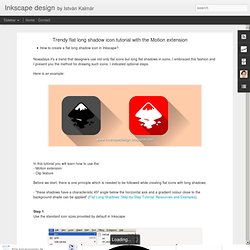
Nowadays it's a trend that designers use not only flat icons but long flat shadows in icons. I embraced this fashion and I present you the method for drawing such icons. I indicated optional steps. Here is an example: In this tutorial you will learn how to use the: - Motion extension - Clip feature Before we start, there is one principle which is needed to be followed while creating flat icons with long shadows: - "these shadows have a characteristic 45º angle below the horizontal axis and a gradient colour close to the background shade can be applied" (Flat Long Shadows: Step-by-Step Tutorial, Resources and Examples) Step 1 Use the standard icon sizes provided by default in Inkscape. Flat Long Shadows Illustrator Tutorial. Fudgegraphics. 10 Free Hi-Res Light Grunge Textures (Set 2) It’s been a while since I released a new set of freebies.
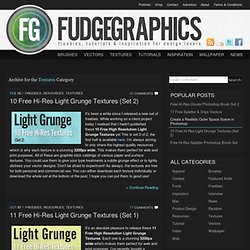
While working on a client project today I realised that I hadn’t published these 10 Free High Resolution Light Grunge Textures yet This is set 2 of 2, the first half is available here. I’m always aiming to only share the highest quality resources which is why each texture is a stunning 3200px wide. This makes them perfect for web and print purposes. All of these are graphite stick rubbings of various paper and surface textures. 11 Free Hi-Res Light Grunge Textures (Set 1) It’s an absolute pleasure to release these 11 Free High Resolution Light Grunge Textures. Free Hi-Res Grunge Border PS Brush Set + Textures Today’s freebie set is all about grunge. I hope you can put them to good use in your commercial and personal projects. 10 Free Hi-Res Textures: Rolled Paint Grunge Set 2 3 Vandelay Premier Texture Bundles Up For Grabs: Comment to Win.
A Quick Guide to Inkscape. This is a guide is for artists or hobbyist who are already familiar with one vector drawing application and are looking to try Inkscape.
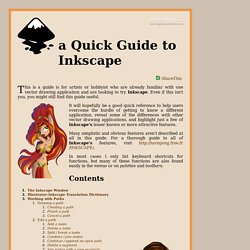
Even if this isn't you, you might still find this guide useful. It will hopefully be a good quick reference to help users overcome the hurdle of getting to know a different application, reveal some of the differences with other vector drawing applications, and highlight just a few of Inkscape's lesser known or more attractive features. Many simplistic and obvious features aren't described at all in this guide.
For a thorough guide to all of Inkscape's features, visit In most cases I only list keyboard shortcuts for functions, but many of these functions are also found easily in the menus or on palettes and toolbars. Contents The Inkscape Window Note that the Tool Control Bar will display icons specific to the tool you have selected. Illustrator-Inkscape Translation Dictionary Working with paths. Jay Fuerstenberg – Development Blog. When I redesigned the KEYBOX icon for version 2.2, I promised to write about the icon design approach I took.
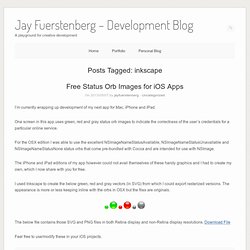
It’s taken me some time to get around to it but here it is. In this post I want to talk about optimizing your app icon so that it has greater visual impact in the App Store. This is not an article showcasing a handful of awesome icons, there are already plenty of those. The Basics Most sales of iPhone apps are made via the App Store app present on each iPhone. IconApp NamePriceReview count and rating People are visual by nature. When an iPhone user is quickly scrolling through a list of apps in the App Store, an icon that grabs the user’s attention may be the only thing preventing the remaining three elements and most importantly your app’s detail screen from being overlooked.
Building apps for the Retina Display. While adding Retina Display support to TweetStation I learned a couple of tricks that I figured would help other developers. iOS 4 Points Apple's Retina Display conveniently doubles the number of pixels on each dimension, the previous iPhone display had 320x480 pixels while the new new phone has 640x960 pixels.
This means that existing code that absolutely positioned views on the screen will get the views laid out in the same positions regardless of the device that the code is running on. In UIKit points are interpreted based on the value of the UIView.ContentScaleFactor. If the value is 1.0 each point is mapped to one pixel. UIKit layout and CoreGraphics rendering primitives will automatically take this factor into account and position and render accordingly.
Images The Image loading routines have been extended to load higher-resolution images by default when you use UIImage.FromBundle. Custom T-Shirt Printing - Help with your Order. Download Free Photoshop Psd. 30+ Color Scheme and Color Palette Generators. Unsafe Colormatch Template This online color scheme create possible 24-bit colors with 30° hue steps.
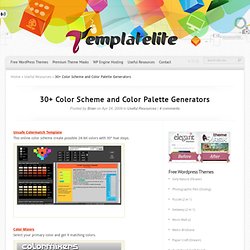
Color Mixers Select your primary color and get 9 matching colors. Color Scheme GeneratorsColor Scheme Designer Previously known as Wellstyled.com, ColorSchemeDesigner.com released a brand new interface all rewritten from scratch. Some features include rapidly-increased-precision, better preview, enhanced scheme creation system, unique scheme IDs etc. How to create and use color palettes in Inkscape - InfoHeap. It is a quick tutorial on using color palettes (or swatches) and later creating our own custom palettes in Inkscape.
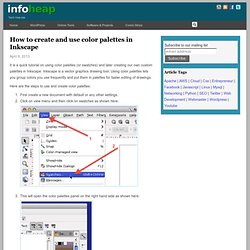
Inkscape is a vector graphics drawing tool. Using color palettes lets you group colors you use frequently and put them in palettes for faster editing of drawings. Here are the steps to use and create color palettes: First create a new document with default or any other settings.Click on view menu and then click on swatches as shown here: This will open the color palettes panel on the right hand side as shown here: Now any color from the palette can selected whenever needed. Create a rectangle by clicking on the rectangle tool. Here is the video version of this tutorial: