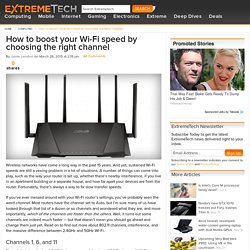

How to boost your WiFi speed by choosing the right channel. Wireless networks have come a long way in the past 15 years.

And yet, sustained Wi-Fi speeds are still a vexing problem in a lot of situations. A number of things can come into play, such as the way your router is set up, whether there’s nearby interference, if you live in an apartment building or a separate house, and how far apart your devices are from the router. Fortunately, there’s always a way to fix slow transfer speeds. If you’ve ever messed around with your Wi-Fi router’s settings, you’ve probably seen the word channel.
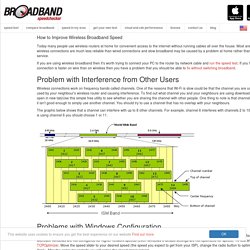
Most routers have the channel set to Auto, but I’m sure many of us have looked through that list of a dozen or so channels and wondered what they are, and more importantly, which of the channels are faster than the others. Channels 1, 6, and 11 All of the versions of Wi-Fi up to and including 802.11n (a, b, g, n) operate between the frequencies of 2400 and 2500MHz. Fortunately, channels 1, 6, and 11 are spaced far enough apart that they don’t overlap. Slow Wi-Fi? You could be congested! - 1-Fix Limited. Broadband Speed Checker - How to improve wireless broadband speed. Today many people use wireless routers at home for convenient access to the internet without running cables all over the house.

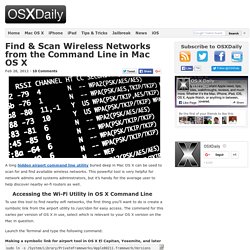
Most are unaware that wireless connections are much less reliable than wired connections and slow broadband may be caused by a problem at home rather than with the ISP service. If you are using wireless broadband then it's worth trying to connect your PC to the router by network cable and run the speed test. If you find that your connection is faster on wire than on wireless then you have a problem that you should be able to fix without switching broadband. Problem with Interference from Other Users Wireless connections work on frequency bands called channels. How to change Wi-Fi channel - How-To. Slow Wi-Fi? You could be congested! - 1-Fix Limited. Find & Scan Wireless Networks from the Command Line in Mac OS X. A long hidden airport command line utility buried deep in Mac OS X can be used to scan for and find available wireless networks.

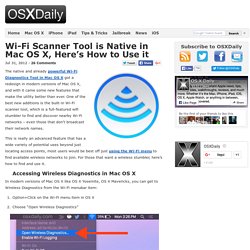
This powerful tool is very helpful for network admins and systems administrators, but it’s handy for the average user to help discover nearby wi-fi routers as well. Accessing the Wi-Fi Utility in OS X Command Line To use this tool to find nearby wifi networks, the first thing you’ll want to do is create a symbolic link from the airport utility to /usr/sbin for easy access. The command for this varies per version of OS X in use, select which is relevant to your OS X version on the Mac in question. Launch the Terminal and type the following command: Making a symbolic link for airport tool in OS X El Capitan, Yosemite, and latersudo ln -s /System/Library/PrivateFrameworks/Apple80211.framework/Versions/Current/Resources/airport /usr/local/bin/airport Make a symbolc link for airport tool in OS X Mavericks, Mountain Lion, Snow Leopard. Wi-Fi Scanner Tool is Native in Mac OS X, Here’s How to Use it. The native and already powerful Wi-Fi Diagnostics Tool in Mac OS X got a redesign in modern versions of Mac OS X, and with it came some new features that make the utility better than ever.

One of the best new additions is the built-in Wi-Fi scanner tool, which is a full-featured wifi stumbler to find and discover nearby Wi-Fi networks – even those that don’t broadcast their network names. This is really an advanced feature that has a wide variety of potential uses beyond just locating access points, most users would be best off just using the Wi-Fi menu to find available wireless networks to join. For those that want a wireless stumbler, here’s how to find and use it. Accessing Wireless Diagnostics in Mac OS X.