

Interface RFID Shield With Arduino. Working with RFID is so much fun, you can do alot with these tags like controlling relay, turing lights on off, access control, door lock and many more.
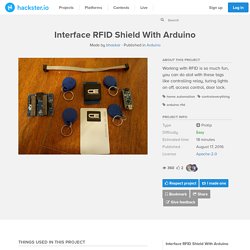
Although there are so many RFID reader in the market but in this article i will be using an Arduino RFID Shield from controleverything.com. Why this shield This shield is so much easy to use all you need to do is plug you arduino into it and you are good to go. RFID door lock using a Arduino Nano and a RC522 RFID reader. Hackster. Control your MKR1000 with aREST Framework.
It would be nice to communicate with an Arduino thru RESTFUL interface and I found this aREST framework.
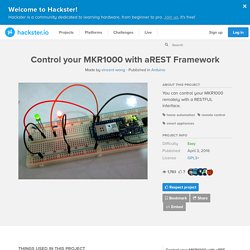
As described on its website (arest.io), the aREST framework is a complete solution to build powerful RESTful applications based on the Arduino & the Raspberry Pi platforms. It can handle all kind of communications via Serial, WiFi, Ethernet, and much more. Hackster. Engineering a Black Ice Detection System For Roadways. Rationale In the 2008-2009 winter there were 477 deaths due to the icy roads while in the 2009-2010 winter there were 458 deaths ( In New Jersey alone, the beginning of the 2014-2015 there were over 400 accident reported (hctv, January 19, 2015).

An estimated 150,000 accident or more are due to the icy road conditions. Icy roads are formed when water from bridges and underpasses when the water melted from snow or rain pools in that area and freeze if the temperature is at 0 degrees celsius or below ( The air temperature that is under bridges can drop lower than the ground temperature, which is another reason icy roads on bridges is common. Although the southern states experience as much harsh climate, they experience more accidents and deaths than the northern states, such as New Jersey ( Our black ice detector is important because it can warn drivers when there is black ice nearby. Engineering Goals: Expected Outcomes: Home Automation with Arduino MKR1000 and Windows 10. Nowadays, technology makes our lives easier.
It evolves with huge steps and makes it easy for us to create great projects with low cost. Myva-Home (Voice controlled home automation) Magic Lamp with wireless charger. Concept The idea for this little project is to have a lamp which can be turned on or off simply by moving it on a desk.
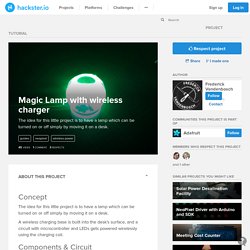
A wireless charging base is built into the desk’s surface, and a circuit with microcontroller and LEDs gets powered wirelessly using the charging coil. Components & Circuit. IoT Temperature Sensor with Raspberry Pi 2 and Thermistor. Introduction This project uses a thermistor to record ambient temperature.
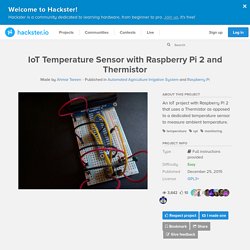
I wrote this when I received a thermistor in an IoT starter pack and was unable to find code that uses this as opposed to a proper temperature sensor. A thermistor is a resistor whose resistance varies with temperature. This variation when measured can be used to calculate the temperature around the resistance. I used the setup shown in the diagram below with one minor difference. Approach. WinIoT : Philips Hue Touchscreen Panel Application. Philips Hue is a fabulous lighting system.
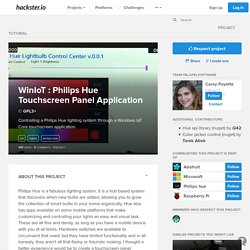
It is a hub based system that discovers when new bulbs are added, allowing you to grow the collection of smart bulbs in your home organically. Hue also has apps available on some mobile platforms that make customizing and controlling your lights an easy and visual task. IOT Ambient Light: VIPER Lamp. Low power wireless standards combined with low cost, ultra-miniature LEDs, sensors and communications devices has made smart lighting a catalyst for the Internet of Things and home automation.
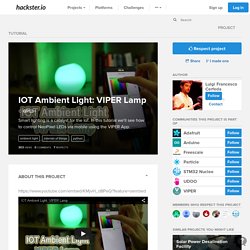
In this tutorial we'll see how to control a NeoPixel LED strip via mobile using the VIPER App, that shows a color picker and a menu for the selection of various pre-configured animations. Step 1: Required Material The project requires few elements: VIPER IDE: a multi-platform and browser-based Python development environment with cloud sync and board management features. No matter which OS you use, VIPER runs! Open Source Automation - Automation software for the home and more. Unlock Android Phone with Wearable NFC. Unlock your phone by just picking it up!
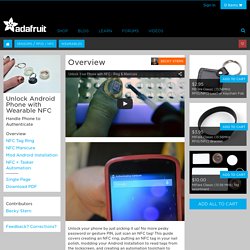
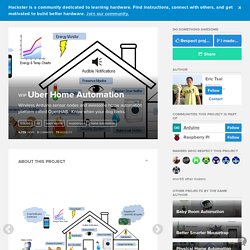
No more pesky password or gesture PIN, just scan an NFC tag! This guide covers creating an NFC ring, putting an NFC tag in your nail polish, modding your Android installation to read tags from the lockscreen, and creating an automation toolchain to unlock the phone when the desired tag is scanned. The software side of this project can be pretty tricky, and even scary if you've never jailbroken a phone before, which is required to get the phone to read NFC from the lockscreen. However, you can still do a lot of fun projects without modding your Android install, just skip that step and head straight to the page about NFC+ Tasker Automation. Uber Home Automation.
This last example will be different from all the other sensor projects so far.
I’ve been kicking around this dog tracker idea for a while. Recently, there was an “Internet of Things Hack Day” competition held by the local Arduino group here in the Twin Cities (Minnesota, USA). I took this opportunity to form a team to work on this dog tracker idea. DS3231 OLED clock with 2-button menu setting and temperature display. IoT arduino ESP Garage Door opener (UD) ESP8266 IFTTT Easy Button. The AmazonDash button its all the buzz lately. Wifi Smart button. IoT arduino ESP Garage Door opener (UD) IFTTT Smart Button. This is a v2 of my original ESP8266 IFTTT Easy Button project.
Instead of modifying my original post. I will document the changes here. The big changes are that the module is not enabled until the button is pushed. This brings the battery life to whole new level. The push button "boots up" the module by sending a HIGH signal through a diode to CH_PD. The second exciting part is that I can configure the WIFI options OTA without having to connect the button to UART. Michael Teeuw. After I finally decided how to do the mechanical part of my Automatic Curtain project and finished some minor details like the end switches, it is time for the electronics.
The stepper motor (a NEMA 17) will be driven by a Pololu DRV8825 Stepper Driver. This stepper motor driver lets you control one bipolar stepper motor at up to 2.2A output current per coil and has six different step resolutions: full-step, half-step, ¼-step, 1/8-step, 1/16-step, and 1/32-step. Because I need to mount the electronics behind my curtain, even during the testing phase. I decided to use some perf bord for testing. I didn’t really went for the economical route, I just put everything it needed on one big board. Internet of things - Overview. Introduction. Internet of Things: Programming IoT Devices, Web Services and IoT Clients. Index Introduction.