

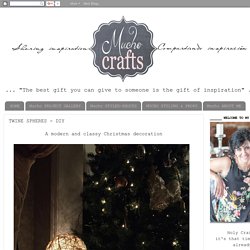
25 Gorgeous Ways to Use Christmas Lights. MuchoCrafts: TWINE SPHERES - DIY. A modern and classy Christmas decoration that will add light and warmth to any room, on the floor or on the table....also, perfect under the tree!!
Make Star Lantern - A Piece Of Rainbow. Make Star Lantern - A Piece Of Rainbow. Holiday Hostess Party Tips + Kirklands Giveaway! How To Make A DIY Flameless Fire Pit. When cold weather comes, with it comes an overwhelming urge to make my home as cozy as can be.
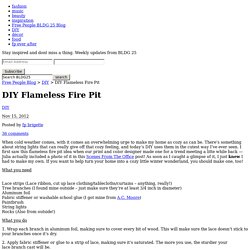
There’s something about string lights that can really give off that cozy feeling, and today’s DIY uses them in the cutest way I’ve ever seen. How to Make Birdseed Christmas Ornaments (with Pictures) Giant Jenga - Pink Pistachio. 12 "Zero Dollar" Decorating Tricks for the Whole House. Creative Storage Solutions - 25 "Cheap and Easy" Organizers You Can Make. 12 Ways to Hack Your Life Using Velcro. Tablecloths don't mix well with windy days.

To keep yours from billowing or flying up at your next barbecue, staple bits of Velcro to the edge or underside of your picnic table, and sew the coordinating Velcro pieces to the underside of your tablecloth so that they match up when you lay it out. Fasten the Velcro before you begin your meal, and your outdoor feast will be so much more relaxed. Related: Outdoor Kitchens - 12 "Delicious" Designs to Drool Over Sometimes the best things come in little packages. 9 Super-Cute Homemade Bird Feeders. 8 DIY Shortcuts to a More Colorful, Joyful Home. Joy Cho—the woman behind the wildly successful blog Oh Joy!
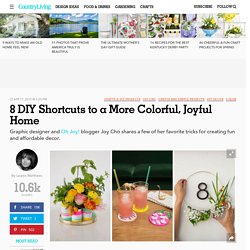
, not to mention decor lines for Target and Land of Nod is known for her colorful, whimsical approach to interior design. 11 Creative Ways to Repurpose An Old Suitcase. 9 Clever Things You Can Do with a Rubber Band. Try stretching a large rubber band around a paint can from top to bottom, so that it stretches across the middle of the open top.
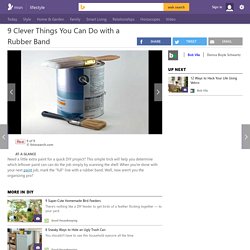
Use the rubber band as a paintbrush scraper so that excess paint drips back into the can, instead of leaving a mess along the outside of the can. Rubber bands—those unassuming desk accessories—seem to multiply every time you turn around. If you’re like most people, you have a junk drawer and an office caddy full of these versatile little loops. And while surreptitiously shooting rubber bands across the room at your spouse might be fun and entertaining for a while, there are a lot of other, more practical things that you can do with these ubiquitous stretchy ovals.
DIY Lanterns - 13 Illuminating Ideas. Wine Bottle Crafts - 10 New Uses for Old Bottles. Old Window DIY Projects. Vintage windows are much easier to come by than you might think.
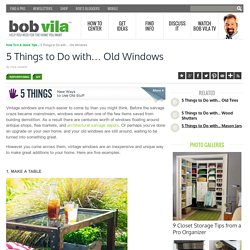
Before the salvage craze became mainstream, windows were often one of the few items saved from building demolition. As a result there are centuries worth of windows floating around antique shops, flea markets, and architectural salvage depots. Or perhaps you’ve done an upgrade on your own home, and your old windows are still around, waiting to be turned into something great. However you come across them, vintage windows are an inexpensive and unique way to make great additions to your home.
Here are five examples: Table Salt: 10 Unexpected Uses for Salt. 38 DIY organizing ideas for your home. If you like to make lists to keep yourself on track but often find things falling through the cracks because busy schedules make family communication challenging, here’s an easy DIY home organizing idea that just might save your sanity.
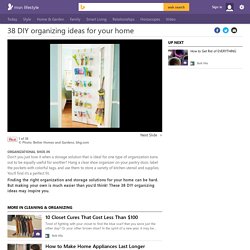
Make a large chalkboard and hang it in a central location, like the kitchen, where everyone in your family crosses paths. Creating this lifesaver is simple. Buy a piece of 3/4-inch wood and cut it to the size you want, paint it with primer, and follow that with a couple of coats of chalkboard paint (letting each coat of paint dry after it is applied).
Screw D-rings into the top and hang the finished chalkboard from hooks on a wall or pantry door. Keep some colored chalk handy and encourage everyone to use your new communication center to share information about their schedules, things they need from the store, and other priorities. Home Improvement and Remodeling: This Old House. Best of 10 Uses for Common Household Products. Spring-Cleaning Checklist Room by Room. 6 Ways to Make a Pillow Stand for iPad. Steps Method 1 of 6: Obtaining and Cutting the Pattern 1Download a PDF of the pillow stand pattern.
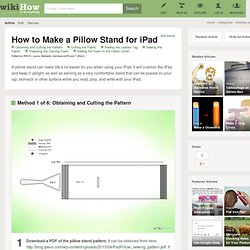
It can be obtained from here: It will print the size required. Or, you can use the image provided here but be aware that it may not size correctly. How to Make a Pot in a Pot Refrigerator: 10 Steps. How to Color Hair With Food Coloring: 18 steps. Edit Article Color All Your HairColor Streaks of Hair Edited by Glutted, Flickety, Dvortygirl, Dlpn and 91 others Food coloring is cheap, easy, and much less harsh on hair than other kinds of dye.
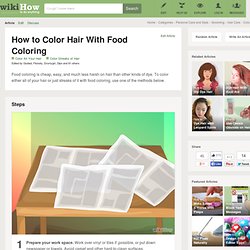
To color either all of your hair or just streaks of it with food coloring, use one of the methods below. Ad Steps 1Prepare your work space. Craft Ideas - Easy Crafts for Kids, DIY Crafts and Knitting Patterns. Home - Old Pallets - they are NOT garbage. How to craft your own Instagram photo strips. With Instagram, any boring photo is only a crop, filter, and tilt-shift away from becoming a piece of art.
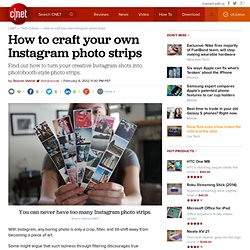
Some might argue that such laziness through filtering discourages true photographic creativity, but there's no denying the Internet's obsession with the photo social network. If anything, it's a satisfying break from Facebook. Even though it's only available on the iPhone (for now), many businesses have cropped up to provide services that augment what Instagram offers. From Stitchtagram pillowcases to photo magnets, there's no shortage of Instagram paraphernalia. As a person who appreciates the printed photograph, here's just one more: Instagram photo strips. How to make a rooster with egg carton. Per questo lavoro consiglio di utilizzare le confezioni delle uova da 10, io scelgo Ovito, perché ha il cono centrale più lungo rispetto alle altre scatole, che invece vanno benissimo per fare le rose, narcisi e ciclamini, e quindi si presta meglio alla realizzazione di questo lavoro.
Ritagliare i coni come nelle foto e incollando le giunture all’interno con una strisciolina di carta si iniziano a costruire i coni a misura crescente. Il primo, per la testa, sarà di 5 punte; il secondo di 6 punte; il terzo di 8 punte; il quarto di 10, il quinto di 12. L’ultimo ad 8 punte chiuderà il collo solo dalla parte posteriore. Ritagliare i bargigli, il becco (in 2 parti, per un gallo canterino come nella figura) e la cresta.