
DIY magnet board with Mod Podge. Man Podger Walter Silva has done it – again!
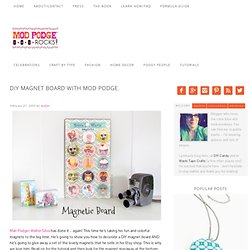
This time he’s taking his fun and colorful magnets to the big time. He’s going to show you how to decorate a DIY magnet board AND he’s going to give away a set of the lovely magnets that he sells in his Etsy shop. This is why we love him. Read on for the tutorial and then look for the magnet giveaway at the bottom. Presentation is everything to me and with that said, once again Mod Podge has come to the rescue. SUPPLIES • Metal magnetic calendar board (I bought mine on clearance at a craft store) • Mod Podge – any formula will do, I used Gloss • Brush and squeegee from the Mod Podge tool kit • Mod Podge silicone mat SUGGESTIONS • Use family and pet photos (enlarge them onto glossy cardstock) • Use wallpaper with fun graphics to your liking • Thick wrapping paper You can make other variations besides the one shown – for instance, one for the kitchen to hold coupons, recipes and pictures.
Craft Painting - Christmas Cookie Swap Party - Chalkboard. 1.
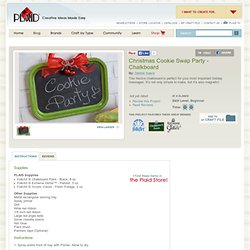
Spray entire front of tray with Primer. Allow to dry. 2. General Crafts - Elegant Christmas Box. Decoupaged Gift Boxes - Valentine Crafts. This pretty little boxes are perfect for filling with candy or other treats.
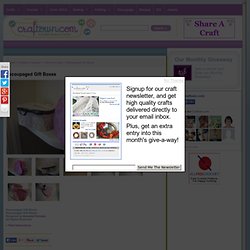
Great for teacher gifts, for a coworker or even your boss! You will need Small boxes with lidsPatterned scrapbook papersMod PodgePaintbrushScissorsRibbon or paint (optional) What you do Begin by tracing your box lid onto the desired scrapbook paper. If you want to paint the lid go ahead and paint it and the rim. Cut out the lid tracing, cutting away about 1/8" inside the tracing line so that the paper is just a little bit smaller than the actual lid.
Every Day DIY: Mini Resin Paperweights. This week’s Every Day DIY was inspired by the massive piles of paper that are currently smothering my laptop.

It wasn’t until I had to clear off my section of our communal desk for a special afternoon tea ceremony treat that I realized how much trouble I was in. Under piles of bills (whoops) were magazines and postcards that needed to be read and filed away, not to mention a few dozen receipts that I’m pretty sure our bookkeeper would like to process. So I decided to come up with a quick-and-easy DIY that would inspire me to keep my various piles in order: mini resin paperweights! The nice thing about this project is that it takes literally 15 minutes to make (5 minutes to prep and mix, 10 minutes to set) and you can place just about anything inside. I chose to make mine sparkly and colorful in honor of this month’s theme, but you could easily place objects inside that are special to you.
The full how-to is after the jump… Super Fast, Fabulous Mouse Pad DIY! — Dream a Little Bigger. So the other day I was in Wally World in desperate need of a new mouse pad.
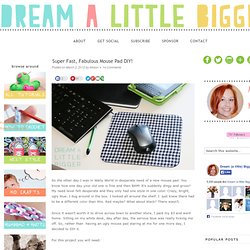
You know how one day your old one is fine and then BAM! It’s suddenly dingy and gross? My need level felt desperate and they only had one style in one color. Crazy, bright, ugly blue. I dug around in the box. Since it wasn’t worth it to drive across town to another store, I paid my $3 and went home. For this project you will need: STEP 1: Apply a healthy amount of Mod Podge straight onto the top of your mouse pad with a cheapie foam brush. Modpoged Books. Who says you can't recover a book?
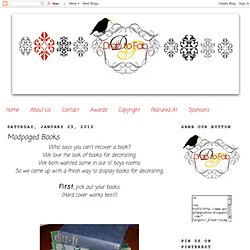
We love the look of books for decorating. We both wanted some in our lil' boys rooms. So we came up with a fresh way to display books for decorating. First, pick out your books. (Hard cover works best!) Next, choose your paper palate. Then, dig out your Modpodge and sponge brush. Cut your paper down to size and start applying the paper and Modpodge.
Now, press out all the bubbles and let the books dry. (Close the books to dry, otherwise the paper will crack) Sand the edges if you like and ink them too! Solar + Mod Podge. When it's June in the Midwest you can only bet that we are outside -- whether it be work, play or relaxation -- you can find us soaking up the sun in the great outdoors.
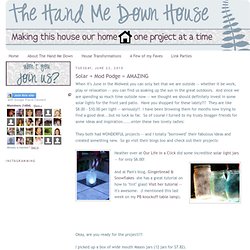
And since we are spending so much time outside now -- we thought we should definitely invest in some solar lights for the front yard patio. Have you shopped for these lately?!? They are like $8.00 - $10.00 per light -- seriously!! Mod Podge tins. Are you a nut lover?
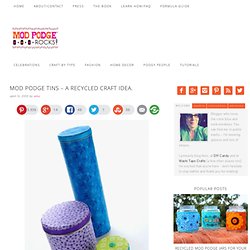
Hahaha! Weird question, I know. But the reason I ask is because my family loves nuts, and we always have containers left over when we’ve eaten them all. I really hate to throw nice metal containers out – they are way too perfect for recycled craft projects! So I don’t throw them out. Gather These Supplies Recycled tins – any size and shapeFabric leftovers – larger enough to cover the containerFolkArt acrylic paint – Pure Titanium (optional)Mod Podge GlossPaint brushScissors, craft knife or rotary cutterRulerPencilRibbonButtonsCraft glue This first step is optional.
The next step is to prepare you fabric with Mod Podge. Once the fabric is dry, cut one edge to be straight. Place your fabric on the container and measure where you need to cut at the top. Place a medium layer of Mod Podge on the container and then carefully wrap the fabric around, smoothing as you go.