
Longeatongroup. Shed Projects: Gate is Finished. I don't think there was enough work in mounting the gate to warrant video, so I'll just write the main points here.

The top hinge had to be raised by about 4 inches to line up with the crossledge on the gate. This is just mounted by four screws in to a mahogany stile. I had to drill a one and a quarter inch hole through the gate and brace to mount the lock. Originally I was unsure whether a lock designed for indoor use would stand the test of time outdoors, but the lock is probably in it's 10 or 11th year now and with just a couiple of squirts of WD40 now and again it is working fine. On top of the door I have mounted a strip of 2x1 as a rain guard for water running on to the end grain. I have also fitted a small hook and hasp latch at the top of the door as extra security if the lock is on latch.
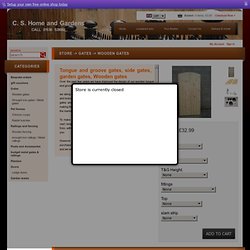
Prior to mounting the gate I left it soaking at each end overnight in Cuprinol 5 Star wood preserve. Next stage is to colour the gate with a mid brown stain called fencelife. Tongue and Groove gates (wooden gates, side gates,garden gates) Over the past few years we have improved the design of our wooden tongue and groove gates and now you get even more value for money. we along with most of our competitors used to make these gates with a ledge and brace back frame, we at csgardens are proud that our tongue and groove gates are the only gates in this price bracket that offer Fully framed gates making these the sturdiest and strongest wooden tongue and groove gates on the market at these prices.

To make your buying experience as easy as possible we have uploaded a vast range of variations of these tongue and groove gates, for you to choose from, without having to ask us for prices, and wait for us to upload the item for you. However if the variation doesnt appear in our drop down menus simply purchase the closest size to your requirement and add a note on checkout and we will make a gate to your size for you. Recycled Scaffold Shelves - Tom Robinson Handmade Furniture from Brighton, Sussex.
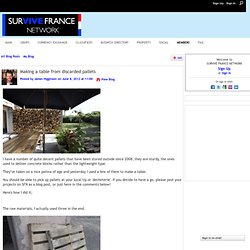
Refurbished garden bench and clay/wood ovenCambridge Wood Works. Making a table from discarded pallets - SURVIVE FRANCE NETWORK. I have a number of quite decent pallets that have been stored outside since 2008, they are sturdy, the ones used to deliver concrete blocks rather than the lightweight type.

They''ve taken on a nice patina of age and yesterday I used a few of them to make a table. You should be able to pick up pallets at your local tip or 'decheterie'. If you decide to have a go, please post your projects on SFN as a blog post, or just here in the comments below! Here's how I did it; The raw materials, I actually used three in the end.
First I cut the pallets using a table saw, this isn't strictly necessary, you can disassemble them with a hammer and bolster. Then I tried removing the nails with a claw hammer, this was useless as most of the rusty heads stripped off and I was left with just the body of the nail still intact. It was much easier and faster to cut them off with an angle grinder. Still not decided on how the legs would look, I screwed some on anyway to make working on the table top easier. Building an internal wall from old scaffolding boards - SURVIVE FRANCE NETWORK. Following on from the success of the pallet table project, I decided to recycle a pile of old scaffolding boards that are no longer sturdy enough to serve their intended purpose.

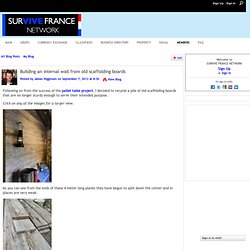
Click on any of the images for a larger view. As you can see from the ends of these 4 meter long planks they have begun to split down the center and in places are very weak. First step was to build a standard timber stud partition, I've got good fixings in to the wall, ceiling and floor around every 50cm/18" or so. I included a larger joist as an upright on the left hand side as this will support a door later. I've made some fairly rough measurements at this point so that I can cut the good sections from the damaged boards and handle them more easily. Then, using the table saw I removed 5mm or less than 1/4 of an inch from either side leaving me with a nice straight edge, you could do this with an electric plane too if you don't have a table saw. Screws and fixings supplied by ScrewPak France.