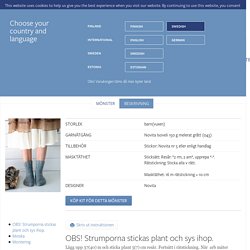

Lättstickade strumpor på två stickor Novita Isoveli. OBS!

Strumporna stickas plant och sys ihop. Lägg upp 37(40) m och sticka plant 5(7) cm resår. Fortsätt i rätstickning. När arb mäter 26(30) cm, minska 2 m i barnstorleken. Minska därefter för tån så här: Varv 1: *3 rm, 2 rm ihop*, upprepa *-* = 28(32) m. Varv 2: Sticka rätt. Varv 3: *2 rm, 2 rm ihop*, upprepa *-* = 21(24) m. Varv 4: Sticka rätt. How to Make a Wine Bag: A Free Step-by-Step Tutorial. Add a special handmade touch when gifting bottles of wine with these cute fabric wine bottle bags.

These reusable bags stitch up in minutes, and can be made with scraps that are likely in your stash right now. How to make a wine bag Step 1: Cut out the fabric Cut four pieces of fabric 18" x 7". They can be all the same fabric, or a variety of fabrics. Step 2: Sew fabric bags Here we are using a 1/4" seam allowance to create a generous sized bag.
Mark an opening 1" wide about 12" up from the bottom and break the stitching at that point, as that is where the drawstring will go. Step 3: Stitch and trim corners to make bag shape Pin the side seam and bottom seam together to make a triangle and mark a horizontal line 1.5" from the point. Somnadsinstruktion pasarna. Fabric Covered Notebook. Hi!

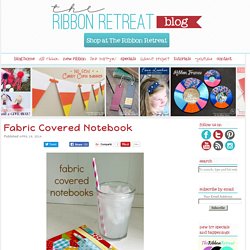
It’s Amy, from Ameroonie Designs again. Today I’m here to share a project that is a quick sew and would make a great Teacher Appreciation gift or a perfect summer journal for you or your children. This darling covered notebook comes all decked out with a ribbon bookmark, elastic closure and a pocket for your pencils or pens. Fabric Covered Notebook Tutorial Supplies: Fabric- will depend on the size of your notebook, but you can easily cover one notebook with one fat quarter. Cutting: **I am going to show you how to calculate the fabric measurements you will need for your notebook. Before we can cut into our fabric, we need to measure our notebook. You need to measure how wide, how tall and how deep your notebook is. The next measurement we need is the length of the cover.
I will also need two sleeves for my covers to slide into- they will need to be 8 1/4″ tall, and we will fold them over to create the sleeve, so they will be 8″ wide so the final sleeve will be 4″ deep. Notebook Cover Tutorial. I have a major, major thing for notebooks.

My husband knows that if he needs a quick and easy gift for me any notebook will do. And I will be thrilled. In fact I would WAY rather get that than jewelry or flowers. Now, throw a little fabric into the mix and you’ve got to know I will be loving it. So, how about a notebook cover tutorial? This is the first project for the Learn to Sew Series for Kids & Teens that starts today (and will be on the blog for the long haul), so jump right into the series! How-to -passport case- Okay, finally I am getting the how-to together! Hope you like it and try making it. it's a perfect gift for your world traveling friend, and easy enough to make it as a last minute gift :) I apologize beforehand for the quality of the photos... the day I was working on it was really dark, typical raining portland weather, and the lighting of the room I was in wasn't the best...
I photoshopped them, but still not the best... soryyyyy :( anyhow, here it goes! *material list* 1. 10 3/4" x 23 1/4" Pinterest. Pinterest. DIY: Japanese Style Adjustable Book Cover. If you are a big reader, I guess you always have a book in your bag to spend some time reading in the public transports.

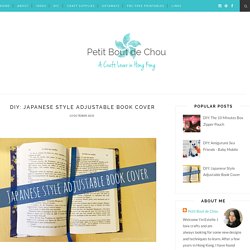
The problem with this is usually that your book ends up being damaged due to the huge amount of stuff that you manage to get into your bag with the book! Well, that is what used to happen with my books... And that was quite irritating as I love my books. Nowadays, I unfortunately do not spend much time reading any more due to long working hours, even though I would love to. I discovered these pretty book covers during my second trip to Japan in Kyoto. Warning: the height suggested in this pattern is meant for French pocket format books such as "Le livre de poche", "Folio", or "Pocket". Here my book dimension is 18cm + 0.5cm margin on both sides to fit the book inside the cover + 1cm on both sides for the seam which gives 18 + 0.5 + 0.5 + 1 + 1 =21cm 1. 2. Cut the main parts of cover and fabric lining as per the pattern. The tapered side is the flap side. Teacher Appreciation Gifts to sew.