Kissing Thaumatrope
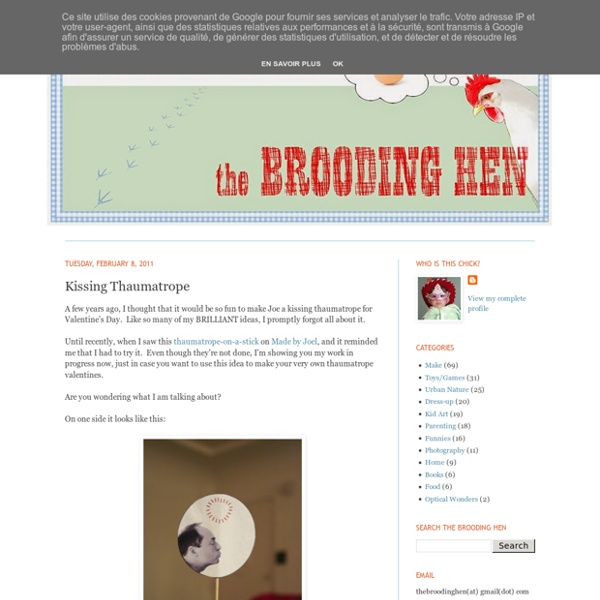
A few years ago, I thought that it would be so fun to make Joe a kissing thaumatrope for Valentine's Day. Like so many of my BRILLIANT ideas, I promptly forgot all about it. Until recently, when I saw this thaumatrope-on-a-stick on Made by Joel, and it reminded me that I had to try it. Even though they're not done, I'm showing you my work in progress now, just in case you want to use this idea to make your very own thaumatrope valentines. Are you wondering what I am talking about? On one side it looks like this: On the other side it looks like this: When you spin the stick, it looks like this: Movie magic! I'm making some for my three little Valentinos, too. If you do make your own, please send me a picture! Materials: Paper, cardboard, double-stick tape or glue, round chopstick or kebab stick, photo prints or drawings of kissers in profile.
Wind-Up PAper Butterflies
I had a baby so I’ve invited some fave guests to take over for me while I spend time with the little guy. Today’s post is from super crafter and cute mom, Amelia of The Homebook. Growing up, I had an aunt who lived in Canada. Every year for my birthday she’d send me a card and a fancy little gift. She always found the neatest things! I made my butterflies into Monarchs, but you could use different materials to create any sort of colorful butterfly. Materials: You’ll need heavy cardstock, 24 gauge wire, silicone rubber bands (I found mine in the hair aisle at Walgreens) needle-nose pliers, scissors, tape, a paintbrush, a black marker, and a white ink pen. Step 1: Measure and cut your wire. Step 2: Find the center of the longer wire. Step 5: Find the center of the shorter wire, and wrap it around the base of the paintbrush. Step 8: Draw the shape of your wings and cut them out. Step 11: Tape each wing to the body of the butterfly. See more awesome from Amelia on The Homebook
Egg Message
We're taking a long weekend off here for the Easter break (we're working on a new website with hopes of getting a bit more done with the extra day tucked in there). So we're bidding you farewell early with a few links and this cute little picture tutorial (see more below) sent to our e-mail from the folks at Present&Correct. Happy wishes for your Easter and Passover break. We're heading over here later to learn how to make some marshmallow peeps! Care to join us? High/low Easter party. West coast applications close Friday at Renegade. Loving this free (April calendar) desktop wallpaper from the Free People blog. And I saw lots of rabbits hopping around here. Have a fantastic weekend!
Paper Star Messages
Since the new year has started I’ve been trying to think of ways to be more kind to my self. Especially when that nasty gremlins try to creep in and stump me. I remembered this origami star video on You Tube and had to get them involved in my plan. I thought it would be fun to make a whole bunch with kind words and “you are….” phrases inside. I used 12 x 12 inch scrapbook paper and cut 1/2 x 12″ strips, then followed the video HERE*. *UPDATE! Be Sociable, Share!
Seed Paper Tutorial |
I first heard of seed paper–or hand made paper that has real flower seeds embedded in the pulp itself and is actually plantable–about a year ago while browsing through a stationary catalog. It was the coolest idea I’d ever seen–and so incredibly spring-y! Well, who knew that you could make this funky stuff all by yourself? First Step: Making the Screen Frame Here’s what you’ll need for the screen frame: 6-12 wide craft sticks–think tongue depressors Craft glue 1 or 2 pieces of mesh or screen about 6″x6″ electrical tape Glue four sticks together–like this. Lay the screen over the sticks and glue in place. Now glue two more sticks–one on the top and one on the bottom. I rested a glass bowl over the frames to hold everything in place until the glue dried. Your frame should look pretty much like this. Now wrap the whole frame with electrical tape, making sure to cover all the exposed wood. Second Step: Making the paper pulp Here’s what you’ll need to make the pulp: small flower seeds water Step #3
Related:
Related:


