weaving on old books
Hi folks. I’m operating in an ArtPrize induced fog, so it’s not surprising that today’s live TV craft segment turned out to be one for the blooper reel. (See the clip below.) I call this clever recycled book loom the “Jager” loom because I got this project idea from Margaret Jager, a member of the Woodland Weavers and Spinners guild and co-chair of the impressive 16th Biennial Fiber Arts Exhibition featuring work by many local fiber artists who are members of The Michigan League of Handweavers. (My Sunday column will feature more details about the show, so check here this weekend for more details. Margaret was inspired to make her book loom by the Weavette, Weave-It and other small looms that have gone in and out of mass production since the 1940s. When she told me she made a loom out of a dated copy of “Knit Sweaters The Easy Way,” I was intrigued. Seriously. My only question was this: Why a knitting book? “I know everything in the book, so I didn’t need it any more,” she said. P.S.
Two ways of making woolly pompoms | the Little Koo blog
When I was younger and a family member or friend was expecting a baby, my Mum would encourage me and my brother to make pompoms for the new baby. So it seemed only right that I would make a few for my own twins who are due any day! I have found 2 ways of making pompoms, which I will call the ‘traditional’ way and the ‘quick’ way. Let’s start with the traditional way. For this you will need: Wool (any type, in 1 or more colours)Card (I used a piece of a cardboard box)Scissors Cut out two circles the same size from the card. Cut your wool into manageable lengths and wrap into spools (pictured above). Put your two card rings together and start wrapping the wool round. When you are wrapping, pull the wool fairly tight. Start the next spool of wool next to where you left off. Once you’ve gone all the way round the card ring once, start another layer on top of the previous one. Keep going until the hole in the middle of the ring becomes very small! Now for the fun part! Go all the way round.
Recycle Tutorial: Woven Rag Rug | craftpassion.com
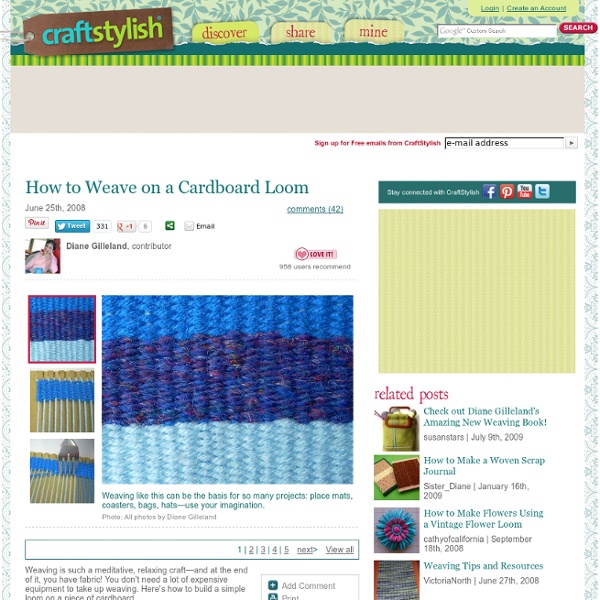
Thank you for all the great feedback for liking my Braided Rag Rug. I understand that not everyone has a sewing machine or/and able to sew, so I created this no-sew version for the non-sewer who like to recycle their bed sheets or de-stash their fabrics to make this feet cozy Woven Rag Rug. This tutorial doesn’t require any loom for weaving; just use a sturdy corrugated carton box from your recycle pile. I hope everyone can do their part on greening the Earth again and reduce the rubbish that loaded the landfill. By the way, I gave the braided rag rug to my mum and she loves it so much, she is going to dig more old bed sheets out from her storage, which means I will have another bunch of supply to recycle. {Get full details on next page.} Pages: 1 2 Get all updates via email: Highlights from Our Partners
Yarn Bombing
Wikipedia describes yarn bombing as "a type of graffiti or street art that employs colorful displays of knitted or crocheted cloth rather than paint or chalk." Knitted, crocheted or woven pieces are sewn around inanimate public objects such as bike racks, light poles, telephone boxes and abandoned buses. The purpose is to bring some beauty and wonder into otherwise drab and everyday surroundings. For more information, check a blog devoted to yarn bombing.
Square – Picture Frame Loom (Weekly Unplugged Project)
The theme for this week’s Unplugged Project was square, an unpremeditated choice on my part. While at Walmart the other day I saw $2.00, 8″ x 10″ oak picture frames, and had a random thought. I wondered if it would be possible to turn a picture frame into a loom. I had looked at a few children’s looms like this one at Christmas time and found them to be rather expensive. I bought a $2.00 frame, dug some nails out of the garage, and away we went. After extensive deliberation, The “Unplug Your Kids Weekly Unplugged Project Standards Committee” (ie. me), declared that it does indeed meet the official Unplug Your Kids Weekly Unplugged Project Standards (our standards are quite loose). :) If you want to try this, you’ll need an inexpensive or thrift store wooden frame, some small nails, a hammer and some yarn. Take the glass and back off the frame and save them for some other project. Place a ruler along the short edge of the frame to measure where to put the nails. Voilà, your loom is made!
Twilight Taggers: How To Yarn Bomb
I get asked all the time "How do you yarn bomb exactly?" So here's a How To guide on yarn bombing. This is just from my personal experience. Start with something small like a small pole piece or a granny square and then you'd be done in no time and won't be discouraged with such a large time consuming project. 2. 4. If using only sewing, you run the risk of the piece not staying tied securely to the object. Sewing a tag onto a horizontal object like a banister is fine as it will generally stay well. 8. 9. More helpful links:What You'll Need To Take When Yarn Bombing Things To Remember About Yarn BombingIdeas For Yarn Bombs To Make Luv Bali. P.S.
Recycled Plastic-Bag Weaving | WeaveZine: Learn How to Weave: Free Weaving Projects, Podcasts, and More!
I have a considerable yarn stash of wool, cotton, linen and silk, carefully stored in baskets and on yarn trees. But to my surprise, I’ve come to regard hundreds of plastic bags, stored in a big floppy cardboard box in the garage, as part of this stash. The box holds newspaper bags, shopping bags, grocery bags, and every other plastic bag that I’ve brought home or collected from family and friends for the past several years. This article sponsored by: [[ad|nids=415]] Plastic “yarn” tutorial Turning a plastic bag into one continuous strand can be done with scissors, but it’s easiest to use a rotary cutter and self-healing mat. Turn the bag on its side, with the open end to the right (or left if you’re left-handed). Some bags have a heat-sealed fold at the bottom corners. Use the rotary cutter or scissors to cut from bottom fold to within about an inch or two of the top fold. Continue to cut strips all the way across, leaving them attached at the top fold. Ta Da! Continuous-Weaving Tutorial
Yarn Bombing: 10 of the Most Brilliant Yarn-Bombs Ever - The Chromologist
The problem with regular paint based graffiti or street art is that it very often needs to be painted over afterwards or, in the case of Banksy, the whole section of wall removed and wheeled off to the auction house. Enter yarn bombing / graffiti knitting / guerilla knitting. This form of street art is far less permanent through it’s use of colourful yarn or fibre, although it’s still technically illegal in some places. The results can be beautiful, transforming regular objects like trees, cars, steps or even buildings from dull to delightful. In London, the mysterious organisation ‘Knit The City‘ arrange covert kitting operations, jumping out into the street from their headquarters and enveloping telephone boxes and other publicly accessible object with bright yarn. Lauren O’Farrell (Deadly Knitshade) heads up Knit The City (as well as the crafty Stitch London). The queen of crochet however has to be Magda Sayeg, winner of Design Milk’s ‘the Modern Craft Project’ competition. 1. 2. 3.
Woven Seed Bead Ring- Tutorial
How to make Woven Seed Bead Rings I made these rings with my 10yo's 4-H group, it's a great activity for kids ages 7+. The tweens and teens REALLY got into it! See my post here all about the project. You'll notice in the picture that the rings all vary a bit with their bead colors and design motifs... the kids very quickly figured out that they could change the bead colors and numbers to create their own styles. Watching this process develop was one of my favorite parts of the workshop! 1. 2. 3. 4. 5. 6. 8. 10. 12. 13. 14. 15. 16. NOTE: It is really important that you don’t let the wire “kink” while you work with it. Please ask ?'