granny etoile
Hi everyone; my second, baby boy option, blanket is now decided upon. I wanted a blanket covered in 5-point stars, made up of hexagon motifs similarly to my baby girls puffed daisy blanket. This wasn't the most straightforward project to design, and I have to admit that I don't think I could just write the pattern down in a way that most people would be able to understand easily, so a comprehensive photographic tutorial is essential for this project. I would have loved to have made a video tutorial for you, but with only 1 pair of hands I'm afraid it is beyond me! (I suddenly feel the need for a large rubber band to hold my camera to my forehead! I joke, but part of me thinks I may just try it!!!
Recycle Tutorial – Making Of T-Shirt Yarn
Another tutorial to help save our Mother Earth by turning unwanted items into something useful. This is the yarn ball I made out of an old T-shirt which I have been wearing for 10 years day-in day-out, wash-in wash-out. It finally broke down and tore at the collar and sleeves. Waste not, want not, I decided to recycle it. I have finished making the drawstring bag as shown above. Please click here to have a look and you can download the simple pattern I created.
Crochet Basket Weave Afghan Baby Blanket - Pattern & Tutorial
Often, I received feedback from readers asking me where to get the yarns I used for my crochet and/or knitting projects. Frankly speaking, I bought most of my yarns from the local yarn shops around here and I do understand that it is hard for many of you to get the exact one. This time, to make my pattern more yarn-search-friendly, I used Lion Brand, a well known yarn company where you can order online or buy them from shop if they are available. This blanket is made from cotton medium worsted yarn, the basket weave pattern makes it warm and cozy in cold weather.
Design*Sponge » Blog Archive » trendspotting: brutalism
Hi, folks! Nick Olsen here, interior decorator, style blogger and newest addition to the design*sponge family. Grace has asked me to scour the market for trends in design and decorating and I’m super thrilled. So let’s get to it: I was tempted to title this post “Hard Times” because my first theme, Brutalism, extends far beyond credenzas and tchotchkes. Things are still a little rough all over in 2010! But as an architectural movement, Brutalism (from the French term for “raw concrete”) busted out in the 1950s and 60s with blocky, imposing structures by Le Corbusier, Paul Rudolph, and later I.M.
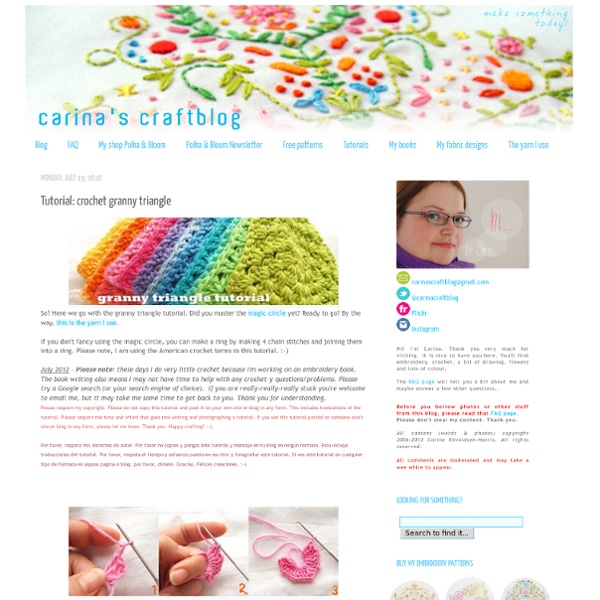
Granny Triangles - my way
Many of you asked me how to make the triangles for the bunting in my previous post. Some of you asked if there is a pattern for it. There might be a pattern for it in many places, as it is a very basic pattern. Same as in a granny square, but you work three sides instead of four. Here is how I make them. Ch4, sl st to first chain to form a ringFirst round
French Knot Monograms (Plus one more embroidery) - NEEDLEWORK
I made these monograms for my husband and myself (Joseph and Alyssa)! I would love to frame them in something like this ( but can't seem to find a similar frame for a reasonable price. If anyone has any ides, please let me know!
pattern of crocheted Cat with diagram (Amineko)
HOME / back To those who are not familiar with Japanese. I drew diagrams next to the worded instructions to make it clearer for everyone to understand. I hope you enjoy it! Stuffing
miu-miu-sparrow-pumps> Shoeperwoman
These shoes sold out almost instantly at Net-a-Porter (sorry if the sight of them just got your hope up, there), which surprises me slightly, because in addition to the fact that they cost £365, they’re not the kind of shoes I would expect to have widespread appeal. With that said, these are one of Miu Miu’s most talked-about styles of the season, which possibly explains the high demand. With navy blue uppers and a white sparrow print, they have a breezy, Spring style to them, which will fit in seamlessly with all of the nautical style clothes around right now (and not just in my closet, either!). I’m not sure how I feel about them: at first glance I wasn’t at all keen, but I suspect they might be the kind of shoes I’d covet if I were to see them in real life.
Wool Eater Instructions
Crocheted Wool-Eater Blanket © 2007 Sarah London. All rights reserved. No part of this publication may be reproduced, transmitted, transcribed, scanned, stored mechanically or electronically, or translated into any language without prior permission of Sarah London. 8 ply wool


