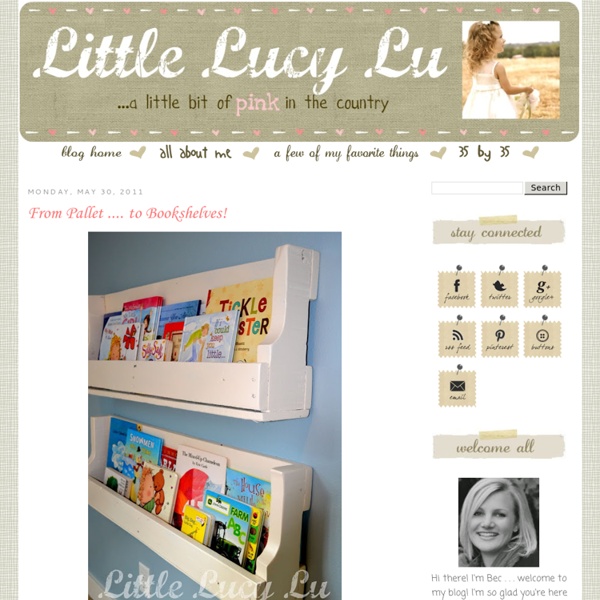
Pallet Bookshelves

Upholstered Bucket Ottoman
Brooke from Killer B turned a galvanized bin into a gorgeous ottoman for her baby’s nursery. Brooke’s attention to detail like the coordinating green interior and fabric-covered buttons give the piece a nice finished look. Brooke’s ottoman is doubling as a toy box in the room. I am loving this decorative storage solution! Brooke was inspired by the Linen Upholstered Ottoman Tub from Recreate. Find the full tutorial at Killer B.
pallet coffee table
This modern, ethnic-looking coffee table, with its ochre stripes that conjures up visions of Marrakech, was made from a wooden pallet discarded in a shopping area. The painstaking task of removing nails and sawing wood was avoided by fitting the pallet with a hardboard bottom and filling the cracks with mortar. And presto, we have a table top. If you like contemporary design, you can also fill the cracks with concrete, and then smooth and add a wax finish. To start, choose a pallet in good condition. To help fill in the cracks, nail down a few pieces of scrap wood. Once the mortar is dry, remove the formwork and carefully sand the table top. You can either paint the mortar or leave it as is. To make "legs" for the coffee table, attach two thick boards, such as formwork planks, to the sides of the pallet, using 80 mm (3 in) screws. Other pallet craft projects (click the following thumbnails):
Read your bookcase
October 23rd, 2011. Both comments and pings are currently closed. Read your bookcase. A fantastic modular, typographic bookcase by Saporiti. PLEASE NOTE: To prevent spam, your first comment will be moderated so there may be a short delay before it appears. Feel free to leave your thoughts on multiple posts, and they will all appear in no time.
Related:
Related:


