background preloader

Glowing Outdoor Orbs

Glowing Outdoor Orbs
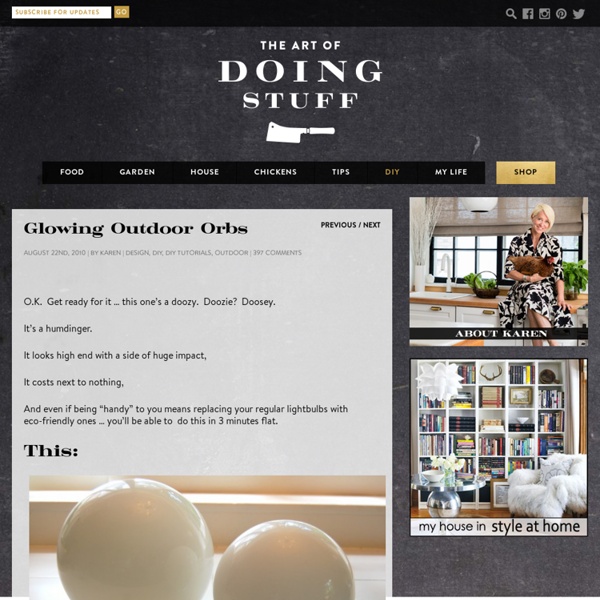
O.K. Get ready for it … this one’s a doozy. Doozie? Doosey. It’s a humdinger. It looks high end with a side of huge impact, It costs next to nothing, And even if being “handy” to you means replacing your regular lightbulbs with eco-friendly ones … you’ll be able to do this in 3 minutes flat. Opaque glass shades found at second hand store … Mini Lights from Christmas … Glowing orbs for your garden Want more STUFF like this? Get my posts emailed to you daily. Total Cost: $3 In my attempt to make my backyard a teensy bit more contemporary than my 170 year old house I ran into a few problems. It isn’t gonna be for lighting if I can help it. So while perusing the local second hand store I came across some truly unfortunate stains on the carpet AND these ubiquitous opaque glass shades. Because as you can see, all you have to do is shove some old mini lights in em to create an outdoor light that even a magazine Editor in Chief will comment on. And here’s the best part! at night during the day p.s.

Coffee Stirrer Wall Art Last week, I posted a preview of the simple, inexpensive wall art my mom and I created. Now I’m excited to show you how you can make a one-of-a-kind coffee stirrer masterpieces too! I’m big on projects that anyone can do. And this is one of those projects. If you can smear paint on wood and use scissors, you can make this easy art. Here’s all you need to get started: 1. Additional Supplies: 5. Okay, first things first. So, once you’ve got your palette, it’s time to paint your frames and your coffee stirrers! My mom and I did our painting as the sun was setting, which is always a questionable decision. I was going for the reclaimed driftwood sort of look. Once your coffee stirrers are painted, it’s time to trim them to fit into the frame(s) you’ve chosen. I found the quickest way to do this is to measure one stick to be the length you need it and then use it as the guide for trimming all the others. After I finished the set of three, I realized I didn’t like the red splashes of color.

Nursery News – Accent Wall | Bower Power Last time we talked about the nursery, you were left with this: and this: and a promise that the accent wall for our baby boy’s room would be (and I quote) “rockin” and “boyish” and “hug-worthy”. I know…you are just wishing you could reach through your computer monitor and slap me right now…kinda like when that girl crawled outta the television in the movie The Ring…but a lot less creepy and more out of anticipation than the desire to take my soul into Hades. Back to the point. That’s right. After a WHOLE lotta googling about the safety of using the Grade III wood that makes up pallets, we learned that some pallets are treated with pesticides & fungicides (NOT GOOD) but that you can find vendors that use untreated lumber (GOOD). First, (after researching & calling local home improvement store managers to find a place that would give us free pallets of untreated wood), Jeremy picked up about two dozen pallets. Ok. (here’s our setting for you pallet-crafters), but we didn’t know much else.

Wood Pallet Room Divider | My Friend Staci Update 7/12/11Thank you to everyone who finds this page through google, stumbleupon or pinterest (among others). It is by far the most-visited page on my blog! I never thought this project would be so popular! Inch by inch, the master bedroom is coming together. While in Boston, we saw something like this in a fancy modern furniture store, retailing somewhere between $200-$300. After a bit of finessing and perfecting, we moved them into place where they sat blank for over a month. Now if only the perfect headboard would fall right into my lap… actually, that would probably really hurt… Here is a wider shot of the divider in action. Like this: Like Loading...

New Years Party We spent New Years decorating a fabulous wine bar in Whitefish, Montana for their biggest party every year. Our palette was white, grey, & silver. There was a ton of glitz, a ton of glam, and even disco balls. We had a blast! The main event of the night was a fantastic DJ and band named Firefly. For one of our main focal pieces, we created a multi dimensional bubble chandelier to accent the Champagne Room -- a favorite spot tucked away with comfy seating and romantic lighting. During the night, the track lighting was focused on this piece - making it a beautiful source of light. For the main room, we implemented a few simple elements to make the room pop without taking away from the dance floor. A curtain of crystals, silver, clear, and glittered ornaments hung from tulle and grey fabric to catch light from the disco balls. We also hand dyed fabric using the ombre technique to achieve a gradation of dark grey to white to hang as panels above the seating area.

Beanbag Cushion Looking for hours of entertainment? Meet, The Rollie Pollie bean bag chair. It’s a chair, it’s a toy, it’s your favorite pillow. Made of durable cotton twill or soft vinyl, each bag is actually a slip cover (with another Rollie Pollie inside) then filled with mounds and mounds of soft cluster stuffing. So if it gets dirty, just zip it off and throw it in the wash. Now, pick your favorite…. Drag it around, Dive right in! Or take a little nap. Build a Rollie-Pollie-man: kick off your shoes: Or do what I love best….find a yummy treat, and just relax, watching your favorite show. Who said you were a couch potato?

How To Make a Secret Hollow Book: The first step into making the hollow book is to select a book. Make sure this is a book your own, and not one belonging to the library, or your family. I suggest rummaging through books at yard/garage sales. Make sure it is a hardback; otherwise you will cut all the way through the other side when you are cutting out the insides.You'll also need: Elmer's white gluea container to hold glue solution (I've chosen a film canister)X-acto knife, and/or box cutter. Mix a solution of white glue and water. Holding the remaining pages together, brush the edges with the glue solution - enough to soak in pretty well, but not too drippy. Allow this to dry, but use a spacer so the first couple pages, and the front cover don't get stuck. When dry, open the book to the first glued page. Draw out a half-inch boarder around the edge on all four sides. Using a strait edge and knife, cut out along the inside of the line. Continue cutting down through the layers. Remember that first page we saved?

The DIY Headboard Extravaganza {Unique Headboard Inspiration There’s so much fun to be had with headboards. The possibilities for headboards are endless when you consider them in their basic form. Headboards certainly don’t need to be purchased. DIY & re-purposed headboards can be just as beautiful as something you would find at a trendy shop, only more personalized with WAY more character. Before you think about hitting up the store, or scouring the web for your next headboard, step outside the box and remember that headboards don’t have to be confined to a rectangular piece of wood. Headboards can be made from just about anything, an old fence, driftwood, curtains, a pallet, an old door, the list goes on. See my post on “How to Make an Upholstered Fabric Headboard” if you’re inspired after reading this =) 21 Unique D.I.Y Headboards I just love the contrast between the white and vibrant yellow in this beach cottage bedroom. Another fabric upholstered headboard, this time in blue. “Rustic chic” is such a fabulous design trend. Wow. Just lovely.

Make a PB-Inspired Tiled Mirror Home » $10 and Beyond, Decor, Headline Make a PB-Inspired Tiled Mirror 30 June 2010 3,252,932 views 28 Comments by heather Welcome to Dollar Store Crafts - the internet's original site for all Dollar Store Crafts! Keep track of us and never miss another awesome dollar store craft idea: Follow us on Pinterest! Subscribe for weekly Dollar Store Craft-Inspiration You might also enjoy our most popular posts:Make a Beaded Chandelier for $9Mind-Blowing Cake Decorating Tip Make a Pottery Barn-Inspired Tiled Mirror for $11: One of the best ways to get the look for less from the dollar store is to combine small components into a larger piece that makes a single statement. Mia at Cottage Love's PB-Inspired Tiled Mirror was one of my top 10 picks for awesome dollar store crafting at the recent CSI Project dollar store challenge. Tiled Mirror Tutorial: Original Project Estimate: Total: $11 and up To Make: The original project (that isn't online anymore) used a poster frame that the crafter had on hand.

Related: