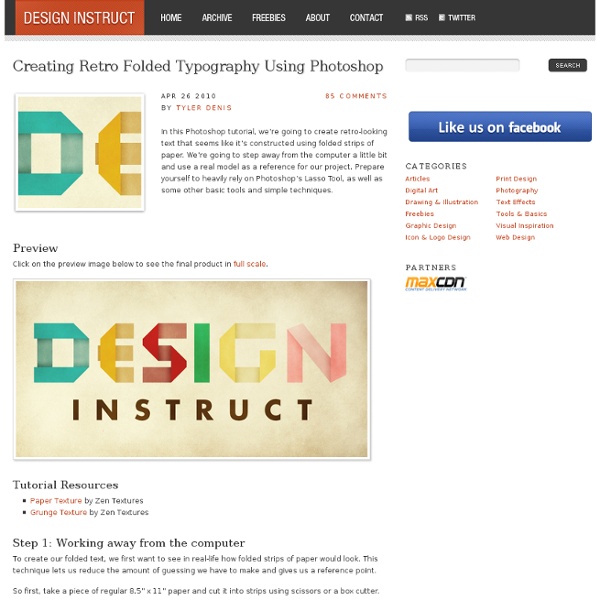
Creating Retro Folded Typography Using Photoshop

Useful Adobe Photoshop Techniques, Tutorials and Tools
Useful Photoshop Tips And Tricks For Photo Retouching
Advertisement When it comes to designing in Photoshop, there is a myriad of ways one could use to achieve a certain result, especially when it comes to photo retouching. Designers use technique they are most confident as well as comfortable with, which is great because it’s always useful to peek into the workflow of our colleagues and learn new design approaches. I’ll be covering some of the useful techniques and tricks which I’ve learned from my experience. Here is a short overview of the techniques we’ll be covering: Naturally Increased Light The light of the sun creates texture. Increase light on a separate layer. Then use the brush tool with a soft brush, and hold the Alt/Option key to pick up colors from the area that you want to brighten. The blending mode “Color Dodge” creates realistic results. Simulate Infrared Images Trees and bushes should now shine in the typical white, and the sky should appear almost black. It’s almost like an infrared image. Levels Controlling Mid-Tone Contrasts
Compositing in Adobe Photoshop: Time-Saving Tips
Advertisement Compositing is a skill and process that spans the entire spectrum of creative industries. At the high end, compositing boasts its own specialized profession in film and television post production and visual effects. In this article, I’ll share some of my own time-saving tips for compositing in Photoshop. Tip 1: Matching Tones, Channel by Channel One of the challenges we face when compositing is matching the colors and tones of various images to produce a realistic and convincing composite. 1These are the three images we will composite together In the following example, we will composite three people into one shot and address the differences in lighting, tone and color balance. 2Masked images placed on background In the above image, I have masked out the images and placed them together on a background. The key to this technique is selecting one of the images as your target, and then matching the other two images to the tone and lighting of this target. Visual Evaluation 1. 2.
Mastering Photoshop: Unknown Tricks and Time-Savers
Photoshop Secret Shortcuts
It is proven that by using software shortcuts can boost up productivity. Here are 30 secret Photoshop shortcuts that I’ve learned from years of experience. Well, what I mean by "secret" is that these shortcuts are not documented in the menus. Keep reading and you will find how these shortcuts can speed up your productivity. Note: this article is written in Mac Photoshop format. Drag selection With the Marquee tool, drag on the document (do not release the mouse yet), now hold down Spacebar, it will let you drag the undefined selection. Do you know more Photoshop shortcuts that are not listed in this article?
Scripts Page
Sorry, technical support is not available for my scripts Please report any web-related problems by sending an email to the address listed below. Sorry for the inconvenience, but I will not have the chance to respond to questions relating to these scripts. Please only use them if you feel confident that you can remove them if something should go wrong. My scripts are definitely not perfect and they will NOT work on every system configuration. Also, PLEASE tell me if you like these scripts and if you are using them. For immediate response to your issues and questions, check out the Adobe Forum: forums.adobe.com Also be sure to visit the Adobe TV site for a great collection of information and tutorials: tv.adobe.com Sincerely, Russell Brown russellprestonbrown@mac.com
Related:
Related:


