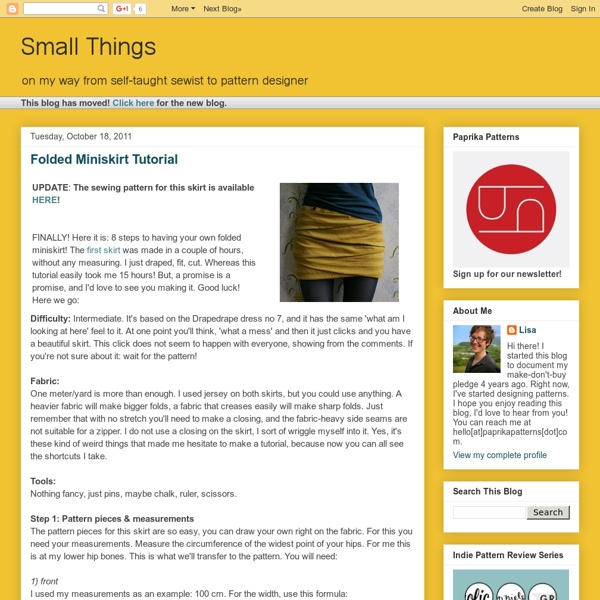
Folded Miniskirt Tutorial

How to Make Simple Crochet Slippers « Crafts
IMPORTANT NOTE: This pattern uses US crochet terminology. You can find the SLIPPER SIZE, YARN and HOOK specifications at the end of this article !!! (To see more of my patterns, please visit my ONLINE SHOP!) I am an addict. An addict for crochet slippers. It all began when I saw slippers similar to these somewhere on the internet. I loved them so much I couldn’t get their tempting image out of my head. All I needed was a pattern. But because I am terribly, terribly impatient, I found creating my own pattern quicker than looking for an official one on the web. And since I’m no crochet guru, the pattern turned out to be really simple. Actually, these slippers might be the simplest slippers in the universe. Or not. But they might. This is what I did… Round 1: 5 ch (chain stitch); join into ring with sl st (slip stitch) Round 2: 3 ch; 7 dc (double crochet stitch) into the center of the ring; join with sl st Round 3: 3 ch; 1 dc into first stitch; 2 dc into each next stitch; join with sl st Row 14: turn (!)
Related:
Related:


