background preloader

Installation/FromUSBStick
Installation/FromUSBStick
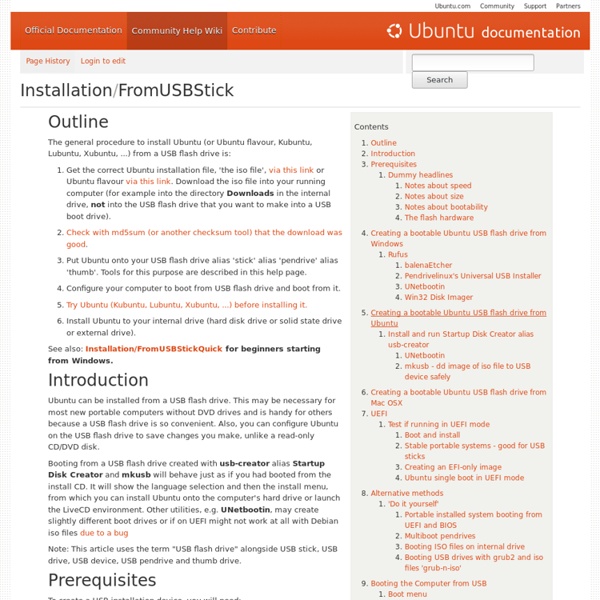
The general procedure to install Ubuntu (or Ubuntu flavour, Kubuntu, Lubuntu, Xubuntu, ...) from a USB flash drive is: Get the correct Ubuntu installation file, 'the iso file', via this link or Ubuntu flavour via this link. Download the iso file into your running computer (for example into the directory Downloads in the internal drive, not into the USB flash drive that you want to make into a USB boot drive). Check with md5sum (or another checksum tool) that the download was good. Put Ubuntu onto your USB flash drive alias 'stick' alias 'pendrive' alias 'thumb'. Tools for this purpose are described in this help page. See also: Installation/FromUSBStickQuick for beginners starting from Windows. Ubuntu can be installed from a USB flash drive. Booting from a USB flash drive created with usb-creator alias Startup Disk Creator and mkusb will behave just as if you had booted from the install CD. To create a USB installation device, you will need: a 4 GB USB flash device/drive/stick. Rufus Notes

Installation/FromUSBStick The general procedure to install Ubuntu from a USB flash drive is: Acquire the correct Ubuntu installation files ('the ISO') Put Ubuntu onto your USB flash drive Configure your computer to boot from USB flash drive and boot from it Try Ubuntu or install it to your hard drive. Ubuntu can be installed from a USB flash drive. This may be necessary for netbooks and other computers without CD drives and is handy for others because a USB flash drive is so convenient. Also, you can configure Ubuntu on the USB flash drive to save changes you make, unlike a read-only CD-ROM drive. Booting from a USB flash drive created with this utility will behave just as if you had booted from the install CD. Note: This article uses the term "USB flash drive" instead of: USB stick, USB drive, and thumb drive. To create a USB installation disk, you will need: a 2 GB USB flash device/drive/stick. Notes about speed The most common USB ports and USB flash drives work according to the USB 2 standard. Conclusion Notes Note

How To Create An Internet Kiosk with Kubuntu | dimmeria I help run a medium-sized scientific conference annually. We have an internet cafe / registration room where our attendees may pay for the conference or just surf the web. We used to run WinXP with the hive cleanup tool and a lockdown utility probably created by a Microsoft intern. It worked fairly well. Then Windows released SteadyState, which we tried last year. SteadyState worked as advertised on my test machine, but failed spectacularly at the conference on 80% of the kiosk machines - I'm still not sure why. You probably want to read my new article on this topic. The following is how to create a relatively secure internet kiosk using Kubuntu. Update 2009-09-21: I can confirm this works in KDE3 and KDE4. The methodology for this should be to perfect the kiosk as much as possible on one machine (or a VM) first, then clone that machine to all your other computers, changing hostnames where appropriate. Step 1: Partitions Step 2: Boot from new Kiosk, install required packages

Linux Live for CD & USB carte_graphique Les cartes graphiques sont (quasiment) toujours fonctionnelles sous Ubuntu grâce à des pilotes libres installés et utilisés automatiquement. Lorsque d'autres choix de pilotes sont disponibles il se fait depuis le gestionnaire de pilotes propriétaires. Ubuntu tend à intégrer de plus en plus de choix de pilote en utilisant ce système qui est chaudement recommandé. Toutefois les autres méthodes d'installation de pilotes sont toujours possibles, et parfois encore nécessaires. Commencez d'abord par la page accélération graphique avant de revenir sur cette page au besoin pour plus d'information. Pour connaître les caractéristiques de la carte graphique, vous pouvez utiliser depuis un terminal l'une des commandes suivantes : lspci | grep "VGA compatible controller"lshw -enable pci -class display On reçoit par exemple : 00:02.0 VGA compatible controller [0300]: Intel Corporation 2nd Generation Core Processor Family Integrated Graphics Controller [8086:0116] (rev 09) (prog-if 00 [VGA controller])

PowerTop - optimiser l'autonomie de son portable (linux). | WebD Remastersys project Hardware/Detection - Ubuntu Wiki Summary Covers how we detect hardware, both when the system is running and how we ensure that at startup we capture potentially missed events. Should also cover how we make sure we don't process events before we can deal with them (ie. network card module built-in, but none of ifupdown in initramfs). Rationale Modern computers aren't off-the-shelf static entities with standard parts and design; instead they are a collection of different hardware targetted for different purposes. The 2.6 kernel manages much of the hard work of managing hot plug interfaces such as USB, Firewire and server PCI and exposes information about connected devices through both the /sys filesystem and by passing events to user-space known as "uevents". Tools Ubuntu comes with a bunch of commandline tools which might help you detect hardware which is not to be discovered by the Hardware Manager. Use cases Scope The scope of this specification is the correct receipts of events from the kernel and reaction to those events.

LiveCDCustomization You may wish to customise the Ubuntu Desktop LiveCd to: make your own Linux / Ubuntu distribution show off a particular application localise to a certain language remove software packages add software packages update software packages change system defaults (theme, icons, desktop background, panels, browser homepage, etc) The easiest way to create a custom LiveCD is to use Ubuntu Customization Kit. What follows is the manual way of accomplishing the same. This guide is for the Desktop LiveCd; there is another page referring to customisation of the Alternative Install Cd & the Server Install Cd. Also, there is a guide on how to create a LiveCd without using an existing LiveCd. At least 3-5 GB of free space At least 512 MB RAM and 1 GB swap (recommended) squashfs-tools genisoimage, which provides mkisofs An Ubuntu kernel with squashfs support (present in Ubuntu 6.06 and later) QEMU/KVM, VirtualBox or VMware for testing (optional) Make sure that you have installed the needed tools Apt and Tasks Hi

Ils disent from USB stick mais sur EEEPC on peut booter sur removable device (il n'y a pas de cd-rom) et la carte flash est considérée comme un disque dur by uglycharly Feb 8

On notera quand meme qu'il a fallu windows pour gagner du temps à formater la carte flash by uglycharly Feb 8

Avec ça vous pouvez booter le EEPC sur disque amovible USB ou sur un simple carte flash. Pour l'installation de mon ami nous avons opté pour une installation sur un carte flash by uglycharly Feb 8

Related: