background preloader

Sock Dog Tutorial

Sock Dog Tutorial
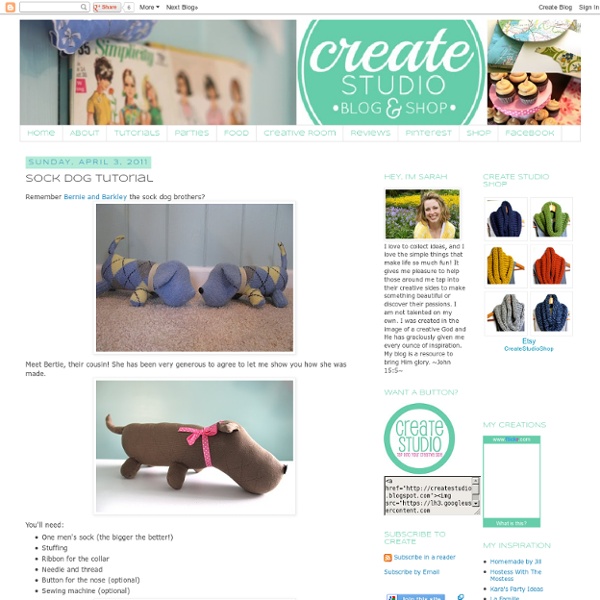
Meet Bertie, their cousin! She has been very generous to agree to let me show you how she was made. You'll need: One men's sock (the bigger the better!)StuffingRibbon for the collarNeedle and threadButton for the nose (optional)Sewing machine (optional) So, here's what you're starting with. Ears: Cut the toe of the sock off about 1.5 - 2 inches in a slight arch, the more of the toe you cut off, the floppier her ears will be. Now comes the tricky part. Separate the two halves of the toe of the sock and fold them in half with the right sides of the sock facing each other. With your sewing machine, sew along the straight edge, leaving as small a seam allowance as possible. Body: Now let's move on to Bertie's body. Before you start stuffing we need to cut out her tail and her four legs. Stuff Bertie's body. Each time you stuff a limb or her leg I would recommend pinning it like I did below before you stitch it on. Tail: Grab the portion of the sock that you cut for the tail.

Paint a Tree In Your Kid’s Bedroom-Free Download – I’ve been a busy girl. I’ve been working on my little girl’s bedroom since moving into our new house last month. It has been so satisfying to finally be able to paint! While I don’t feel like it is fully finished, I still thought I’d share what I’ve done with you. And, if you are interested in making your own tree, I’ve provided the stencils I made for myself here for you. The pdf shown here includes simple instructions and patterns for the flowers and leaves. Here’s a helpful hint to create stencils: I used my Silhouette to cut these out. Download the pdf stencils. Want to see the rest of the room? And here’s the after.

Baby boots... Crash ? Here goes, I'm going to try and do this but my computer keeps crashing, if there are any glaring errors I'll put them right asap. Here comes a poor quality photo again, I still haven't sussed out what's wrong with the scanner. Enlarge to whatever size you wish, just measure the length of baby's ( or Mama's ) foot. Cut 4 boot pieces and 2 sole pieces as shown. The easiest way to do this is to lay your fabric right sides together, and then pin and cut out together. Pin and stitch the sides of each boot ( right sides together) And then stitch the boot to the sole as shown, don't forget to mark the front and back centre points on the soles - it makes it a lot easier to position correctly. Now turn under and press a small hem at the top of each boot and it's lining. Now slot the lining into it's boot with wrong sides together, Finish off with a decorative stitch to close and maybe some yo-yo's. See you then ! Have a sooper dooper weekend. xxx

Tummy Time Mat Tutorial My friend Kim just had a beautiful baby girl named Peyton Elizabeth. Isn't that a great name! I thought Peyton needed a stylish tummy mat so I whipped up this one and I'll show you how to make one too. First I cut 4 13-inch squares of felt and sewed them together with the 1/2 inch seams out. I cut the seams so that when I washed the blanket I'd get some great fringe. After the four squares are sewn together and the fringey snips are made it's time to sew on the backing and the batting. Sew these three layers together and leave one section open like you would a pillow so that you can turn the blanket inside out. There's one final step before you throw your blanket into the washing machine.... Finally, my favorite step! Here's the final product.

Cook Clean Craft: Tutorial: Baby Kimono Top When searching for an outfit to make for a friend’s baby, I came across this very cute baby kimono pattern at the Martha Stewart website. I loved putting kimono-style rompers on my son when he was a bub as you don’t have to worry about pulling anything over his head (which was always a challenge). However, there were a few comments complaining that it was difficult to follow the instructions, so I thought I’d put together a detailed photo-tutorial. Also, I decided to use buttons for the closure at the front rather than ribbons (which just seem too fiddly for me when you’re dealing with a squirmy or screaming baby!). Note: I also didn’t follow the order of the instructions from the Martha Stewart website. I did it in the order that made sense to me, and helped me figure out how the pieces were supposed to go together. Equipment1 yard Fabric (pre-washed)2 yards of single-fold bias tapeTwo buttonsMatching ThreadSewing MachineScissors Use our pattern full-size for size 0 to 3 months.

17 Free Baby Sewing Patterns You'll Adore [ Close Privacy Policy ] Privacy Policy / Your California Privacy Rights Revised and posted as of March 4, 2013 Prime Publishing, LLC ("Company," "we" or "us") reserves the right to revise this Privacy Policy at any time simply by posting such revision, so we encourage you to review it periodically. In order to track any changes to this Privacy Policy, we will include a historical reference at the top of this document. This Privacy Policy will tell you, among other things: Your California privacy rights. ACKNOWLEDGEMENT/YOUR AGREEMENT Company websites are not intended for use by individuals under the age of 18 or those who are not legal residents of the United States. HOW DO WE COLLECT INFORMATION AND WHAT INFORMATION DO WE COLLECT? Distribution Partners Website operators that license our ad serving technology pass information to us so that we may serve advertisements to you. Website Registration Forms We collect information about you when you register on one of our websites.

Michael Miller Fabrics' Citron-Gray Nursery: Patchwork Baby Quilt with Monogram The gateway drug of quilting is the baby quilt tutorial. Once you try one of these easy, itty-bitty marvels, you'll be hooked, and small pieces of fabric will begin stacking up all over your house. This handsome quilt is just one of eight tutorials in our modern, baby boy nursery series, sponsored by our good friends at Michael Miller Fabrics and created using their new concept. Designer Alicia Thommas picked out the best and the brightest of the bold geometrics in our chosen Citron-Gray . This quilt finishes at 40" x 40". Michael Miller's concept combines hues that consistently work so well together, they create their own ambience, their own feeling... their own . Like good friends who hang together over time, Michael Miller's eleven pals will evolve from one release to another. Welcome to the Citron-Gray and our custom baby boy nursery. For more baby projects, take a look at our original Shower Power Baby Gifts . Any Sewing Machine (we recommend the Janome DC2011 ) All purpose thread

Fun In The Sun: Terry Towel Coverup & Matching Beach Pillow Back in the day, your 'beach towel' was simply a ratty bath towel that had seen better days and which Mom allowed you to drag outside. Today's beach towels are colorful terry cloth works of art in jumbo sizes. We used one to make our simple summer beach wrap. A clever cut allows you to make optimum use of the towel's bound edges, and leaves you the perfect scrap to create a matching pillow. To add a splash of summer fun, we braided three colors of polka dot knit to create the wrap's wonderful ties. It's all super quick to make, so you can be lounging by the shore in style before all the good spots are gone. For the best gathering and drape, we recommend a lightweight beach towel over a super-thick style. Our coverup is made for a slim adult of average height. Any Sewing Machine (we recommend the Janome DC4030 ) One beach towel, approximately 39" wide x 70" long ¼ yard EACH of 44-45" wide knit fabric in THREE different colors: {*style:<i> </i>*}NOTE: All-purpose sewing thread to match towel

ScrapBusters: Binky Leash and Bag Summer seems like the prefect time to pull up some projects that will make the most of all those pretty pieces in your scrap bag, bin or box. This week's ScrapBusters Series brings you five great little-bit-o-fabric ideas, starting with today's perfect baby gift bundle of two binkys on their own little leashes and a matching drawstring carry bag. This project is at the very Tip-Top of the Cutie-Pie Ranking & Rave Scale. Our thanks to our pals at Michael Miller Fabrics for originally providing us with this absolutely wonderful Pretty Bird from Pillow & Maxfield . Any Sewing Machine (we recommend the Janome DC2011 ) Supplies for TWO Binky Leashes and ONE matching Bag ⅓ yard of 45" wide primary fabric for leash A, bag top, and bag lining: ¼ yard of 45" wide secondary fabric for Leash B and bag bottom: All-purpose sewing thread in colors to match fabrics All-purpose sewing thread in contrasting color(s) for topstitching Small piece of lightweight fusible interfacing Snap setting tool Straight pins

Made By Marzipan The Anywhere Chair turns a regular chair into a high chair. It rolls up to fit in a diaper bag, and is machine washable. Take it along when you visit Grandma or go to a restaurant. Supplies: 1/2 yard outer fabric1/2 yard inner fabric1/2 yard thin batting5 inches velcroThread & pins How To: First cut the long strap piece. We’ll sew the connecting tab first. Layer the seat pieces with batting on bottom and right sides of fabrics together. Round off one of the corners. Remove the pins and turn seat right side out, then iron the seat and connecting tab. Layer the batting and fabrics for the strap piece. Begin sewing at one pin, and continue sewing until you reach the other pin. Insert the loose end of the connecting tab into the opening on the strap piece. Now we’ll add the velcro. Now cut five inches of the fuzzy velcro. To use, weave the straps around the slats of a chair. Always use adult supervision.

Related: