
http://forwardknot.com/tutorial.php?id=5
Related: BraclettsMartenitsa Bracelet – the KUMIHIMO Technique We sent our baba Marta to Japan – we made a bracelet martenitsa with the kumihimo technique. As we didn’t have the original kumihimo disk, we made our own and the result was quite impressive. It’s pretty, it’s easy enough for kids – and you only have to show them how to move the strings along the circle (count 1, 2, 3 and move to the empty slot). Paracord Survival Bracelet After the positive response we had with The Magic Braid, we decided it would be fun to combine my pictures into a “mini tutorial”. For this project I will be using about 7ft of paracord to make survival bracelets for the kids interested in surviving the great outdoors! These bracelets are easy to make and a fun project for hikers and campers of all ages. Typical uses include attaching equipment to harnesses, as strapping to avoid losing small or important items, tying items to vehicle racks, securing tents and tarps, tourniquets, etc. Use a flame to melt the ends of the paracord to keep your bracelet from fraying. Related Posts:
Beading Tutorial: Basic Right Angle Weave One of the most versatile and useful bead weaving stitches ever created is right angle weave. Developed by David Chatt, it is a single needle variation of cross-weave. Using a figure eight stitching pattern, groups of beads are gathered together to form shared rows that can be increased and embellished in every direction with ease. DIY Heart Friendship Bracelet As the month of love approaches, we thought we’d combine friendship and hearts into one Valentine’s Day themed tutorial: a heart patterned friendship bracelet! Using some candy-colored embroidery floss and your familiarity with the chevron friendship bracelet, you’ll be able to whip up one of these tokens of love in a heartbeat. You’ll need:2 colors of embroidery flossscissorstape or clipboard Creating a heart pattern involves just a simple modification to the chevron patterned friendship bracelet. Start by cutting 4 strands of each color, at about 24 inches each, for a total of 8 strands.
BEADED WRAP BRACELET DIY This Beaded Wrap Bracelet DIY is a great way to reuse the beads from old necklaces or any odd beads you have lying around from other projects. (I used at least 3 old necklaces for this bracelet.) I feel invincible, like I have Wonder Woman’s gold cuff on! This Beaded Wrap Bracelet is so fun because it feels like a gauntlet on your arm. You can adjust the wire to fit snugly or to be loose and dangle, its up to you. I like mine tight, it makes me feel invincible like I have Wonder Woman’s gold cuff on! Tutorial: Graduated Herringbone ‘Bobble’ Rope Have you ever been completely smitten with shaped seed beads, only to find yourself at a loss when it comes to using them? One of my favorite techniques for combining a variety of seed bead sizes and shapes is tubular herringbone weave. Not only can you use up a lot of beads at once, but the possibilities for color and pattern combinations are endless! This technique, which I like to call ‘herringbone bobbles’ uses at least two seed bead sizes, or as many as you can come up with.
michael ann made.: woven friendship bracelet tutorial i love the summer friendship bracelet trend that i keep seeing in blog land, so i thought it would be fun to share with you another way to weave a friendship bracelet. one of the parents at work showed me this technique of using a circular cardboard loom and i love how quick it goes, you can easily finish a bracelet in one sitting. - cardboard - something small and circular (like a teacup or ramekin) - scissors, ruler, pen - embroidery thread in pretty colors , thin yarn, or ribbon trace a circle onto your cardboard, and use a ruler to draw 8 lines cut a small ways into each line, between 1/2 an inch to an inch and make a hole in the middle of the circle where all the lines intersect. cut 7 strands of embroidery floss, about 24 inches long and tie them together with a slip knot. pull your thread bundle through the hole in your cardboard with the knot right up next to the hole and use a little piece of tape to hold it in place while you start.
How to make wrapped leather bracelets « Rings and Things Triple-wrap leather bracelet with blue tigereye beads Let me begin by stating the obvious – this style of wrapped leather bracelet is EVERYWHERE this season. Everywhere! beaded crocheted bracelet video tutorial I love the look of these bracelets. The turquoise & brown is my favorite, of course. I really love the mixture of color and bead shapes and sizes. All of them feel like summer to me. Maybe because of the colors I chose or the crocheted “twine” look.
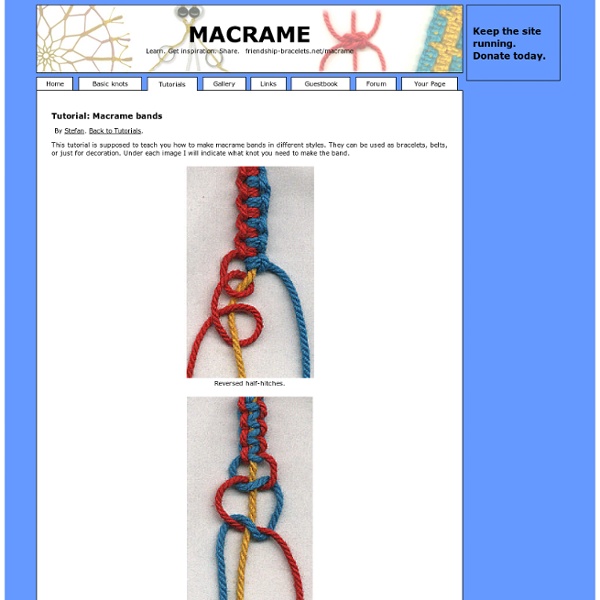
DIY Macrame Bracelet - Honestly WTF Growing up by the beach in Southern California, the ability to knot a macrame bracelet was practically a right of passage. Although those days are long behind us, we’ve never forgotten the ever-so-simple square knot technique. This time, however, we’re replacing hemp and wooden beads for more updated elements like colorful nylon cord and glossy metal charms.