Free download: Infographic Vector Kit
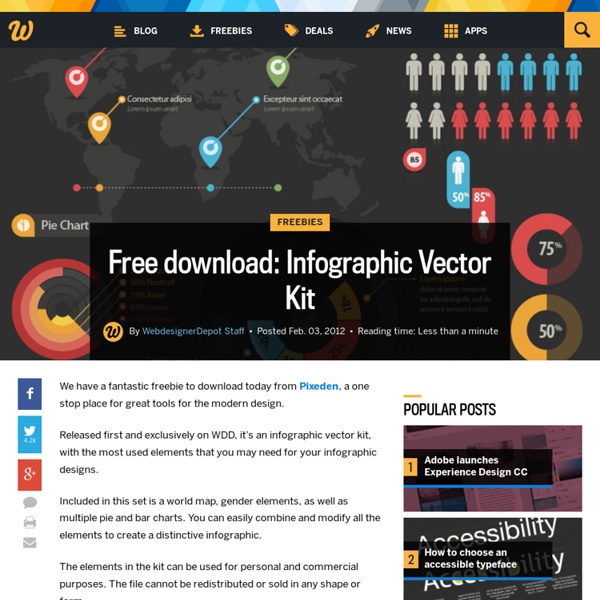
We have a fantastic freebie to download today from Pixeden, a one stop place for great tools for the modern design. Released first and exclusively on WDD, it’s an infographic vector kit, with the most used elements that you may need for your infographic designs. Included in this set is a world map, gender elements, as well as multiple pie and bar charts. The elements in the kit can be used for personal and commercial purposes. The file is available for free for all Webdesigner Depot and Mighty Deals subscribers. Please enter your email address below and click the download button. WDD staff are proud to be able to bring you this daily blog about web design and development.
Free Vector Infographic Kit
This week’s freebie is a huge vector set for creating infographics. Included in the package are over 50 elements, ranging from graphs and charts to maps and symbols. Let your infographic stand out with these bold and beautiful infographic resources. In the download the filetypes are AI, EPS and SVG so you can use this kit at any scale, easily edit the color scheme, and the data points. Enjoy! Free License Feel free to download and use this item for both personal and commercial projects with attribution back to MediaLoot. Attribution is required for free items. More from Graphic Art » Vectors
Business Man Mascot
A mascot is a great way to welcome visitors to your website and show off your new products! This mascot is easy to edit and customize and comes with a variety of premade images of different poses, making it extremely easy to use! Size Photoshop: Completely made of vector shapes (Can be scaled up or down) PNG image sizes: Varies by pose (940×2012px MINIMUM ) What’s included? Transparent PNG of each posePhotoshop file (Contains everything) Video Preview (Customization) Music by: soundroll-music (Feel Good Journey). Important Notes Even though the Photoshop file only uses vector shapes it is not supported by illustrator because of some elements specific to Photoshop. Also, the Photoshop file does not have the each pose arranged, but does have what you need for each pose made. Support Watch this video of me making a few edits: Customizting Video Demonstration (Real-time) If you still need help please contact me or comment. Updates
Characters Design Vector Pack
Introducing The Characters Design Vector Pack: Awesome Little People, for the endless customizing possibilities in creating mascots and character designs. The vector file consists of: 100 hairstyles with different models and colors for men & women.Extra facial expressions.Extra facial features.Available in .Ai & .EPS formats (with minimum Adobe version CS3 ). The vector parts are grouped neatly in layers with proper naming, it will be very easy and fun for you to change the colors or mix and match every part. You can use this vector pack to create: Unique characters design.Mascots for your business. Personal logo.Avatars and profile pictures.Illustrations for structure organization or family tree.Illustrations for your websites.Cartoon version of your classmates on year books.Illustrations for flyers, invitation cards, businesscards.Unique patterns. Couple illustration for your wedding website.Greeting cards. and many more. The font used in file is a free font: Bree Serif.
Gigposter Design: The New Sex
Tutorial Introduction: A lot of people are making them. A lot of people suck. We don’t suck, and neither do you. Those winged scrolls are new from Vector Set 16. Let’s get to business. So what to make? We’re going to use this as the base of our initial illustration… but the hand, it lacks emotion. Istockphoto.com (a lifesaver for all stock photo needs) will be our resource. I found this chick holding a gun on istock. Next we have to cut out Ike and the girl’s gun so we can combine these different pieces into the same image. Once you have the shapes made to cut them out (and it’s ok if it took 3000 shapes and layers to make it) you’re going to merge them all to one layer. Now take both shapes and tastefully combine them on a fresh canvas. You now have Ike pissed off and holding a gun. Here is where it gets a little interesting and it might be hard to follow here. Above are the setting you’re going to make Ike the first two files. Now make sure each image is expanded. -Dave
40 Beautiful Grunge Photoshop Tutorials
Advertisement By Jacob Gube Grunge is a popular trend that gives designs a more organic and realistic look. It also provides a stark contrast to the simplistic, polished and rigid Web 2.0 trend, opting instead for a less uniform and more elaborate form of design. We’ve discussed grunge style in modern Web design before, as well as tips and tricks to achieve the grunge look. Now, it’s time to put theory into practice by finding ways to infuse grunge themes into your artwork using Photoshop. Beautiful Grunge Photoshop Tutorials Antique Ace of Spades This tutorial shows you how to create an old, stained playing card by using Blending modes. Creating an Old-Collage-Effect Poster Create a textured, old-school collage poster by following this excellent Photoshop tutorial. Quick Grungy Poster Learn how to create a grungy poster by using smart filters and a few image adjustments. Design a Unique Grungy Website Layout TutorialThis tutorial will teach you how to design a cool grungy website layout.
Create a Vintage Polaroid Effect in Photoshop
I love anything graphic design that has that vintage grunge kind of look. In this tutorial you’ll see how to create a stunning vintage Polaroid effect in Photoshop. It’s fairly simple to make and can be used in many different types of projects. What You’ll Need This tutorial will be completed using mostly filters and fills, but we will need three photos to complete the look. The first is the tractor image we’ll fill in the Polaroid with, if you have an image you’d like to substitute, by all means use that. Onwards, to the Polaroid Effect Tutorial Start by creating a new document in Photoshop to the specs you like, I used 500px by 500px.Grab the gradient tool (shortcut ‘g’ on the keyboard), set gradient type to radial gradient. Within the gradient editor set the first color stop to a nice brown (I used #6e5f3a) and set the second color stop to a darker brown (I used #171613). We are going to add more texture and interest to our background. Add some noise. About the Author
Related:
Related: