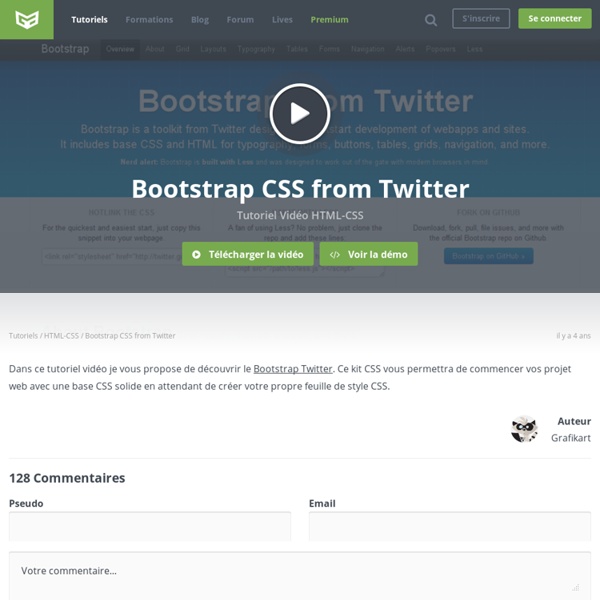
Say hello to Bootstrap 2.0 Six months ago we open-sourced Twitter Bootstrap, an extensive front-end toolkit for developing web sites and applications. Since then, Bootstrap has grown to be one of the most popular projects on GitHub, the largest open source code host in the world, with over 16,000 watchers and 3,000 forks. Bootstrap’s contributors continue to humble and amaze us. People everywhere are using it in creative ways, including projects like NASA’s code.nasa.gov and MSNBC’s Breaking News. After months of development, we’re ready to introduce the next major release, Bootstrap 2. What’s new Bootstrap 2 brings a plethora of changes and new features to the toolkit, many added as a result feedback from the community. Here’s a look at some of the most prominent changes: We’ve also closed dozens of bugs and made a lot of improvements under the hood for Bootstrap 2. Looking ahead In the coming months, we’ll continue to work with the open source community to evolve and iterate on Bootstrap.
HTML 5 Tutorial | Tutorials, Tips & News for the Designer New in Symfony 2.6: Bootstrap form theme Bootstrap is the most popular HTML, CSS, and JavaScript framework for developing responsive, mobile first projects on the web. Bootstrap is so widely used that it has become the de facto standard for frontend development. That's why Symfony 2.6 will include a new form theme designed for Bootstrap 3. The new form theme comes in two flavors: normal layout and horizontal layout. To apply this new theme to all the forms of your application, use the following configuration: To apply this theme only for some forms, add the following instruction at the top of the Twig template where the form is defined: The new theme defines styles for all types of form controls, as shown in the following image: As you probably guessed, this new feature is part of the Symfony DX initiative. Although this pull request just adds two tiny Twig templates, it took eight months to get merged.
NewApplication Create a new application with the play command The easiest way to create a new application is to use the play new command. $ play new myFirstApp This will ask for some information. The application name (just for display, this name will be used later in several messages). The template to use for this application. Note that choosing a template at this point does not imply that you can’t change language later. Once the application has been created you can use the play command again to enter the Play 2.0 console . $ cd myFirstApp $ play Create a new application without having Play installed You can also create a new Play application without installing Play, by using sbt. First install sbt 0.11.2 if needed. Just create a new directory for your new application and configure your sbt build script with two additions. In project/plugins.sbt, add: Be sure to replace 2.0 here by the exact version you want to use. In project/Build.scala: You can then launch the sbt console in this directory:
16 Impressive CSS3, HTML5 and Javascript Experiments From Hakim If you’re a fan of Canvas, WebGL and interactive CSS3, HTML5 and Javascript, you most probably have heard of the name Hakim. Hakim is a web developer and creative programmer from Sweden who passionate about working with animation and interactivity. He has many personal projects and experiments with HTML5, CSS and Javascript showcased in Chrome Experiments and other places. We are really impressed but his creativity and cool stuff that he managed to create, and the following is some of the coolest things on the web. CSS3 Scroll EffectCool list scrolling effect. About Kevin Kevin Liew is a web designer and developer and keen on contributing to the web development industry. Standardise the Appearance of Web Drop Down List
Créer une API Rest dans une application Symfony | Obtao Read the English version Comme nous avions besoin d’une connexion entre une application web Symfony et une appli Android, nous avons dû apprendre et comprendre comment créer une API Rest de manière simple et sécurisée, en nous basant sur nos entités existantes. Nous avons choisi WSSE pour l’accès sécurisé, FOSRestBundle pour la restitution de données et JMSSerializerBundle pour la sérialisation. Nous avions également besoin de séparer les logs pour les erreurs d’authentification WSSE. Librairies Bundles Articles Première étape : Installer FOSRestBundle et JMSSerializerBundle Vous aurez besoin de ces deux bundles, donc ajoutez-les à votre fichier composer.json : // composer.json // ... Lancez la commande php composer.phar update pour mettre à jour vos vendors puis enregistrez les bundles dans votre fichier AppKernel.php : //app/AppKernel.php public function registerBundles() { $bundles = array( // ... new FOS\RestBundle\FOSRestBundle(), new JMS\SerializerBundle\JMSSerializerBundle(),
Node.js : le livre du débutant JavaScript et vous▲ Avant de rentrer dans les détails techniques, prenons un moment pour parler de vous et de votre rapport avec JavaScript. Ce chapitre va vous servir à déterminer s'il vous est utile de continuer la lecture de ce livre. Si vous êtes comme moi, vous avez commencé le développement Web il y a quelques années en écrivant des pages HTML. Vous avez commencé à utiliser cette chose étrange appelée JavaScript, mais juste pour ajouter un peu d'interactivité ici ou là. Ce que vous vouliez était surtout apprendre à créer des pages Web complexes ; vous avez donc appris des langages comme PHP, Ruby, Java pour écrire du code serveur. Malgré tout, vous avez gardé un œil sur JavaScript et avez découvert, avec l'apparition de jQuery, Prototype ou autres bibliothèques, que JavaScript pouvait réaliser des choses avancées, bien au-delà de simples window.open(). Puis vint Node.js : du JavaScript côté serveur ! Vous avez donc décidé de vous intéresser aux nouveautés de ce vieux JavaScript.
jQuery Gantt: Créez des diagrammes de Gantt avancés avec jQuery jQuery Gantt est un plugin permettant de créer des diagrammes de Gantt web interactifs et avancés. Si vous développez votre propre intranet de développement ou une solution de gestion de projet pour un client, cette ressource va vous rendre pas mal de services ! En effet, ce plugin jQuery vous permettra de mettre en place le fameux diagramme de Gantt facilement et rapidement configurable. Vous pouvez l'utiliser pour organiser vos sprints et disposez vos tâches par catégories, couleurs... La navigation est vraiment bien pensée, avec un système de zoom et dé-zoom pour avoir une vue plus générale des différentes tâches. Sur le hover de la souris, vous pouvez afficher plus de détail sur la tâche ... Côté utilisation, le plugin se met en place rapidement et dispose de plusieurs options: 01. 02. source: "ajax/data.json", 03. scale: "weeks", 04. minScale: "weeks", 05. maxScale: "months", 06. onItemClick: function(data) { 07. alert("Item clicked - show some details"); 09. onAddClick: function(dt, rowId) {
Dynamisez vos sites web avec Javascript ! Bienvenue à toutes et à tous, Qui n'a jamais entendu parler du JavaScript ? Créé dans les années 90 en tant que simple langage de script, JavaScript est désormais un des poids lourds du développement Web ! Qui plus est, il se démocratise au sein d'autres environnements comme les serveurs avec le célèbre Node.js, les applications pour smartphones et tablettes, avec PhoneGap d'Adobe, les applications pour Windows 8, mais aussi les logiciels multiplateformes. Bref, JavaScript est partout ! Voici quelques exemples de ce qui est réalisable grâce au JavaScript : Sur ce, bonne lecture !