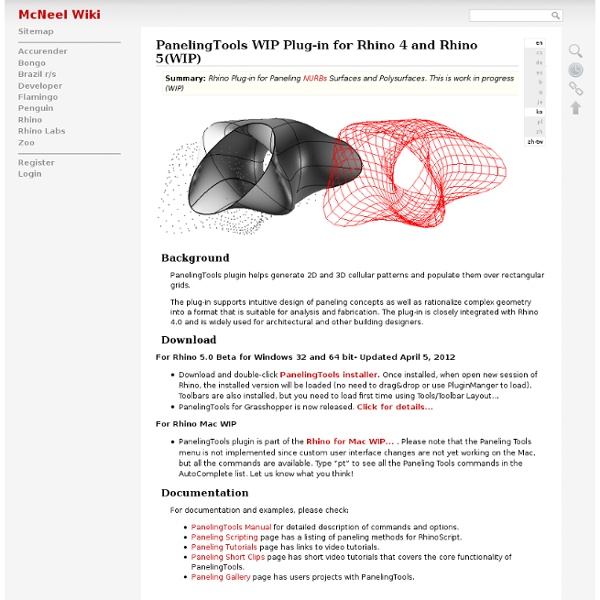


mcarchitetture Weaverbird – Topological Mesh Editor Weaverbird is a topological modeler that contains many of the known subdivision and transformation operators, readily usable by designers. Instead of doing the work repeatedly, or sometimes using complicated scripts, this plug-in reconstructs the shape, subdivides any mesh, even made by polylines, and helps preparing for fabrication. Weaverbird – 0.9.0.1 For Rhino 6 using Yak. Open this Grasshopper definition to install Weaverbird using the new-in-Rhino-6 Yak packet manager. Main topological commands: Catmull-Clark smoothing (wbCatmullClark). Split mesh into Quads (wbSplitQuad). Loop smoothing (wbLoop). Split mesh with inner face (wbSplitPolygons). Sierpinsky Triangles subdivision (wbSierpinskyTriangle). Frame (wbFrame). Carpet (wbCarpet). Window (wbWindow). New mesh primitives definitions: wbPrism, wbAntiPrism, wbPyramid, wbDiPyramid Additional commands: – wbOptions. – wbProperties.
Experimental Architecture Slingshot! Database Plug-in for Grasshopper Click here to edit contents of this page. Click here to toggle editing of individual sections of the page (if possible). Watch headings for an "edit" link when available. Append content without editing the whole page source. Check out how this page has evolved in the past. If you want to discuss contents of this page - this is the easiest way to do it. View and manage file attachments for this page. A few useful tools to manage this Site. See pages that link to and include this page. Change the name (also URL address, possibly the category) of the page. View wiki source for this page without editing. View/set parent page (used for creating breadcrumbs and structured layout). Notify administrators if there is objectionable content in this page. Something does not work as expected? General Wikidot.com documentation and help section. Wikidot.com Terms of Service - what you can, what you should not etc. Wikidot.com Privacy Policy.
Arquitectura en RED 02 Features Skip to main content more languages Notepad++ DownloadCurrent Version: 6.5.5 Features Syntax Highlighting and Syntax FoldingUser Defined Syntax Highlighting and Folding: screenshot 1, screenshot 2, screenshot 3 and screenshot 4PCRE (Perl Compatible Regular Expression) Search/ReplaceGUI entirely customizable: minimalist, tab with close button, multi-line tab, vertical tab and vertical document listDocument MapAuto-completion: Word completion, Function completion and Function parameters hintMulti-Document (Tab interface)Multi-ViewWYSIWYG (Printing)Zoom in and zoom outMulti-Language environment supportedBookmarkMacro recording and playbackLaunch with different arguments Ecreate is a Perth based Web and graphic design agency. Website kindly donated by Ecreate
El yo cíborg y la ciudad red » Blog Archive » [yccr 1112 clase 02] práctica [clase 29.02.2012] En la segunda sesión de la asignatura El Yo Ciborg y la Ciudad Red tuvimos una clase de introducción a Rhinoceros impartida por José Buzón González y dimos algunas referencias de páginas en las que podéis buscar toda la información que necesitéis para vuestros casos de estudio. A continuación os dejo los links para que podáis consultarlas: Drawing in perspective with Inkscape When you come across with perspective for the first time, in the beginning it seems that this artistic tool is very difficult to master. But in fact, everything is much easier — you just have to understand what it represents. And eventually tenacity and practice will do the trick. The first thing we need to know in order to construct a picture in perspective is the location of the horizon line — the line where the sky seems to meet the land. To create a perspective in Inkscape we can use helper lines — guides. I. By default, using the 3D Box tool (Shift + F4) we can create a box in two-point perspective (a box stands at an angle to us). H — horizon line X — vanishing point of the left side of the box Z — vanishing point of the right side of the box There is no vanishing point in the Y direction, because these lines are absolutely vertical and parallel to each other. Vanishing points at two-point perspective should be located far enough from each other. II. III. That’s all!
Computational Design and Robotic Manufacturing The Institute for Computational Design (ICD) and the Institute of Building Structures and Structural Design (ITKE), together with students at the University of Stuttgart, Germany have realized a temporary, bionic research pavilion made of wood at the intersection of teaching and research. Under the leadership of Achim Menges of ICD and Jan Knippers by ITKE the project explores the architectural transfer of biological principles of the sea urchin's plate skeleton morphology by means of novel computer-based design and simulation methods, along with computer-controlled manufacturing methods for its building implementation. A particular innovation consists in the possibility of effectively extending the recognized bionic principles and related performance to a range of different geometries through computational processes, which is demonstrated by the fact that the complex morphology of the pavilion could be built exclusively with extremely thin sheets of plywood (6.5 mm).
Revit Dimensions: More Than Meets the Eye, Part 2 by: Kate Morrical | 08/05/2013 Welcome to Revit Dimensions: More Than Meets the Eye, Part 2. (If you missed Part 1, click here to read it.) When we left off last time, I had just shown you how to display “equality text,” used to indicate equal spacing of items. But of course, that isn’t your only option for equality text. If you select the dimension and head over to the Properties Palette, you’ll see Equality Display under Other. Equality Text is the default, and it replaces each instance of the dimension value with text. We’re still not done with options, though. For today, we’ll focus on the Other section. Equality Formula is where you get to have some fun. Now for the explanation. Click Okay, and…ta-da! There’s one last tweak you could make to streamline the display even more. Your options are Tick and Line, Tick Only, and Hide. Even better, let’s say I need to add a beam to this bay. Our final topic today is modifying the dimension text. Just remember: Use this power wisely!