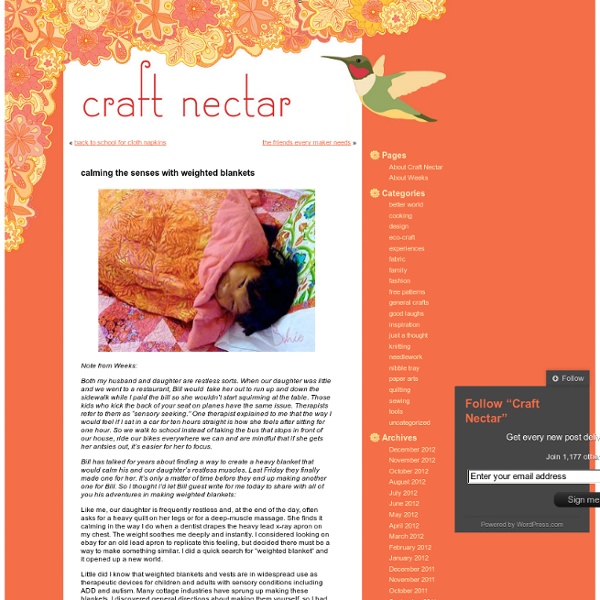
Calming the senses with weighted blankets Craft Nectar

Wooden keyboard enclosure
Having become proficient at typing on a Commodore 64, I just never end up using the numeric keypad, even if I need to enter some numbers. So the numeric keypad is just a waste of space and makes me reach further for the mouse. Of course, there are all kinds of reduced size keyboards available, but these usually don't feel like a real keyboard. They never have the cursor keys where they should be and usually the key travel is also not quite right either. So I set out to make a reduced size keyboard by cutting the numeric keypad off a regular keyboard. And to make it look good, I needed a custom enclosure. Cutting off the numeric keypad is not as trivial as it sounds. My approach is to take the circuitry from under the right side of the keyboard, and just fold it under the page up/down and cursor keys. A big challenge with making a wooden case is to cut a nice bezel for the keyboard. The next step was to cut out the openings with a scrollsaw. Checking the fit of the keyboard bezel.
the geekster moleskine
There appears to be a database problem. Your config/database.yml may not be written correctly. Please check it and fix any errors. Your database schema may be out of date or nonexistant. The database server may not be running. Error message: Can't connect to local MySQL server through socket '/var/lib/mysql/mysql.sock' (2) (Mysql::Error) Exception class: Mysql::Error Application root: /home/websd/apps/zg-mephisto/releases/20080207152432 Backtrace: /home/websd/apps/zg-mephisto/releases/20080207152432/vendor/rails/activerecord/lib/active_record/connection_adapters/mysql_adapter.rb in `real_connect' in `connect' in `initialize' in `new' in `mysql_connection' /home/websd/apps/zg-mephisto/releases/20080207152432/vendor/rails/activerecord/lib/active_record/connection_adapters/abstract/connection_specification.rb in `send' in `connection=' in `retrieve_connection' in `connection' /home/websd/apps/zg-mephisto/releases/20080207152432/vendor/rails/activerecord/lib/active_record/base.rb in `table_exists?' in `inspect'
Hack Your Pocket Moleskine Into A Wallet | The Frugal Law Student
If you’re like me, you love your Moleskine, but hate having to lug around one more thing in your pants pockets. With a cell phone and wallet already occupying valuable pocket real estate, the addition of the Moleskine can make your bottom half start to feel bulky. I thought about getting one of David Allen’s NoteTaker Wallets, in order to combine my wallet with the note taking functionality of the Moleskine, but they’re $90! As a law student who’s taking on student debt, I can not bring myself to drop $90 for a wallet. So, here’s the next best thing. What We’re Going For Pretty cool, huh? The Materials MoleskineCredit card holder templateScissorsGluestickLight card stock (100-120 gsm) Instructions 1. 2. 3. 4. 5. 6. Here’s what it looks like closed: It’s a little full, but has worked out for me pretty well for me.
43 Folders | Time, Attention, and Creative Work
Disaster Dioramas!!]
All your favorite disasters.... now in smaller paper form! Welcome to Disaster Dioramas (brought to you by Office Warrior - the first in your cubicle fun needs). Spitefuls is proud to soon present the first of hopefully many dioramas to spiffy up your cubicle and help alleviate work boredom through a fun activity using common office supplies! Perfect for your cubicle, office, or desk... it's sure to bring lots of hours of conversation and quizzical looks from fellow coworkers. Available now: Download all six pages | .zip (2.8MB) Download all eight pages | .zip (3.6MB) Download all six pages | .zip (3MB) Download all three pages | .zip (2MB) Download all five pages | .zip (3MB) Download all four pages | .zip (2.3MB) Download all five pages | .zip (3.53MB) Stay tuned for: The Alamo! Now the fun almost legally fine print sorta part.
- How To Do Stuff
The first step into making the hollow book is to select a book. Make sure this is a book your own, and not one belonging to the library, or your family. I suggest rummaging through books at yard/garage sales. Make sure it is a hardback; otherwise you will cut all the way through the other side when you are cutting out the insides.You'll also need: Elmer's white gluea container to hold glue solution (I've chosen a film canister)X-acto knife, and/or box cutter. Mix a solution of white glue and water. Holding the remaining pages together, brush the edges with the glue solution - enough to soak in pretty well, but not too drippy. Allow this to dry, but use a spacer so the first couple pages, and the front cover don't get stuck. When dry, open the book to the first glued page. Draw out a half-inch boarder around the edge on all four sides. Using a strait edge and knife, cut out along the inside of the line. Continue cutting down through the layers. Remember that first page we saved?
Related:
Related:


