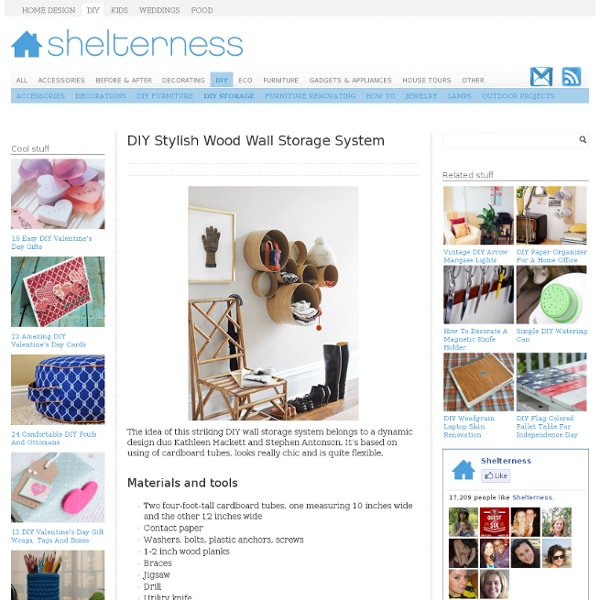
DIY Stylish 'Wood' Wall Storage System
The idea of this striking DIY wall storage system belongs to a dynamic design duo Kathleen Hackett and Stephen Antonson. It’s based on using of cardboard tubes, looks really chic and is quite flexible. Materials and tools Two four-foot-tall cardboard tubes, one measuring 10 inches wide and the other 12 inches wideContact paperWashers, bolts, plastic anchors, screws1-2 inch wood planksBracesJigsawDrillUtility knife Instructions Cut each cardboard tube into smaller tubes of varying heights using a jigsaw.Cover the outside of each tube you got with contact paper. Enjoy your modern and stylish wall storage system that is designed to accomodate your things.
DIY Cardboard Shelves & Storage
I like free, easy, earth friendly, and practical projects. So this instructable is in that vein. Make shelves and storage options with free existing cardboard boxes. You can turn it up a notch by painting or using contact paper to decorate the boxes if you choose to spend the extra time & resources, but for me simple works just fine. Also, sometimes the graphic on the boxes can actually be quite cool by itself. This project makes going green easy. Going green is very simple with a little imagination!
Recycled Cardboard Shelf
To make the brackets start by cutting 1.5” (40mm) wide strips. For maximum strength cut the stips so that the corrugations run along the length of the piece like the grain in a piece of wood. Glue (school glue) them together in an L shape. Be sure to alternate where the joints are so that no two joints are directly on top of each other. Make these L shapes the same thickness as a pencil. In this case it was three layers. Trim a pencil and cut a notch into the bracket about a third of the brackets width. I know its a bit of a cheat using pencils as struts but i didn't have enough cardboard to make them.
Related:
Related:


