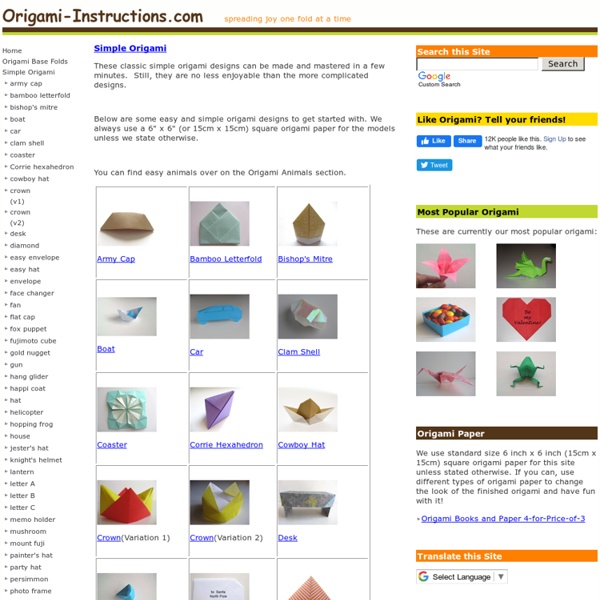


Simple Origami Here I have included some links to some simple origami. If you are a beginner, this is the perfect place to start. These aren't the only simple origami diagrams here on the site: there are nearly 50 complete diagrams that you can try on the main origami instructions page here: When beginning at origami, sometimes it can be a little frustrating trying to figure out the instructions: origami diagrams take some getting used to, so don’t give up hope if they seem complicated at the beginning. Here's a very useful tip: Origami is all about the calm meditation of paper folding; so with that perspective, take a calming breath and look over the diagram before starting. When you start, examine each image carefully: don't skip over information - you may need it! Don't give up hope: origami is a skill, and like all other skills, it will become easier with practice. Make sure you have plenty of time, and plenty of paper! Click here for more simple origami!
Paper Models of Polyhedra Origami for Kids Folding Instructions - How to Make Origami for Kids For grownups, some of our fondest memories revolve around making origami as kids. Some of that simpler time can be captured by a little paper folding. Folding origami is also a great way for parents to spend quality time with kids without the need for any high tech gadget. Folding origami gives parents a chance to sit down with kids and interact while creating something, and all without the noise of video games or tv programming. Origami can also be taught in school as part of the curriculum. Transforming a piece of plain paper into something else is an experience both adults and children can truly appreciate. And best of all, they will remember the joy of folding origami as a kid even when they're adults. The following origami designs are great for kids and beginners. And if they've outgrown these origami for kids, then try something more challenging. We hope that you enjoy these origami for kids.
Manualidades de papel Origami Mommy : origami I encountered this little basket in a couple of children's origami books, so it should be easy for adults and children alike. Start with a square piece of paper and fold it in half from corner to corner. If you are using origami paper, the color on the inside of these first few folds will end up on the outside of the basket. (The paper below is dark pink and pale pink and the basket will end up being light pink). Unfold, and then fold again from the other corner to the other corner and unfold again. Now fold from side to side in both directions and unfold again. This next part is tricky so I've provided a few photos. You'll end up with this square. Put it down on the table with the open edges and corner at the top, make it nice and flat, and then take the top corner of the top layer and fold it down towards the bottom corner. Press down on the crease. Next, as though you were turning the pages of a book, take the right corner of the top layer and bring it over to meet the left corner.
wind-up paper butterflies are my fave (guest post from amelia) I had a baby so I’ve invited some fave guests to take over for me while I spend time with the little guy. Today’s post is from super crafter and cute mom, Amelia of The Homebook. Growing up, I had an aunt who lived in Canada. Every year for my birthday she’d send me a card and a fancy little gift. She always found the neatest things! One year, when I was maybe 10 or 11, she sent me another card—and when I opened it up, a paper butterfly fluttered out of the card. I made my butterflies into Monarchs, but you could use different materials to create any sort of colorful butterfly. Materials: You’ll need heavy cardstock, 24 gauge wire, silicone rubber bands (I found mine in the hair aisle at Walgreens) needle-nose pliers, scissors, tape, a paintbrush, a black marker, and a white ink pen. Step 1: Measure and cut your wire. Step 2: Find the center of the longer wire. Step 5: Find the center of the shorter wire, and wrap it around the base of the paintbrush.
Origami Cube tutorial - Origami Mommy I've been making a lot of these lately. They're pretty addictive because they're like little puzzles. I'm never quite sure until the end if all the pieces will fit together, yet miraculously enough, they do. It's very satisfying. You'll start with 6 pieces of square shaped paper. One tip: when doing origami, fold as precisely as possible and press down on the creases and folds to make them nice and sharp. Fold it in half to create a crease, then open again. Now, fold each side down to the crease and press down hard. Now you have a rectangle. then the other corner in the opposite direction. Next you will fold the corners of the trapezoid to the center on the opposite side so that you form a square. Now release those corners. Now comes the fun part - assembly. Then insert a second triangle into the other side of the same opening. Here's an example of the same cube in different colors, and what it might look like once you've fitted three together. adding a fourth panel You're done!