Turn.js: The page flip effect in HTML5
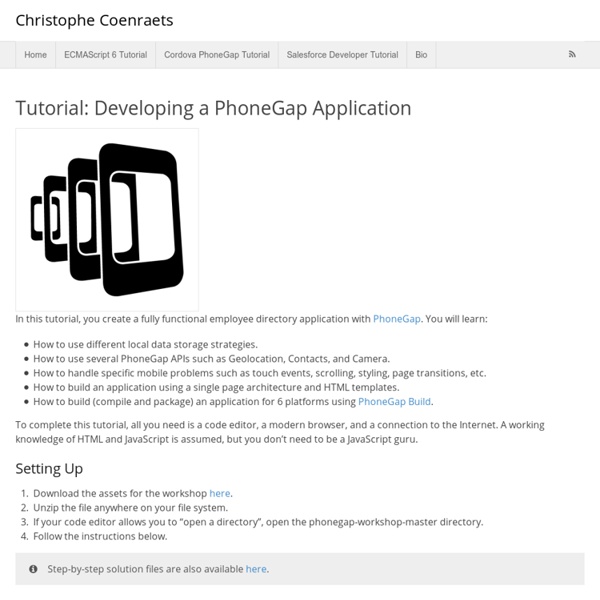
PhoneGap Tutorial
PhoneGap is a software development framework by Adobe System, which is used to develop mobile applications. To develop apps using PhoneGap, the developer does not require to have knowledge of mobile programming language but only web-development languages like, HTML, CSS, and JScript. PhoneGap produces apps for all popular mobile OS platforms such as iOS, Android, BlackBerry, and Windows Mobile OS etc. In this tutorial we will focus on developing App for Android platform. This tutorial will give you adequate information about how to produce apps quickly using PhoneGap services. Programmers who want their website to be available on app either offline or online, may take advantage of this tutorial. It is mandatory that you have knowledge of HTML, CSS and JScript to create website that you might want to put on App.
iScroll 5
iScroll 5 is a faster more mature code than the previous versions. It doesn’t add many new features but it fixes bugs and most notably runs smoother on old devices. Please note that previous releases are not maintained nor supported, so go get the new version! iScroll finally got its very own domain. iScroll is a high performance, small footprint, dependency free, multi-platform javascript scroller. It works on desktop, mobile and smart TV. iScroll does not just scroll. Even on platforms where native scrolling is good enough, iScroll adds features that wouldn’t be possible otherwise. Granular control over the scroll position, even during momentum. The future We’ve gone so far… Can you believe all this started in 2008. The script has become much more than a simple scroller, but the original (current) structure is too tight to handle all the things I wish the iScroll would be capable of. Support development
Storage
When web developers think of storing anything about the user, they immediately think of uploading to the server. HTML5 changes that, as there are now several technologies allowing the app to save data on the client device. It might also be sync'd back to the server, or it might only ever stay on the client: that's down to you, the developer. There are several reasons to use client-side storage.
Flippy a jQuery flip effect plugin
Markup First, add Flippy JS in your page. Be sure to have jQuery too ! The Flippy content need to be included in a container, this prevents random perspective effects with CSS : Simply call flippy() function If you want to reverse last flip, just use reverse() function. Options color_target : The targeted background color. Callbacks You can attach function to specific events. Known issues The depth parameter has a strange effect when CSS rendering is used Cross browser ? The Flippy plugin works fine for every modern web browser except Internet Explorer 8 and before (of course…). Licence Released under the MIT license
PhoneGap Build : Githubを使って最初のアプリをビルド | MUSHIKAGO APPS MEMO
およそ1年前に「Adobe PhoneGap Build とりあえずどんなものか」を書きましたが、ページデザインもだいぶ変わり、できる事も変わってきました。その記事では、Dreamweaverを使ってPhoneGap Buildを利用する方法を紹介していましたが、ここでは、GitHubを使って最初の最初のアプリを作るところをやってみようと思います。 GitHubのセットアップについては、「Titanium StudioとGitHubをセットアップする」を、GitHub.comでのフォークについては「Titanium : GitHub上のプロジェクトをForkして開く」でも少し触れていますのでご参考に。 PhoneGap Buildを利用するには PhoneGap BuildはAdobeのサービスです。ローカル環境にインストールするようなツール製品ではありません。 GitHub.comのレポジトリにあるコードをそのままコンパイルする事ができるため、GitHub for Macを使ってコードを管理するととても便利なのです。 無償プランと有償プラン 1年ほど前の記事ですが、現在も変わってないと信じるとしたら、このADC記事の「PhoneGap Buildの使い方」の「PhoneGap Buildのサービス内容」のところが見やすいですね。 また、月額1000円でPhoneGap Buildのサブスクリプションを購入する事もできるようです。 もちろん、Creative Cloudの有償プランに入ってる人は、PhoneGap Buildも有償プランの方で利用できます。 GitHubのレポジトリを利用した最初のアプリ作成 まず、GitHubのアカウントは作っておきましょう。 これでGitHubのレポジトリをソースとして、PhoneGap Buildでアプリを作成する環境が整いました。 最初のアプリをビルドしてみる。 それでは、準備が整ったのでドキュメントにある「Getting Started」をやってみましょう。 GtiHubレポジトリのフォークについては、製品は違いますが「Titanium : GitHub上のプロジェクトをForkして開く」の中でも少し触れていますのでご参考に。 GitHubにログインしている状態で、PhoneGap Hello World app. コードを修正する 大変お疲れ様でした。
Implementing a Fixed Position iOS Web Application - Mobile
Ryan FioravantiDecember 2010 Background Here at Google, we're constantly pushing the boundaries of what's possible in a mobile web application. Technologies like HTML5 allow us to blur the distinction between web apps and native apps on mobile devices. As part of that effort we've developed a fixed position version of our mobile Gmail application. The mechanisms being used here are similar to the ones used to implement our two pane UI for Gmail on the iPad. In a desktop web application, this would be a simple feat because desktop browsers support position: fixed. In this article, we will show you the building blocks required to incorporate fixed position into your own mobile web applications. Creating a suitable layout Animating the scrollable content on drag using transforms Animating the scrollable content with momentum using transitions Halting a scrolling element on touch, mid-transitions Creating a Suitable Layout Animating the scrollable content This function gives us momentum!
Teehan+Lax - Defining Experience
Tools iPhone 6 GUI Template (iOS 8) Our template is available in two formats iPhone GUI Template (iOS 7) iPad GUI Template (iOS 7) Older Tools
fixed position
Simple YouTube Menu Effect
A tutorial on how to recreate the effect of YouTube's little left side menu. The idea is to slide a little menu icon to the right side while revealing some menu item list beneath. View demo Download source Today we’ll show you how to recreate the little menu effect that you can see in the left side-menu on YouTube when watching a video (where it says “Guide”). So, let’s do it! The Markup For the HTML we will use a nav element and inside we’ll add a div that will contain the menu icon and the label. Each menu item will have a little icon, so we’ll give them all different classes for that. Let’s take a look at the CSS. The CSS Note that the CSS will not contain any vendor prefixes, but you will find them in the files. First, we will include our icon font: The main nav container will have some general styles, like font size, line-height, color and the dimensions. The division that contains the menu icon span and the label link will be positioned absolutely and we’ll set the cursor to “pointer”.
iOS Pull-to-refresh in mobile Safari with native Scrolling - Damien Antipa
The iOS6 developer kit for native apps is out there for a while and Apple finally added a out of the box pull-to-refresh control called UIRefreshControl. However this feature is nothing new and used by plenty of apps in different implementations for years now. There is even a implementation for web applications included into iScroll which allows to simply make a block element scrollable and add the pull-to-refresh feature. I strongly recommend the use of this attribute instead of Javascript scrolling! The concept to achieve that is pretty simple. The outer div (red border) is scrollable and gets the -webkit-overflow-scrolling: touch; and attribute overflow-y: auto;. The background color between the pull-to-refresh panel and the content may be different and can be applied to the nested divs. Now you should already be able to see the pull-to-refresh panel behind the content while scrolling with the rubber band.