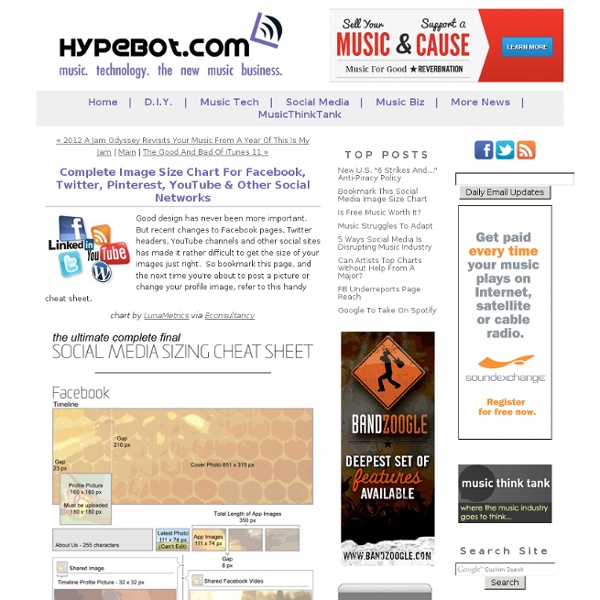
Complete Image Size Chart For Facebook, Twitter, Pinterest, YouTube & Other Social Networks
If your world is social media or music, subscribe to one of Hyebot's free feeds and get involved in our community. Good design has never been more important. But recent changes to Facebook pages, Twitter headers, YouTube channels and other social sites has made it rather difficult to get the size of your images just right. So bookmark this page, and the next time you're about to post a picture or change your profile image, refer to this handy cheat sheet. chart by LunaMetrics via Econsultancy
Facebook Photos Size Guide -- 2013 Edition
Search
#d9e8c3 #ced181 #7c8f50 #555e32 #bf867c #d4b9b9 Find The Palettes You Love turkey tones posted 11.24.11 comments 1 cocoa tones posted 11.23.11 comments 1 shelled tones posted 11.21.11 comments 3 berry fresh posted 11.18.11 comments 2 pink tints posted 11.07.11 comments 0 succulent tones posted 11.06.11 comments 6 vintage tones posted 11.02.11 comments 1 tulip tones posted 11.02.11 comments 0 ShareThis Copy and Paste
¿Cuál es el significado de Logos, Pathos y Ethos?
Los argumentos orales y escritos están destinados a ser persuasivos. El público debe entender el punto de vista del argumentador, o su retórica, antes de aceptar la premisa del argumento. El filósofo griego Aristóteles clasificó la retórica en tres categorías: ethos, logos y pathos. Aristóteles nació en el año 384 aC en Estagira, un puerto en la costa de Tracia. Cuando era adolescente, fue enviado a Atenas y estudió con Platón. Ethos El ethos, o la apelación ética de la argumentación, representa la credibilidad. Explicación del ethos "Ethos" en griego significa "carácter". Logos El logos hace referencia a cualquier intento de apelar al intelecto, y es el sentido general de un "argumento lógico". Explicación del logos "Logos" en griego significa "lógica". Pathos El pathos está asociado con la emoción, apelando a simpatizar con la audiencia y a la imaginación. Explicación del pathos "Pathos" en griego significa "sufrimiento" o "experiencia". La elección de Aristóteles Más galerías de fotos
The Psychology of Color [Infographic] | Louisville Painters
Download the infographic as a PDF Embed this image on your site:
diseño y preimpresión | Blog con contenidos sobre Procesos de Preimpresión.
The Secret Law of Page Harmony
“A method to produce the perfect book.” The perfect book. This is how designer-genius Jan Tschichold described this system. Not the ok book, nor the pretty good book, but the perfect book. This method existed long before the computer, the printing press and even a defined measuring unit. No picas or points, no inches or millimeters. And you can still use it. The Secret Canon & Page Harmony Books were once a luxury only the richest could afford and would take months of work to be brought to fruition. And they were harmoniously beautiful. The bookmakers knew the secret to the perfect book. So elegant is this method of producing harmony that a few designers saw to rediscover it. They found the way to design a harmonious page. There’s a dance to all this Let’s look at this dance, shall we? And here it is with them (using the Van de Graaf Canon and Tschichold’s recommended 2:3 page-size ratio, which we’ll get into next). This is where the harmony is found. How is this dance beautiful? The J. Well.
MergePDF - Merge PDF Files Online for Free
How to merge PDF files? Simply upload the PDF files, order them as you want in the final output and click Merge PDF. Need help or want to learn more? Read our detailed instructions or contact us via support@foxyutils.com. Combine PDFs anywhere Our services work through the web browser, so that is all you need. Easy and powerful PDF merger Our user-friendly web interface makes merging PDF files a breeze. Stay up to date with your PDF software No need to update your software, or deal with installation issues. Secure file transfers and handling All files are transferred over a secure encrypted connection (https) to maximize the security of your files. High quality, reliable PDF suite We have been making our PDF tools for many years, continuously optimizing them through millions of conversions.
Great Resume Designs that Catch Attention-and Got People Hired - StumbleUpon
Inspiration June 21, 2011 When applying for a job, you have no choice but to do your best to outshine competition. Even before winning an interview, your qualifications (or in some instance, your character) are already judged by the resume you’ve submitted. It is then important to make your resume or CV as honest, concise, and striking as possible. Take a look at how other designers compose their creative resumes. View Source View Source View Source View Source View Source View Source View Source View Source View Source View Source View Source View Source View Source View Source View Source View Source View Source View Source View Source View Source View Source View Source Author: Cadence Wu Cadence is You The Designer's senior blogger, and the most jack-of-all-trades of the staff.
Related:
Related:


