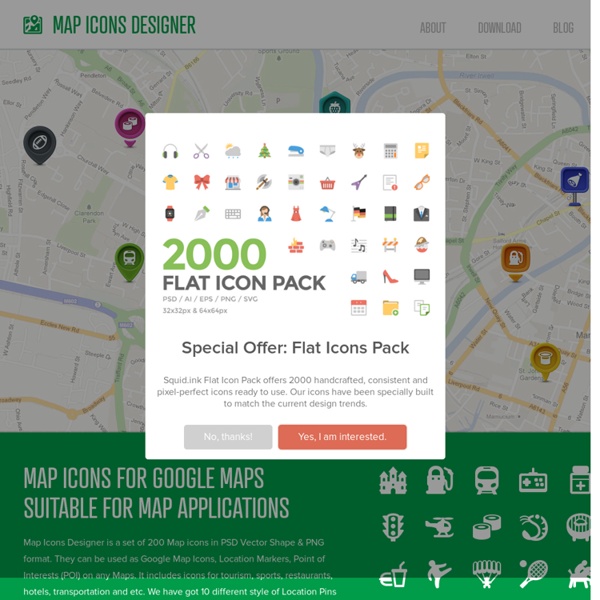


http://www.webiconset.com/map-icons/
Icojam - sweetest free & premium royalty-free stock icons Cosmo mini is a free version of Cosmo icons and includes 1566 icons in 40×40 sized pixel-perfect PNG + “testdrive” icons in PSD, AI, CSH, SVG, 60×60 sized PNG. All icons are monocolored and divided into following categories: Baby, Basic, Building, Culture, Devices, Documents, Education, Finance, Food 1-3, Holiday, Layout, Medicine, Mobile, Multimedia, Navigation, Player, Symbols, Transport, User, Weather, Work, Furniture, Appliance. License: These icons are free to use in any kind of commercial or non-commercial project unlimited times.Ammount of icons: 1566Sizes: 40×40File Types: .pngTestdrive file types: PSD, AI, CSH, SVG, 60×60 sized PNG. If you need vector and hi-res version of these icons you can buy them on Creative Market: Cosmo icons.
17 Useful & Fresh Tools for Web Designers Don't Forget to participate in a contest where you can win an amazing e-Commerce template from TemplateMonster. Despite the fact that there is a huge plethora of web tools that are available for the web developers and designers to help them with their work, designers and developers always need some fresh tool that can expedite their work flow. A useful tool is just like a blessing for the designer and for the web developer as well. Ultimate Free Icon Set: 1000 Free Icons By Freepik.com This design resource freebie — containing 1,000 free vector icons — is the biggest free icon set that Six Revisions has ever released. This freebie comes in three formats: PNG – a popular web format that’s ready to use (read about the PNG image format here)EPS – an editable graphics vector file that you can open and edit in vector-editing software like Adobe Illustrator and CorelDRAWAI – the original vector file that you can open and edit in Adobe Illustrator
Unicode character table Про Юникод. Юникод (англ. Unicode) - это стандарт кодирования символов, представляющий знаки многих письменных языков. 50 Free Responsive HTML5 Templates for Designers HTML5 is one of the most popular language amongst developers and designers as it provides number of functionality and assists developers to easily design web applications. HTML5 has many attributes such as modern browser support (like Firefox 6, Google Chrome, IE9 etc.), structure specific tags, visual elements like rounded corners are now built in, drag and drop interactive, new video, audio and canvas elements and many more. Responsive HTML5 templates automatically adapt to the layout to the viewing environment by using fluid, proportion-based grids, flexible images, and CSS3 media queries, which is an extension of the @media rule.Media queries allow for a page to use a variety of CSS style rules based on characteristics of the device by which the site is being viewed on, which is most commonly the width of the browser. In this article, we are rounding up a collection of 50 Free Responsive HTML5 Templates, Following templates let you create stunning websites, and creative web designs.
Thousands of Free Icons Créer une police d’icônes facilement à partir d’illustrations vectorielles Les polices d'icônes ou "font-icon" popularisées depuis Bootstrap sont de plus en plus utilisées sur le web. Certains services proposent de piocher des icônes dans différents packs pour se créer sa propre "police". Dans ce petit tutoriel nous verrons comment, grâce au service en ligne IcoMoon, il est facile de se créer sa propre police d'icônes à partir d'illustrations et fichiers vectoriels. Une fonte-icône est tout simplement une police d’écriture dont on aura remplacé certains caractères par des glyphes représentant les icônes que l’on veut utiliser. Très utiles dans le design d’interface lorsque l’on a besoin d’une simple petite icône monochrome, elles ont la flexibilité d’une police d’écriture : vectorielles, il est très facile d’en changer la taille et la couleur en CSS, voire d’y ajouter de l’ombrage avec text-shadow. Voir une petite démonstration en ligne : Icon Font are Awesome.
CSS3 Create - Démos, tutoriels et expériences CSS : menus, galerie photos, interfaces web. 200 Foodie Pack: A Free Set Of Food Icons Advertisement Today, too many websites are still inaccessible. In our new book Inclusive Design Patterns, we explore how to craft flexible front-end design patterns and make future-proof and accessible interfaces without extra effort. Pure CSS Responsive Icons