background preloader

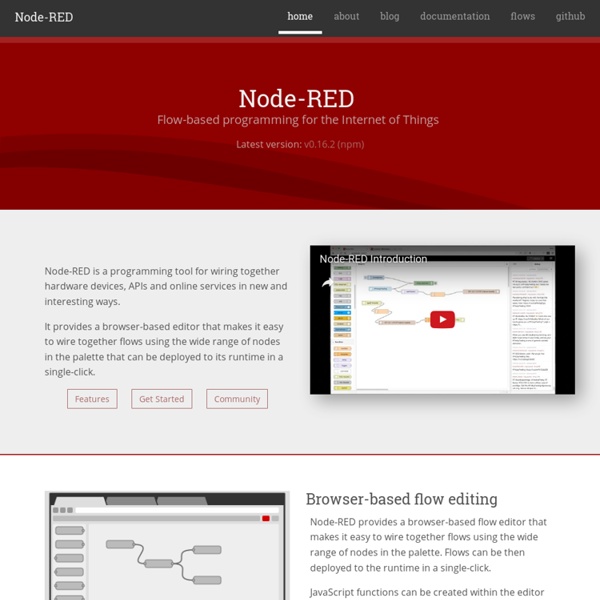
Node-RED

Node-RED

A Raspberry Pi controlled mini CNC Laser engraver [keep updating] I recently made a mini CNC laser engraver using two DVD drives salvaged from old computers and <$10 extra parts bought on eBay. The controller of the CNC machine is a Raspberry Pi, a $35 credit card size computer. The engraver turns out to be pretty successful. So I am sharing it with everyone. There have been a lot of examples people using Arduino to control CNCs. I am taking a different approach by using a RPi ( reason why I choose Raspberry Pi is: it is a much more powerful device than Arduino; it supports complete OS; the GPIO pins can be controlled by python, a more intuitive and simpler language than C (the disadvantage of python would be the slow speed); I don't have to buy a separate controller for this project--I can use a single Raspberry Pi to do a lot of different things without reloading firmware. Also, there are projects people running LinuxCNC on Raspberry Pi and use an external PIC 32 board to control CNC. First, some pictures. 4. 2.

Raspberry Pi – Stabiler 24/7 Dauerbetrieb › Datenreise Die Leistung des Raspberry Pi ist für viele Serveraufgaben vollkommen ausreichend. Aufgrund des minimalen Stromverbauchs von ca. 3,5W liegt es daher nahe den Minirechner im 24/7 Dauerbetrieb einzusetzen. Für einen stabilen Dauerbetrieb müssen jedoch gewisse Punkte beachtet werden. Zuverlässiges Netzteil Eine wichtige Komponente für den stabilen Betrieb des Raspberry Pi ist das Netzteil. Welches Netzteil für den Raspberry Pi? Der Raspberry Pi benötigt ein Netzteil mit mindestens 700mA. Samsung USB-Ladegerät U90EWE, 2000mA / 10W (ca. 10 EUR)Apple USB Power Adapter MD836ZM/A, 2400mA / 12W (ca. 18 EUR) Kühlkörper Obwohl der Raspberry Pi bei Auslieferung über keine Kühlkörper verfügt, stellt dies für den Normalbetrieb aufgrund der geringen Wärmeentwicklung kein Problem dar. Kühlkörper für Raspberry Pi (3er Set passive Kühler)ZM RHS1 – Wärmeverteiler für Speicher Lebensdauer der SD-Karte verlängern HINWEIS: Alle nachfolgend genannten Maßnahmen müssen im Einzelfall entschieden werden. Um z.B.

Camera Module Lens Modifcation - SingletonMillerWiki The purpose of this project is to replace the stock lens assembly of the Raspberry Pi Camera Module with a larger lens. The aim is to increase the be able to fit other lenses and filters in order to modify the field of view and waveband of operation. Overview Parts Required Raspberry Pi Camera Module [1] any 1/3rd inch CCTV camera lens [2] Tools Required. 1mm Jewelers screwdriver 4mm Jewelers screwdriver Fine nosed pliers or good tweezers Craft Knife ESD mat and strap. 1mm single core wire ESD Hazard The Raspberry Pi camera module is a sensitive electronic component and will be suceptable to ESD [3]. Step by Step Before you start you need to know if you want to remove the stock Infra-Red blocking filter in your camera or not. Removal of the Basic Lens Lens Mount Modification Near Infra Red modification Proceed as per the basic modifcation only remove the NIR filter as follows. Add a Visible Blocking Filter References

Webcam-Livestream mit dem Raspberry Pi — Kopfkino Blog Hallo zusammen! Heute wollen wir verschiedene Möglichkeiten vorstellen, wie man einen Livestream vom Raspberry Pi aus versenden kann. Wir setzen hier eine “normale” USB-Webcam voraus, nicht die spezielle Pi-Cam. Vorneweg möchten wir noch eine Bemerkung zu mjpeg-Streams machen. Allerdings ist das Format scheinbar nicht wirklich standardisiert, d.h. ein mjpeg-Stream von motion (s.u.) wird von Chrome nicht angezeigt, einer von mjpg_server aber schon – so zumindest unsere Erfahrung. Webm- und Ogg-Streams haben zwar den Vorteil von allen modernen Browsern angezeigt zu werden, ohne dass ein zusätzlicher Aufwand betrieben werden müsste, aber der kleine Pi kommt ganz schön ins Schwitzen beim Berechnen des Streams; schon wenn er nur das macht, stockt der Stream und noch irgendwas anderes gleichzeitig auf dem Pi laufen zu lassen, wird dann undenkbar. 1) ffserver und ffmpeg Zusammengefasst heißt das: Show » Geschafft Für WEBM: Show » Inhalt von ffserver.webm.conf: Aufruf: Für OGG: Show » Für MJPG: Show »

Raspberry Pi webcam *** UPDATE NOTE: I am now using Motion instead of ffserver see this new post: Battery powered, Wireless, Motion detecting Raspberry Pi *** Here's a walk-through of the steps I took to get a webcam stream on the Internet from my Raspberry Pi. Equipment: Raspberry Pi 8G class 4 Sandisk SD card 5V 1A MicroUSB power supply Ethernet cable HDMI cable USB keyboard Webcam (PS3 EyeToy) Prepare the OS Arch Linux ARM - you can get the image file from the Raspberry Pi download page. Write the image to the SD card. (I use Win32DiskImager) Expand the main partition to fill the SD card. Go headless Change the root password! Set up a fixed IP address. Also change resolv.conf to use your router for name resolution: Since this Pi is running headless we don't need so much RAM allocated to the GPU. Unplug the keyboard and HDMI, reboot and then ssh to your Pi. Start streaming Update your packages and install mplayer and ffmpeg: Create an ffserver.conf configuration file in /root. Start the streaming server:

Related: