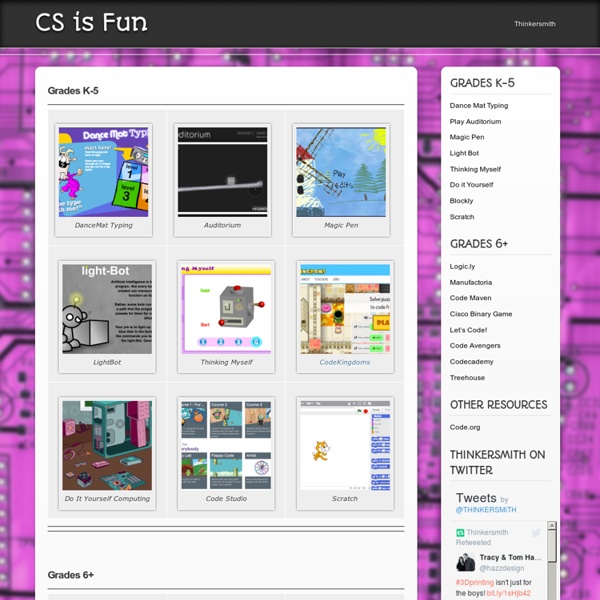


A Great New Tool to Teach Kids Coding September 23, 2014 Code Studio is a newly released platform geared towards helping students from kindergarten to high school learn the different coding concepts. Code Studio which is a product of the popular nonprofit group Code.org known for its relentless efforts to make coding part of the curricula. Code Studio, as is explained in this excellent review, provides a variety of features that set it apart from other coding platforms. Watch this video to learn more
9 Websites to Learn Coding As Compiled by TED May 15, 2014 Learning how to code has become an essential skill for the 21st century students. The importance of coding lies in the fact that it enables students to learn a slew of other important skills all along the way. In his popular TED talk " Let's Teach Kids to Code", Mitch Resnick of MIT Media Lab outlined a set of skills that students get to learn from coding . Code Racer that is featured in TED article has become Treehouse which brings the number of websites to 9. 1- Code Academy This by far the most popular of them all. 2- Girl Develop It One of many programs geared toward females who want to code, Girl Develop It is an international nonprofit that provides mentorship and instruction. 3- Udacity Computer Science Course ( not free) Stanford University’s Udacity is one of many sites that make college courses—including Introduction to Computer Science—available online for free. 4- Teamtreehouse 5-The Computer Club House
Code Monster from Crunchzilla <h2>Code Monster gets kids excited about programming. It is a combination of a game and tutorial where kids experiment with learning to code. <p> Code Monster use Javascript. Please enable Javascript if you want the play with the Code Monster. Otherwise, Code Monster will not be able to play with you. </p><p></h2> I'm Code Monster! Getting Started Lesson 1 BACK How to Play | Lesson Sections | About | FAQ | Terms of Use | Privacy | Contact | © 2015 How to Play Code Monster teaches kids and adults a little about Javascript programming! It's easy to play. Click on the Reset button if you really mess up your code and want to start over on a lesson. Code Monster saves what lesson you are on, so feel free to stop at any time and come back later. Have fun! About Code Monster from Crunchzilla is an interactive tutorial for kids that focuses on action. Projects start with simple boxes and colors, rapidly progressing into exciting experiments with simple animation and fractals. Sure! Terms of Use Oh my.
Welcome :: CheckiO HTML5 Semantic Elements Le CSS - Tutoriel HTML & CSS La syntaxe Un fichier CSS permet de changer radicalement l'affichage de plusieurs pages HTML. La structure d'un fichier CSS est simple (plus que celle d'un fichier HTML). Un fichier CSS est composé de plusieurs règles. Expliquons cette structure avec quelques définitions : Chaque règle CSS sert à appliquer des styles à une balise HTML, certaines balises, ou un groupe de balises ; Chaque règle d'un fichier CSS débute par un sélecteur. Pour illustrer ce que nous venons de voir, nous allons voir comment centrer le titre de niveau 1 de nos pages Web. Si maintenant nous voulons une couleur bleue pour ce même titre, nous devons appliquer une seconde déclaration (couple "propriété: valeur") pour le même sélecteur h1 : il s'agit de la propriété "color", et nous lui donnons la valeur "blue". Avant de commencer la lecture, et pour vous donner l'envie d'apprendre, Découvrez Snaky 360, le jeu de serpent addictif réalisé par l'auteur de ce tutoriel... Lier le CSS au HTML <! <! Les sélecteurs <! Le contenu
Personaliza los marcos de blogger Cada vez es más necesario utilizar blogs para desarrollar los contenidos. Una de las herramientas más interesantes es Blogger. Esta herramienta pone a nuestra disposición un montón de plantillas, junto con un editor para personalizar tipos de letra, colores, tamaños y una infinidad de elementos, pero no es suficiente, cuando queremos crear un marco personalizado para todos los gadget que tenemos en una barra lateral. La solución pasa por editar la plantilla HTML y añadir el elemento “.widget-content” para la barra lateral de gadget. Podemos definir el borde personalizado para todos los gadget del blog, para uno en concreto o para todos los que estén en una barra. En este ejemplo vamos a ver cómo poner el borde a todos los gadget de la segunda barra lateral. 1 Ir al editor Tenemos que entrar en el editor del blog y seleccionar la opción Plantilla y en esa pantalla pulsar sobre el botón “Editar HTML” 2 Localizar el nombre de la barra 3 Añadir el código a la plantilla. 4 Verificar y Guardar