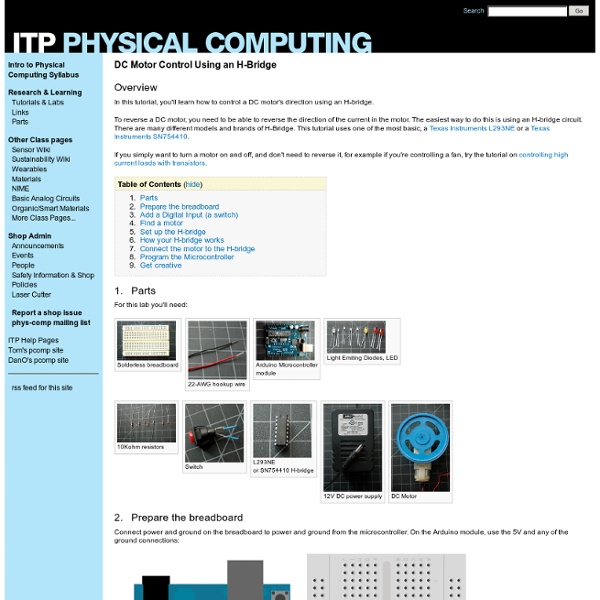
Labs / DC Motor Control Using an H-Bridge

Arduino Tutorial: An Introductory Guide
Update! Don’t miss our famous article: Top 40 Arduino Projects of the Web. Previously we introduced you to the Arduino and it’s awe-inspiring incredibleness. Now we’ll take you on an in depth plunge with enough resources and projects to keep you occupied for the next decade. The best place to get started would definitely be their comprehensive website. I strongly encourage you to browse their resources. They have vast tutorial, learning, hacking and reference sections. Arduino Tutorials: As usual, Instructables has plenty of tutorials also.If you’ve ever thought, “Can the arduino do…?” The Arduino uses the ATmega168.
DIY Projects, Inspiration, How-tos, Hacks, Mods & More @ Makezine.com - Tweak Technology to Your Will
The format of this book is very different from the regular O'Reilly books. It is written by a geek for geeks. So it doesn't start with a smooth introduction about the basics. It seems to have a rocky start since a lot of assumptions is made about the reader. The diagrams also seem to be hand-drawn on napkins. Chapter 4 really rocks. Overall the book is excellent for getting started with Arduino.
Arduino Tutorial - Learn electronics and microcontrollers using Arduino!
So, I get two or three emails a day, all basically asking the same thing: "Where can I learn about electronics?" In general, most of these people have seen some of my projects and want to be able to build similar things. Unfortunately, I have never been able to point them to a good site that really takes the reader through a solid introduction to microcontrollers and basic electronics. I designed this tutorial course to accompany the Arduino starter pack sold at the Adafruit webshop. The pack contains all the components you need (minus any tools) for the lessons Follow these lessons for happiness and prosperity. Lesson 0 Pre-flight check...Is your Arduino and computer ready? Here are some recommended tools: If you need to get any soldering done, you may also want.... All of the content in the Arduino Tutorial is CC 2.5 Share-Alike Attrib. Love it? To some extent, the structure of the material borrows from: The impressively good "What's a microcontroller?"
A Multi-Protocol Infrared Remote Library for the Arduino
Do you want to control your Arduino with an IR remote? Do you want to use your Arduino to control your stereo or other devices? This IR remote library lets you both send and receive IR remote codes in multiple protocols. To use the library, download from github and follow the installation instructions in the readme. How to send This infrared remote library consists of two parts: IRsend transmits IR remote packets, while IRrecv receives and decodes an IR message. #include <IRremote.h> IRsend irsend; void setup() { Serial.begin(9600); } void loop() { if (Serial.read() ! This sketch sends a Sony TV power on/off code whenever a character is sent to the serial port, allowing the Arduino to turn the TV on or off. How to receive IRrecv uses an infrared detector connected to any digital input pin. The examples/IRrecvDemo sketch provides a simple example of how to receive codes: The IRrecv class performs the decoding, and is initialized with enableIRIn(). Hardware setup Some background on IR codes
The World Famous Index of Arduino & Freeduino Knowledge
Cheap Arduino Wireless Communications
I was looking for a way to handle wireless communications between two Arduino boards. Other options like Xbee or Bluetooth were going to cost $50 to over $100. Then I found a cheap RF transmitter and receiver at Sparkfun. The total cost is only $9! Here are a few limitations to RF solution: Communications is only one way. The advantages are that it is cheap and it is pretty easy to use. Below are some images showing how I hooked up the receiver and transmitter to two different Arduino boards. Here’s a picture of the my actual bread boarded circuit. Since the receiver is constantly picking up random noise I add a few extra bytes to every data packet. I broke the Arduino code into two files. I did all of my initial testing without any of these improvement and everything worked fine with these devices inside the same room. Add an antenna. I got a lot of help from the transmitter/receiver data sheets, and from this article. I’ll mention an even cheaper idea I had while doing this. Permalink
Welcome
Hobby Engineering Home Page
Related:
Related:


