

How to Create a Retro Sci-Fi Computer Game Poster. This post was originally published in 2010 The tips and techniques explained may be outdated.
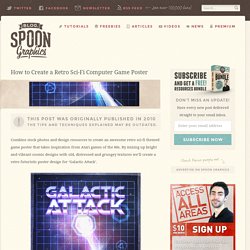
Combine stock photos and design resources to create an awesome retro sci-fi themed game poster that takes inspiration from Atari games of the 80s. By mixing up bright and vibrant cosmic designs with old, distressed and grungey textures we’ll create a retro futuristic poster design for ‘Galactic Attack’. I knew from the start what theme and style of poster I wanted to create, but to further develop my ideas I took to the web to research my chosen theme in order to pick out common design elements which would help tailor my design to the style I was after. A quick search for Atari games and retro sci-fi movies soon brought up plenty of creative ideas to start with.
Here’s a quick mood board I put together for the theme of retro sci-fi. Open up Adobe Photoshop and create a document at your desired poster dimensions. Find an old paper scan, such as this one from SXC. Download the source file. Create a Trendy Galactic Poster Design in Photoshop. This post was originally published in 2009 The tips and techniques explained may be outdated.
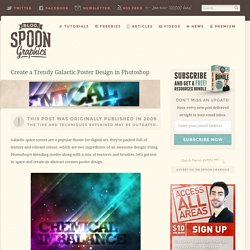
Galactic space scenes are a popular theme for digital art, they’re packed full of texture and vibrant colour, which are two ingredients of an awesome design! Using Photoshop’s blending modes along with a mix of textures and brushes, let’s get lost in space and create an abstract cosmos poster design. Open up Photoshop and create a new document. Depending on your overall aims, you might want to specify dimensions for a printed poster, otherwise a 72dpi document is perfect for on-screen use. Fill the background with a dark grey. How to Create Intense Light Streaks in Photoshop. This post was originally published in 2008 The tips and techniques explained may be outdated.
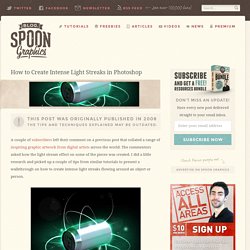
A couple of subscribers left their comment on a previous post that collated a range of inspiring graphic artwork from digital artists across the world. The commentors asked how the light stream effect on some of the pieces was created. I did a little research and picked up a couple of tips from similar tutorials to present a walkthrough on how to create intense light streaks flowing around an object or person. View Full Size Firstly find a subject to base the flowing light streams on. Reselect the object by CMD/CTRL + Click on the layer, go to Select > Feather and enter 1px. Recreate the Epic 80's Metal Text Effect in Photoshop. This post was originally published in 2010 The tips and techniques explained may be outdated.
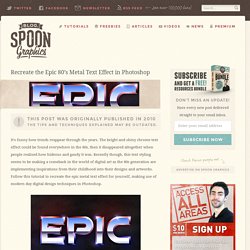
It’s funny how trends reappear through the years. The bright and shiny chrome text effect could be found everywhere in the 80s, then it disappeared altogether when people realised how hideous and gaudy it was. Recently though, this text styling seems to be making a comeback in the world of digital art as the 80s generation are implementing inspirations from their childhood into their designs and artworks. Follow this tutorial to recreate the epic metal text effect for yourself, making use of modern day digital design techniques in Photoshop. View full size artwork WWF Wrestling, Metallica’s Ride the Lightning album, Robocop, Amiga games and Transformers are all examples that I can relate to. We’ll begin in Illustrator for the first couple of steps to lay out our type.
With the shapes selected, go to Object > Path > Offset Path. How To Create 80s Style Retro Futuristic Neon Artwork. Earlier this year I posted a showcase of 80s inspired neon art featuring all kinds of bright fluoro colours and retro futuristic scenes.
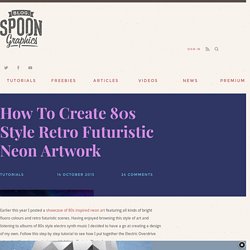
Having enjoyed browsing this style of art and listening to albums of 80s style electro synth music I decided to have a go at creating a design of my own. Follow this step by step tutorial to see how I put together the Electric Overdrive artwork with various texturing and lighting effects in Photoshop. The design we’ll be creating makes use of all the typical elements of 80s style retro futuristic art. Desert mountain ranges, Tron style grids and galactic star fields are all combined with intense RGB colours. Video-Game Text Style. Following my series of tutorials on Retro effects, I will show you how to create a text effect in Photoshop based on the DVNO clip by Justice and of course some 8 and 16 bits video game opening screens.
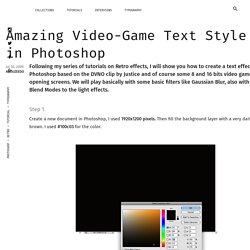
We will play basically with some basic filters like Gaussian Blur, also with Blend Modes to the light effects. Step 1 Create a new document in Photoshop, I used 1920x1200 pixels. Then fill the background layer with a very dark brown. I used #100c03 for the color. Step 2 With the Horizontal Type Tool (T) add the text you want in 2 or more lines. Step 3 Duplicate the layer and go to Layer>Layer Styles>Stroke. Step 4 Group the stroke layer and the word layer. Step 5 Now for the word without stroke, go to Filter>Blur>Gaussian Blur.
Step 6 Now for each text layer, the stroke and the inner shadow one, go to Edit>Transform>Warp. 80s Artwork. Arcadia 80's VHS Style. Last week we posted a really cool article called Back to the 80's with some beautiful illustrations inspired by the 80's.
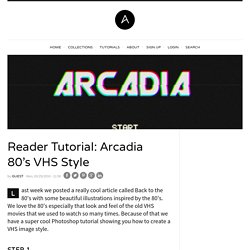
We love the 80's especially that look and feel of the old VHS movies that we used to watch so many times. Because of that we have a super cool Photoshop tutorial showing you how to create a VHS image style. Step 1 Open up Photoshop and create a new Document at your desired size in RGB-Color. Fill the Background of the image with a very dark grey (#141414 in my example). Step 2 Take some cool Retro-Font (Robo-Font) and write something in white. Now duplicate the text layer layer three times and rasterize all text layers.