

Warm Leaves-Cool Skies -2. Fall Arts and Crafts For Kids. Leaf Print Fall Cards. The official first day of Fall is right around the corner — why not make a colorful card with your lil one to send to a family member or friend to celebrate the season?
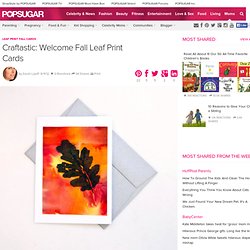
These vibrant cards are easier to create than you think and will look lovely adorning someone's mantel. This project is also a great learning opportunity for exploring how letters and cards are sent through the mail. So get out the tissue paper and find a few fallen leaves for this craft that welcomes Fall. Keep reading for the Fall-tastic directions! What You'll Need: White paperRed, yellow, and orange tissue paperScissorsGlueWaterSmall containerPaintbrushLeavesBlack tempera paintPaper towelBlank white card Directions: Cut several sized squares of tissue paper from the red, yellow, and orange tissue paper. Little Wonders' Days: Shaving Cream Painted Fall Leaves, Back to School Fall Friday Fun. Little J was asking how many days until school started the other day.
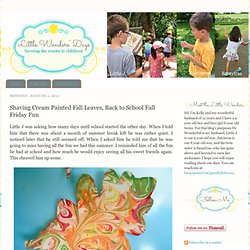
When I told him that there was about a month of summer break left he was rather quiet. I noticed later that he still seemed off. When I asked him he told me that he was going to miss having all the fun we had this summer. I reminded him of all the fun he had at school and how much he would enjoy seeing all his sweet friends again. This cheered him up some. It really cheered him up when I suggested that we do a project together that I knew he enjoyed- shaving cream painting! It occurred to me that we could do something with our project to help him look forward to going back to school and let him know that while we won't have the lazy days of summer, we will still have Friday fun.
Friday fun is a little "I love you ritual" that we started when Little J was in kindergarten. When they dried, Little J and I thought of a few things together that would be fun to do this September. Negative Leaf Impressions - TinkerLab. It’s been unseasonably warm around here — check out the flip flops and dress!
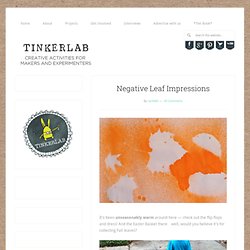
And the Easter Basket there…well, would you believe it’s for collecting Fall leaves? We don’t have a lot of Fall color yet, but enough leaf beauties have hit the pavement that we ventured out for some Leaf Pickin’. N picked up all of her favorites. She was only limited by the amount of space she had in the basket. My plan was to take them home and make some negative space impressions of the leaves with a spray bottle.
When we got home we laid them all out on huge sheets of paper. I filled a spray bottle with a solution of 1/2 water and 1/2 orange liquid watercolors. Despite the curling leaves, you can see that the impressions are still pretty clear. And once this was done, we went back outside for bike riding, popsicle eating, and watermelon seed spitting. Salt Dough Leaf Prints. I was working with salt dough this weekend and decided to try and make some leaf prints.
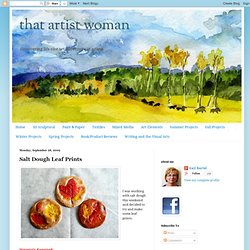
Materials Required: salt dough, recipe to followartificial silk leavesround container to use as cutterovenacrylic paintmod podge for sealer Salt Dough Recipe4 cups flour1 cup salt1 1/2 - 2 cups waterextra flour for kneadingMix first 3 ingredients together to form a nice soft dough. Knead smooth with extra flour. The more you knead this dough the easier it is to work with. Keep leftover dough in the fridge. Make up your salt dough. Roll out dough and the using circular container or bowl, (coffee can) cut your rounds.
Pick a leaf for your design. The silk leaves leave a better impression in the salt dough. Place where you want it and press the leaf into the dough. Visual art instructor: Foliage Collage and Color Tissue Paper, Henri Matisse. Insired by 'Tree of Life' Stained Glass by Henri Matisse Using full sheet of semi transparent sandwich paper, glueing leaves and color tissue paper folding in the middle and adding stick for hanging.
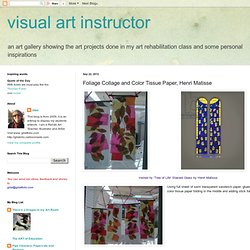
This is how it lookes when the glue is still wet before forming shape. I image that using transparent paper would be even more exciting .