

Scarves. Celtic Weave Blanket. Loopy Love Blanket: Free Crochet Pattern in 7 Sizes! The Loopy Love Blanket is so fun to make!
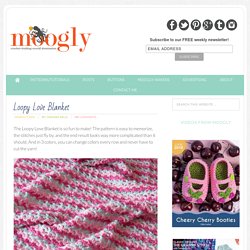
The pattern is easy to memorize, the stitches just fly by, and the end result looks way more complicated than it should. And in 3 colors, you can change colors every row and never have to cut the yarn! Moroccan Tile Afghan. The Moroccan Tile Afghan is warm, cozy, a fast V stitch pattern to crochet, and full of color!

It’s the latest free crochet blanket pattern on Moogly – and I’ve included guidelines for 6 different sizes! The stitch pattern I used in the Moroccan Market Tote lodged itself in my brain. It was so much fun to make, I had to use it one more time – and figure out how to make it work in rows rather than rounds. I used Lion Brand Vanna’s Choice, which is a great afghan yarn with lots of saturated colors to choose from – love that! And now I can tell you for sure that it makes a very very warm blanket! The pattern here is written for a throw/afghan sized blanket, as that’s the size I’ve made. Love the Moroccan Tile Afghan but don’t crochet? Moroccan Tile AfghanAdd this pattern to your Ravelry Queue and Favorites Row 1: With Color A, ch 142, dc in 5th ch from the hook (counts as dc and skipped ch).
Row 2. Row 3: With Color B row held in back, replace hook in active loop of Color A. Soft Crochet Chevron Blanket - Crochet Chevron Blanket in Any Size. Granny Square pattern, with pictures (scene one, take two) Edit #2 (late November 2006): I've noticed on several forums that a lot of people are using my rectangle granny square pattern.
Seen the comment that people are worried about the long sides of the afghan narrowing while the corners on the short ends stick out. This is perfectly normal. Once your afghan starts getting bigger the weight of the afghan will make things even out. You dont need to do anything special to fix it. EDIT: November 2006 -- I've found several of my pictures in other sites on the internet...I dont mind people giving out the LINK to my blog, but I do mind people lifting my pictures and claiming that the items in the pictures were personally made by them. I'll be gradually putting copyright info on my pictures, altho, it's probably a little late now... Here's hoping the power doesnt go all wonky on me again (and it could...there's a heck of a wind storm going on outside) This is a crochet pattern that was taught to me by my late grandmother. Rectangular Granny Afghan. Block Stitch Afghan : the way I do it !!!!
.....what about two more pictures of my blanket to be????
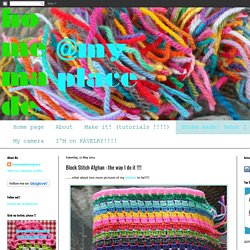
Some of you asked me how the "dots" ( I call them "rice grains"!!!) Can pop out in this way, so I thought it will be nice if I show you how this happens!!!! Happy about that??? Yes, I imagine so! Collect just few things : + hook + yarn in different colours + scissors + tapestry needle This is the chart (american crochet terminology), drawn by myself (!!!!!!) Your foundation chain will have these characteristics : chain 4, add as many as you like groups of "chain 3". Choose the colour you would love to start with and make a slip knot. Chain 20 stitches Chain 2 more (total : 22 stitches) and make a single crochet (or SC) in the 7th stitch from the hook (that is the previous stitch 16 on the foundation chain!) Now, chain 2 ... ... skip 2 stitches of the foundation chain and work 1 SC in the 3rd stitch (that is the previous 13 stitch of your foundation chain!) Again : chain 2, skip 2, SC in third stitch (previous #10!) Waffle Crochet Blanket.
You may remember in the Wash Your Washcloths post a dish cloth featured and I said I would show you the stitch....
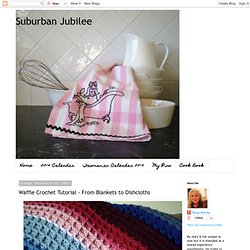
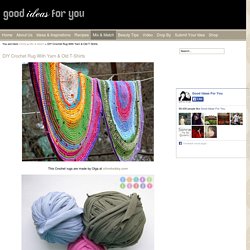
Here 'tis. It's my all time go to for blankets. I know the granny is an old time favourite and looks really retro at the moment and it is OK for a climate like QLD, but this waffle type construction traps warm air and provides the cosiest rug of really robust construction. Ideal for the Tasmanian conditions. The best thing is there are very few rules and I find it uses up scrap wool effectively. DIY Crochet Rug With Yarn & Old T-Shirts.
This Crochet rugs are made by Olga at olinohobby.com All you need is yarn, old T-shirts & crochet hook.
Now the images will guide you trough the process. And that is it simple but really nice! Thank you Olga for this tutorial!