

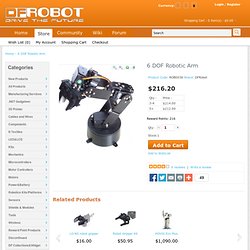
6 DOF Robotic Arm. Hi everyone, I recently purchsed the 10DOF sensor (SEN0140) and using the sample code on the Wiki ([url= I am unable to get the module to operate.
Upon start-up the code will become unresponsive at both the 6DOF and the Pressure initialization. [code]sixDOF.init()bmp085Calibration();[/code] If I comment out the initialization of the two other senors an error is thrown for the compass initialization. [code]compass = HMC5883L(); // init HMC5883error = compass.SetScale(1.3); // Set the scale of the compass.error = compass.SetMeasurementMode(Measurement_Continuous); [/code]The error thrown is: [color=red][i]Entered scale was not valid, valid gauss values are: 0.88, 1.3, 1.9, 2.5, 4.0, 4.7, 5.6, 8.1[/i][/color] The complete code is below, any assistance is greatly appreciated. float angles[3]; // yaw pitch rollfloat heading; short temperature;long pressure; // Set the FreeSixIMU objectFreeSixIMU sixDOF = FreeSixIMU(); HMC5883L compass;// Record any errors that may occur in the compass.int error = 0;
Self balancing robot in 60 lines. Hi guys.
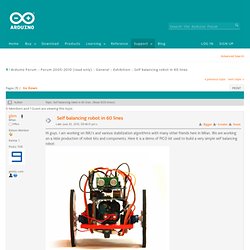
I have a brainfight with friends about PID. I use (you can see it in the code or article) a "variable time PID". It is simple, I take the loop duration value (time - previousTime = interval) and I multiply that with I and D.My engineer friends says that thing should not work and the pid MUST be used in fixed time. Their programs do thing and then if the loop duration is less then the fixed duration spleeps until get fixed duration.I think is stupid to loose time in that way. They say that is important to have the same "weight" per acquisition. Is there some coder/skilled that can clarify this question? Arduino Mega 2560 Starter Kit Deluxe. Loading...
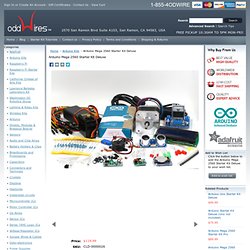
Please wait... Sign In or Create An Account · Gift Certificates · Contact Us · View Cart 2570 San Ramon Blvd Suite A103, San Ramon, CA 94583, USA Advanced Search | Search Tips Categories New Products Our Newsletter Arduino Mega 2560 Starter Kit Deluxe Share on facebookShare on emailShare on printShare on twitter Loading zoom Price: Brand: SainSmart Specializing in Arduino compatible development boards and modules, oscilloscopes and other electronics. Seeed Studio Bazaar, Boost ideas, extend the reach. Adafruit Industries, Unique & fun DIY electronics and kits. Arduino - HomePage. The Basement Lab for Computer Vision and Personal Robotics. This is The Basement Lab for Computer Vision and Personal Robotics’ June 2013 status report.
Here I present status and progress for various tasks and my goals for the next phases as well as my hardware acquisition plans. Continue reading In previous posts, I presented new hardware I acquired to build an Arduino robot and preliminary component testing. In this post, I share my experiments aimed at building the robot. Firstly, I will present and justify the electrical system I designed. My last post presented new hardware I acquired to build a remote controlled mobile robot: an Arduino Uno, a DFRobot Motor Shield 2A and a Copperhead Wifi shield.
I am finally back in the basement! In a previous post I presented an overview of the vision-based indoor GPS-like navigation system I intend to build. When I am doing computer vision, I surely want one thing: to be able to see what I am doing. Continue reading. MAKE Rovera 2WD Arduino Robot Kits. Propeller ActivtyBot Kits. Cheap 2-Way Bluetooth Connection Between Arduino and PC. In the guide, I will explain how I managed to send data back and forth between a PC and Arduino via a cheap Bluetooth HC-05 transceiver, which can be found for less than $10 on ebay with the breakout board.
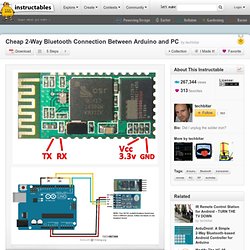
The version I have used in this project does not have a breakout board so it's little cheaper but more difficult to solder. I strongly recommend buying the module with the breakout board. This Bluetooth transceiver basically acts as a generic serial COM port. The PC to Arduino Bluetooth serial connection can be useful in many applications such as controlling servos, motors, and writing to LCDs. The Arduino to PC connection can be useful in applications where the Arduino reads sensors then pass their values via serial Bluetooth to a PC for processing.
The only downside of this cheap Bluetooth transceiver is the absence of headers which means you have to solder at least 4 wires. Building an Arduino Robot, Part I: Hardware Components. I have been doing software for almost as long as I have memory.
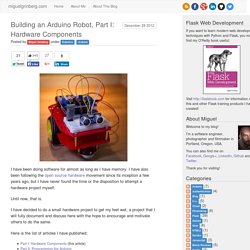
I have also been following the open source hardware movement since its inception a few years ago, but I have never found the time or the disposition to attempt a hardware project myself. Until now, that is. I have decided to do a small hardware project to get my feet wet, a project that I will fully document and discuss here with the hope to encourage and motivate others to do the same.
Building an Arduino Robot, Part II: Programming the Arduino.