

Wiksten Patterns. Noodlehead - noodlehead sewing patterns and tutorials. The Adelia Dress. Description The Adelia Dress is a versatile, timeless classic.
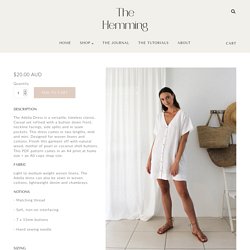
Casual yet refined with a button down front, neckline facings, side splits and in seam pockets. This dress comes in two lengths, midi and mini. Designed for woven linens and cottons. Finish this garment off with natural wood, mother of pearl or coconut shell buttons. Fabric Light to medium weight woven linens. Notions - Matching thread - Soft, iron-on interfacing - 7 x 15mm buttons - Hand sewing needle Sizing Skill Level Beginner to intermediate After purchasing, you will receive two emails. Use the hashtag #theadeliadress on Instagram. The Adelia Dress (Top) Hack. This top hack received a lot of love, so I thought I'd make a quick tutorial for everyone interested in making The Adelia Dress (Top)!
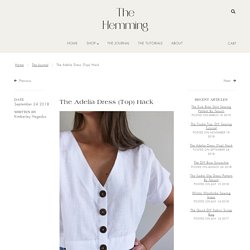
Note: These measurements are for a crop length, which can be worn with high waisted pants and skirts. I have a long torso, so depending on your body length, you may need to shorten the top slightly. It is better to cut it longer, iron + pin hem in place and try it on with some pants. If it is too long, just cut the necessary length off the hem before sewing it down. 1. 2. 3. 4. 5. 6. 7. All Finished :) Tutorial: Reduce/Remove Sleeve Cap Ease. I have written an additional entry on sleeve cap ease.
After reading this entry be sure to check out Reduce/Remove sleeve cap ease pt. 2. Melissa wrote some comments on my blog entry A Problem with Cap Sleeves: I was really excited when I found your blog on the children's sleeve draft from Armstrong's book. I have been working on a project for weeks now and I'm having a lot of trouble with the sleeve. Starting with the Basic Sleeve Draft, I found there was too much ease and took 2cm off the bicep measurement when I read that you take the ease out. I responded: One thing that is probably causing you trouble is the placement of your notches.
This is my promised tutorial. Just a few more words before you get to the drawings. TUTORIALS. Lou Box Top PDF Pattern — Sew DIY. Ladder Stripe Lou Box Top & Wide Leg Pants. Since moving early last summer, I have collected quite a stash of uncut yardage purchased with big plans and the best intentions, but no actual time to sew.
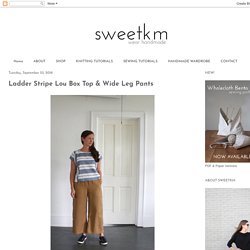
(There's no better way to quantify a fabric hoarding problem than to move!) This fall I'm determined to work through that guilty pile with a little something to refresh my fall wardrobe. These are my go-to self-drafted pants, and my very favorite pattern to hack, the Lou Box Top from Sew DIY. The pants are my standard wide leg pants pattern that I drafted a few years ago. I am so heavily invested in this style (current count - 6), can we all please agree that they will never go out of style?!
I saw a top similar to this one somewhere on the internet, and I've had it tucked into a dusty little corner of my brain ever since. The fabric is a yarn dyed cotton linen stripe from Fabric.com*. Click for larger image *Fabric.com links are affiliate links. Pattern Hack: Turn a Simple Tank into a Button-Down Top Tutorial. DIY Striped Lou Box Top Tunic Hack — Sew DIY. Broken Stripe Box Top. #louboxtop hashtag on Instagram. Long Hooded Cloak Pattern {FREE} To save you from endless pattern assembly the cape pattern piece doubles as the back piece and the front pieces (yay for saving trees).
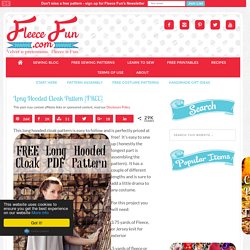
However this means that you need to do a couple of different things when you cut out the pattern. I’ve sewn for 2 decades and have never come across a designed like this = so even if you’re a seasoned sewist you need to pay attention. Each pattern piece is actually 2 pattern pieces – you will cut down the pieces to make it the next pattern piece ( for example you will cut out the exterior of the hood, cut down the pattern piece and then cut the interior). Cape section: Cut the pattern to the length you want (there are two – I’m 5’4″ and the shorter length was good for me). Cut 1 of the back piece – place the pattern piece with the BLUE line on the fold. Now Cut the pattern piece to become the front piece. DIY: Wipeable Drafting Board. It’s been a while since I made any alterations to my set up in ShedQ.
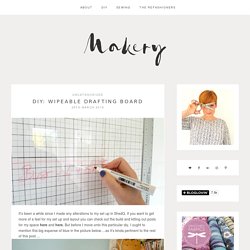
If you want to get more of a feel for my set up and layout you can check out the build and kitting out posts for my space here and here. But before I move onto this particular diy, I ought to mention this big expanse of blue in the picture below….as it’s kinda pertinent to the rest of this post…. Essentially this is a HUGE blackout roller blind that I put up last year and am using as a photographic backdrop.
ME-dresses. ME-shirts. Garment Patterns. Garment Pattern Drafting. Kids Clothes. Swim and Under Wear. Garment Alterations. Serge. Garment Construction Tips.