

Pattern-Free Shirred Sundress Tutorial. Here's a pattern-less tutorial for the two sundresses I made recently.
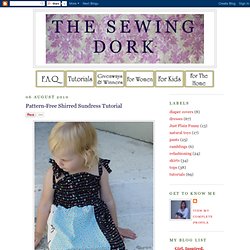
The dress is composed of three rectangular parts: 1. The straps 2. The bodice 3. (The photo above shows both my bodice and skirt already folded in half and sewn up at the side seams) Easy Doll Dress Tutorial. This is Lucy.
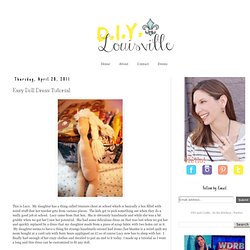
My daughter has a thing called treasure chest at school which is basically a box filled with weird stuff that her teacher gets from various places. The kids get to pick something out when they do a really good job at school. How Tiered Skirts Are Made. Tiered skirts are made by stacking three (or more) panels of fabric.
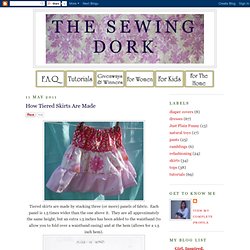
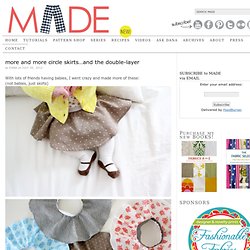
Each panel is 1.5 times wider than the one above it. They are all approximately the same height, but an extra 1.5 inches has been added to the waistband (to allow you to fold over a waistband casing) and at the hem (allows for a 1.5 inch hem). Fold each length of fabric in half and sew one short end closed to form a ring for each tier of the skirt. Each tier's top edge is gathered to be roughly the same width as the bottom of the tier above it. Starting with the bottom tier, attach each tier to the bottom of the tier above it. Circle Skirt & The Double-Layer Skirt. With lots of friends having babies, I went crazy and made more of these: (not babies, just skirts)
¡Fiesta Skirts! for Cinco De Mayo. For Lucy’s birthday party last month she mentioned, “Mom, let’s have a fiesta!
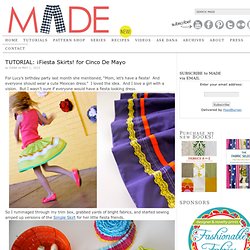
And everyone should wear a cute Mexican dress.” I loved the idea. And I love a girl with a vision. But I wasn’t sure if everyone would have a fiesta looking dress. So I rummaged through my trim box, grabbed yards of bright fabrics, and started sewing amped up versions of the Simple Skirt for her little fiesta friends. And they were so much fun! And when you pair them with Wallflowers, Easter Egg Maracas, and Ruffled Streamers, you’ve got a full-on Fiesta ready to go! Here’s what you do. If you’ve never made a Simple Skirt (or any sort of gathered skirt) please read through the tutorial first and then move on to the next steps….
FABRIC and PREP What really makes these skirts fun is the amount of fabric used. Here are the dimensions to cut (more details about measuring/cutting in the Simple Skirt tutorial): Pattern Free: A Peasant Blouse For Any Doll. In Photo #1, her shoulders measure about 10.5" around.
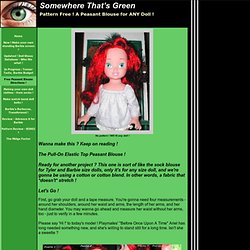
In Photo #2, her waist including her arms is 14" around. In Photo #3, her arm length, starting from where I measured her shoulders earlier, is about 4", including her slightly bent elbow. In Photo #4, the widest part of her hand is about 3 and 3/4" around. You may also want to measure her upper arm, just in case. I have two dolls that have larger upper arms (where the arm meets the torso) than splayed hands - you'd think the hand and outstretched fingers would be larger !
Also measure her from shoulder to 'armpit'. This is how we're gonna figure how much fabric to cut. Shirred Shirt Tutorial. Here is a tutorial for the shirred girl's shirt I made last week.
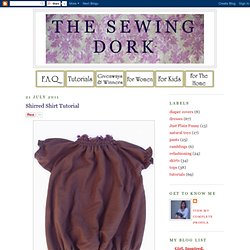
I used jersey knit for both. I used an existing shirt with an a-line shape as a template. Fold it in half. Cut around the outside of the template, leaving generous seam allowance and wider arms. Cut the neck opening wider than a standard tshirt (the shirring later will shrink it up). You will need two of these, exactly the same: Unfold them and you'll have two of these. Nifty Wrap Pants. DIY Reversible Pants/Shorts & More. A few of you asked how I made the reversible shorts below.
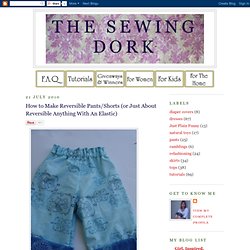
Here is a tutorial for reversible pants. Once you get the technique for hiding the elastic inside the two layers, you can apply it to anything - shorts, dresses, whatever! To make pants, sew two identical pairs using any elastic waist pattern you have. Don't hem the pants, and don't do the elastic waist yet. In the photo above, both pairs are turned right side out. This means that the seams are all going to be hidden on the inside and when you look in, you'll see finished pants. How To Make Ruffle Bum Baby Bloomers. This was one of the first posts I ever wrote.
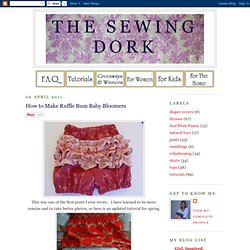
I have learned to be more concise and to take better photos, so here is an updated tutorial for spring. Just as in the photo below, fold a pair of your child's shorts in half and make a template adding in room on all sides for seam allowance. Cut out four from fabric. Right sides together, sew the inside leg seams together.
Doll Quilt Tutorial. Hello everyone, I’m Caila from CailaMade, and I’m excited to share a sewing project with you today!
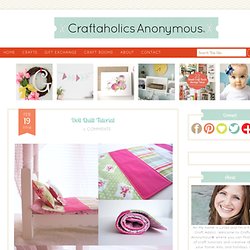
I especially love quick projects with bright fabrics that can be used as gifts. I have 3 young children who usually serve as my sewing inspiration, and that’s certainly true of today’s Doll Quilt project. My daughter recently turned four, and like all little girls she L-O-V-E-S dolls.