Planetary gear ratio calculations
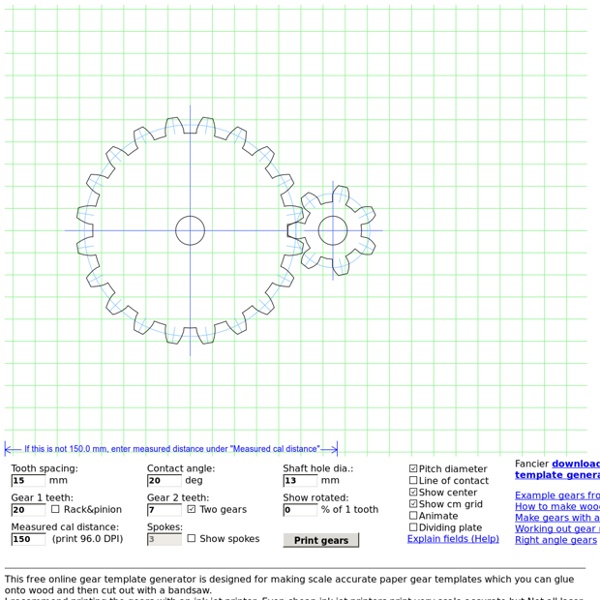
This article also available in Spanish A question that I often get is how to work out planetary gears using the gear template generator Working out the tooth counts for planetary gears is actually not that complicated, so I initially neglected to mention how to do it. But having received the question a number of times, I'll elaborate.
Design
Design can have many beginnings. Sometimes, as was the case with my Andrea electric desktop clock, the basic design comes from a picture seen on the web—in that case, one of John Pickron's clocks. ( ) From the picture, the general shape and size of the clock were guestimated, alterations identified, a motive force selected—in this case a 1 rpm motor, after which the gear train was designed to fit. Where you start will depend on imagination and knowledge of clocks and what is possible—or seemingly impossible — but which you want to prove otherwise. If you are talented in the design department, the process may start with drawing a rough diagram of what the finished clock is to look like.
How to make wooden gears
This page also available in Spanish Some people are intimidated at the prospect of making their own wooden gears for the screw advance box joint jig. So I figured I'd cover the topic of gear making in a bit more detail. You can click on any image in this article to get a larger view. The method I use to make the gears for the box joint jig is the same as for the gears for the wooden router lift, but I'll focus on the ones for the box joint jig in this article. It's vital to use good plywood for the gears.
About Us
Introduction Everyone is a student for a time period in one's life. As a student, we practise exercises, do coursework and sit for exams. This applies to all students worldwide, regardless of the syllabus. We aim to democratize education by advocating community-generated content and assessment for every conceivable syllabus worldwide. What does this mean?
Steampunk Leather Top Hat Tutorial
I have received several requests for a tutorial on making my steampunk leather top hat, shown above, and so, here it is. The first drawing shows the three pattern pieces (not to scale). The wave on the bottom of the crown is what gives the brim its distinctive curve. The pattern below is the one that I used to make my top hat. For a size large, the width of the crown (from side to side) should measure 23.8". You can print it out and enlarge it to get it to lifesize.
Jenga pistol 2
The game of Jenga was possibly designed to be a more contemplative and strategic game. But sliding those blocks out carefully without knocking over the stack is just entirely too fiddly a task to perform. I figured it would be much more fun to just be able to shoot the blocks out with some sort of pistol. The animation at left was extracted from a video shot at 60 frames per second. It takes three frames, or about one twentieth of a second, from the point that the trigger is released to the Jenga block clearing the stack. As a precaution, I'm pulling the pistol back immediately after the shot, to avoid having the stack fall on the pistol's bolt.
Clock and Watch Escapement Mechanics
A clock is usually taken to the shop for repair because the clock fails to keep running. It runs for a while and stops because not enough power reaches the pendulum to keep it running. One way to get it running is to double the weight, but this causes enormous wear and consequent damage in the long run.
Free One Click Photo Editing
cookie barclose This website makes use of cookies to enhance browsing experience and provide additional functionality. None of this data can or will be used to identify or contact you. This website makes use of third party cookies, see the details in the privacy policy. This website makes use of tracking cookies, see the details in the privacy policy.
Steampunk Phonograph (pt.2)
In Part 1 of Steampunk Phonograph, I showed you the construction of the "wax cylinders". Now let's take a look at the construction of the phonograph horn. I have never made something like this before, so my methodology was a bit of a stab in the dark.
Dovetail joints on the bandsaw
When you read a lot of "fine woodworking" style magazines, sometimes it seems woodworking is all about the hand cut dovetails. Personally, I'm not that infatuated with this type of joint, but I thought I'd play around with them a bit. Now, I don't have the kind of patience required to cut them out by hand, so I sped up the process with my bandsaw.


