

Dator Raspberry Pi 3 - Quad Core CPU, 1GB RAM, WiFi, BT. Tillbehör. How to install openelec on Raspberry pi with windows. How to install openelec on Raspberry pi with windows : 23-06-2012 How to install openELEC / xbmc on the Raspberry Pi with Windows.

Today was a very exciting day in the SquirrelHosting office. Not only did the postman turn up early but in his bag was a treat. A small, little soldered board of love, that's right our Raspberry Pi had arrived! The version we had ordered had come with the 4GB SD card with Arch Linux installed. Want to buy an SD card with Openelec already installed? Step 1 : Download all the needed files You will need the following A copy of SDFormatter ( The binary version of win32diskimager from this location: An image of openELEC (Download the latest image file at the bottom) or official images here (thank's Chris for the link) Step 2 : Format the Memory Card First thing to do is to format the memory card. Once installed, run SDformatter (start > all programs > SDFormatter).
What XMBC dist to I want? Spotimc: howto.
XBMC MediaCenter Sverige - Fansite. Windows Installation. Windows installation is very simple and works on Windows 2000 / XP, Vista and Seven.

First, fetch the Windows installer from this link here and extract the contents to a folder. Next up, run the program called “setup.exe”, you may receive a UAC prompt if running Vista or later. This is because the Raspbmc installer needs to run as an Administrator on your system to write to the SD card at block device level. You will now be presented with an interface such as this: Your SD card should be shown on the list. WARNING: This program enumerates ALL removable devices on the system, data loss can occur and I will not be responsible if you image the wrong device. RPi Guides. Back to the Hub.
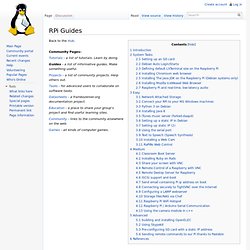
Community Pages: Tutorials - a list of tutorials. Learn by doing. Guides - a list of informative guides. Make something useful. Projects - a list of community projects. Writing to, and backing up SD Card (Using Windows, Alternative Software) RPi Beginners. Back to the Hub Getting Started: Buying Guide - for advice on buying the Raspberry Pi.
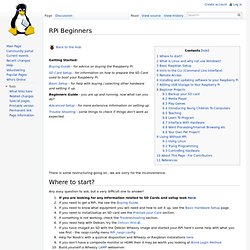
SD Card Setup - for information on how to prepare the SD Card used to boot your Raspberry Pi. Basic Setup - for help with buying / selecting other hardware and setting it up. Beginners Guide - you are up and running, now what can you do? Advanced Setup - for more extensive information on setting up. Trouble Shooting - some things to check if things don't work as expected. There is some restructuring going on , we are sorry for the inconvenience. Any easy question to ask, but a very difficult one to answer! If you are looking for any information related to SD Cards and setup look here If you need to get a RPi, the see the Buying Guide. References needed (idea for new section Living Without RPi, which can guide users or link to info to users who haven't got RPis) Link to emulation builds or live linux cds setup for beginners (RacyPy2 for example) For more information about Linux see Wikipedia sudo raspi-config.
Automatic setup for RTL8188CUS based wifi adapters. I have produced a script to allow automatic installation of the drivers for Realtek RTL8188CUS based wifi adapters and a document giving instructions on how to use it.
The script is rather crude but does the job pretty well I think. All you have to do is edit the script to add your own SSID and PASSWORD and then run a single command. The rest is done automatically by the script. Very simple and it only takes a couple of minutes to get the Pi up and running with wifi. I use a Micronet Wireless LAN USB Adapter Model No: SP907NS which uses the Realtek RTL8188CUS device. Wifi adapters I've found using this chip are: I have only tried it with my device which work a treate. XBMC running on Raspberry Pi. Raspberry Pi. From XBMC Model B Developer Raspberry Pi Foundation pre-v12 (planned) [1] Released Early 2012 OpenELEC , Raspbmc , XBian , Raspbian, Debian GNU/Linux, Fedora, Arch Linux. XBMC - Raspbian. Instructions for building XMBC from source are below, but they will take over 12 hours to compile on the Pi.
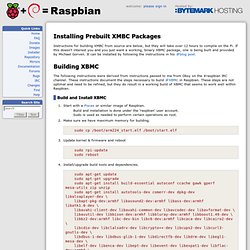
If this doesn't interest you and you just want a working, binary XBMC package, one is being built and provided by Michael Gorven. It can be installed by following the instructions in his blog post. The following instructions were derived from instructions passed to me from Obsy on the #raspbian IRC channel. These instructions document the steps necessary to build XBMC in Raspbian. These steps are not optimal and need to be refined, but they do result in a working build of XBMC that seems to work well within Raspbian.
Build and Install XBMC Start with a Pisces or similar image of Raspbian. PiscesImages - Raspbian. The Raspberry Pi Foundation has produced and released their own recommended image of Raspbian.
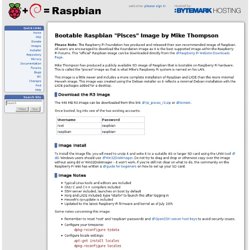
All users are encouraged to download the Foundation image as it is the best supported image within the Raspberry Pi Forums. This "official" Raspbian image can be downloaded directly from the Raspberry Pi Website Downloads Page . Mike Thompson has produced a publicly available SD image of Raspbian that is bootable on Raspberry Pi hardware. This is called the "pisces" image as that is what Mike's Raspberry Pi system is named on his LAN. This image is a little newer and includes a more complete installation of Raspbian and LXDE than the more minimal Hexxeh image.