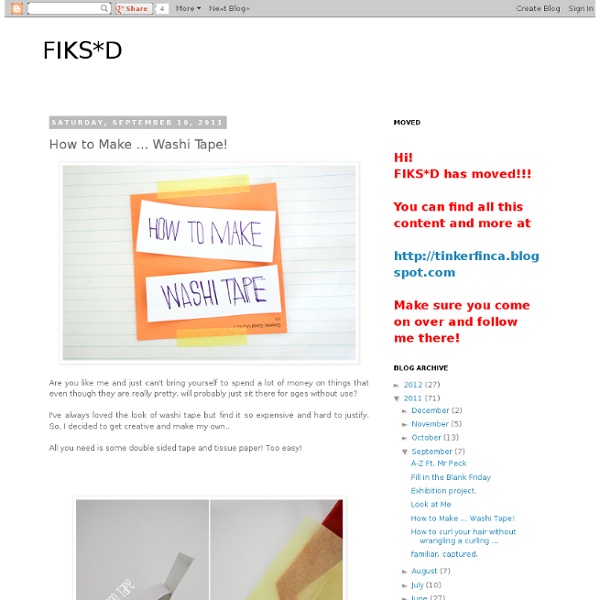


http://fiksd.blogspot.com/2011/09/how-to-make-washi-tape.html
Making stickers out of recycled paper Making stickers out of recycled paper October 25th, 2011 I recently discovered this great tutorial by Amanda Wood on how to make lovely stickers from recycled paper. The best thing about it is that the tutorial uses one of my favourite things – envelopes with funky security patterns. How could I resist! You will need: Paper Star Lantern Tutorial Buon lunedì a tutti!! Iniziamo la settimana con un bel DIY dedicato alla Pasqua! Tra mille possibilità di decorare le uova, io ho scelto di fare dei coniglietti, da usare per vivacizzare la tavola e far giocare i bambini, o anche come segnaposto. MAGAZINE ENVELOPES 18K+ Well I got this idea from our friend Nina. She was making these super cute envelopes out of scrapbook paper and I really wanted to make some! So I came home and made some!
Paper Onion Garland I made these map garlands as a special request for a customer and they have proved rather popular. The map colours glow in the light – all those blues and green smoosh together into something very pretty. This is the style I call ‘paper onions’. I don’t know what else to call them! These are paper hearts, strung on twine. There are eight on a string. Paper Owl Family Today I was inspired by The Krafty Wife to make my own paper owl family. I used scraps of paper with patterns and put them together to make cute owls. First you can download the base template for the owl here at sewnews Use scraps of paper with different colors and patterns for the body parts of the owl. Then try to put them together using Elmer's glue.
D-I-Y: Loopy Christmas Balls 3D Paper Owl from mmmcrafts The gifted Larissa from mmmcrafts is here sharing her amazing talents with an unbelievable 3D paper owl. Larissa writes… Left: art made with this tutorial, Right: art made with alternate colors Old Typewriter Letters Create 200 Foot Long Illustration Inspired by the first half of the top row on a keyboard, artist Pablo Gamboa Santos developed a series of 300 drawings, entitled Qwerty. He used an old typewriter to create layers of overlapping letters which interact directly with his detailed illustrations and function as either water or land depending on the scene. Presented at the Centro De Arte Contemporáneo in Quito last fall, the installation consisted of hundreds of pages arranged in a row along the wall. The connecting sheets produced an interlocking scene, one single work spanning almost 200 feet around the room. From dark at the top to lighter at the bottom, the alphabet was used as a jumble of letters rather than organized into any meaningful words. "It is in this habitat where beings and associated graphic symbols build narratives to tell stories, report facts, narrate triumphs or tragedies, or just be present or absent.
Paper Scrap Light / Chandelier It’s a whopping 70 degrees in Brooklyn right now, so I’m going to get out from under the pile of packing boxes in our house and get some fresh air. Before I head out, I wanted to share this beautiful (and totally genius) DIY light project that graphic designer Gabrielle Guy created for a friend. After moving into a new house and finding an old lantern left behind, Gabrielle decided to cut strips from scrap paper and glue them onto the shade. Two days later, the result was an incredibly stunning artichoke-like lamp that looks expensive but cost close to nothing. I’m so impressed with this project that I had to share it as inspiration for the weekend.
Series 7 - Ornament-ED Finale: Heart House Ornament I have been feeling some feelings lately. Like, feelings of well-being. Like, spontaneous-breaking-into-song-and-general-wonderfulness-type feelings. I know... It sounds pretty floofy, but I can't help it. And I can't explain it either. DIY collapsible cardboard playhouse Turn a cardboard box into hours of entertainment for your little ones with this DIY collapsible playhouse. This cardboard playhouse was created, especially with small spaces in mind, because when the kids tire of it, the house collapses down flat for easy storage. Cardboard boxes are a hot commodity in our home -- even my 8-month-old appreciates a good drum fest with empty cereal boxes. Pretty much the perfect toy, boxes are free, plentiful (if you eat the way my boys do, that is) and provide the creative possibilities that can be a great exercise for a child's imagination. My kids especially love making forts out of boxes, and it seems that for them, the smaller and cozier the better. While intended for my youngest, this easy-to-construct cardboard playhouse continues to entertain my older boys.