Dreamcatcher Eagle Spirit
Presented by… There are a lot of stories about the dream catcher, many of which accompany the dream catchers that we can buy in the stores. The most common thread among all of the dream catcher stories, is that the dream catcher should be hung in the room in which we sleep: above the bed, on the door, on a window, or as we choose.
No Sew Eyeglasses Case: Good Living Magazine Project #1
I am so excited to share this easy peasy tutorial! I have gone back and forth on when to post these projects but the magazine I craft for has been a bit ambiguous on their actual print date but the article and three crafts I made direct back to this blog for the tutorials in the march archives. And they are more geared towards Easter and Mother's Day so sorry if this is kind of early. But having finished tutorial posts just sitting there waiting to be published is hard!
Mirror Design
You all know we love a good Anthropologie knockoff around here – so a couple of days ago when I was browsing online I came across this mirror. Oh I definitely need that. Hold the presses – did that say $498??? Huh. We can do better than that. :)
Do-it-Yourself DIY String Wedding Lanterns Yarn Chandeliers
Jessica of Wednesday Inc shows us how to make those gorgeous twine chandeliers from the inspiration shoot she shared with us this morning. Using balloons, glue and twine, you can also make these lanterns for your wedding – and then bring it home and use it as your very own mid century lampshade. What you will need are: balloons, glue, yarn, tray for glue, corn starch 1/2 cup of Corn starch, 1/4 cup of Warm water, clear fast drying spray paint, hanging lamp cord or fishing line (depending on your desired final product), and a lighting kit if you’re looking for a fully functional lantern. Jessica recommends using a sharpie to mark on the inflated balloon how much room you need to leave for the lighting cord.
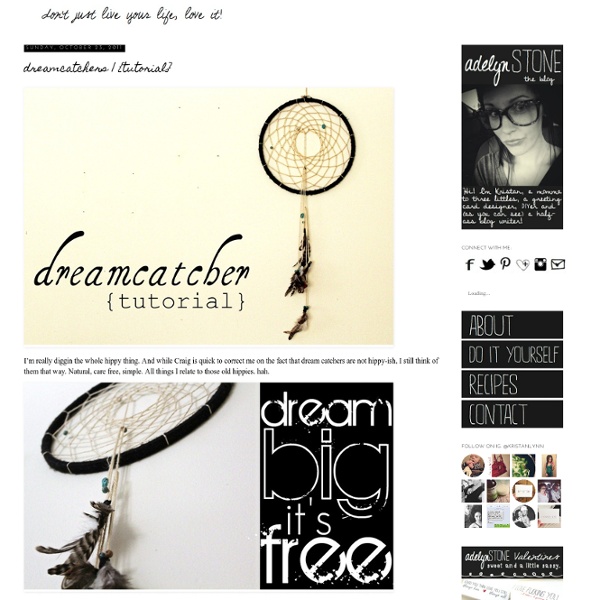
Natural Dreamcatcher
Jessica Seaton's workshop is organized chaos– bones, feathers, beads and string wait patiently on a wooden table for her sculptor's touch. It's here that she crafts the hand made dreamcatchers elegantly scattered across the back wall of her Santa Monica store, Beau + Aero (which she runs with partner Baelyn Elspeth). "Dream catchers are a sacred part of Native American culture that I always like to pay homage to and set an intention with my creation," Jessica says. Here, she teaches us how to make our own: What You'll Need:-Freshly cut pliable branch -String -Scissors -Feathers How to Make it:1.
diy wednesdays: laptop cozy
Recently we’ve been on the hunt for a laptop sleeve. Nothing fancy, just a simple way to protect our MacBook on its journeys around town. The quickest, easiest, and cheapest solution we could come up with was to make a no-sew Maloo-esque “wrap” out of colored felt and Velcro dots. Now our little laptop is snug as a bug in a rug!
"Dew" It Yourself Jewelry Stand
Given that title and my penchant for puns, I'm guessing it will take you guys exactly 3.7 seconds to guess what my new jewelry stand is made from: Aw, you only needed two seconds, didn't you? I knew it.
Salvaged drawers = modular bookcase
I picked up these drawers on Freecycle. They were salvaged from the kitchen of a 1940s house that was demolished. My original plan was to put the drawers on wheels and use them as under-bed storage. Turns out, no two drawers are the same height, which would look janky. So I tried stacking them vertically instead (anchoring them to the wall, of course).
Rainbow Suncatcher
This is the project that won runner-up in The Color my Summer Contest. Wanna make one, too? Here's how: Ever feel bad about throwing away plastic cups? And during the summer, with all the birthdays, pool parties, BBQ and picnics-- well, that's a whole lot of cups! Since most events that we are attending this summer are pot-luck, I volunteer to bring the cups.
DIY Organizer from Old Window « My so called crafty life
Today I have a fun and versatile craft for you all, we’re going to make an organizer from an old window! I made mine with some cork, chicken wire and chalkboard painted wood. It’s fairly simple to do, and the best part is that it doesn’t take long at all to make, you could craft one in an afternoon.
DIY Glitter Vases
Inspired by many reader requests for a DIY tutorial to recreate the glittery mason jar vases from this New Year’s Eve party, today we’re playing with glitter. A whole lot of glitter! I whipped up two different versions of these glitter vasses, both of which are quick and easy. They’re perfect for parties, weddings or just to add a touch of sparkle to your dining room table. I seriously love how they turned out! Supplies -


