

Science for Teens (Grades 6 - 8. How to Make Spaghetti Slime. How to Make a Bouncy Ball. How to make Gak (Slime) We had a few days of rain around here so we made some slime to occupy our time inside.
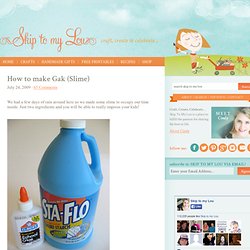
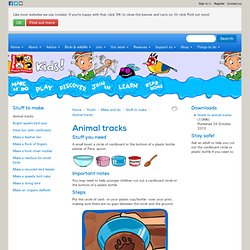
Just two ingredients and you will be able to really impress your kids! To make simply mix equal parts of liquid starch and glue together. We placed 1/4 cup liquid starch into a sandwich bag and added about 3 drops of green food coloring. Next add in 1/4 cup glue Mix well. Animal Tracks. Print page Stuff you need A small bowl; a circle of cardboard or the bottom of a plastic bottle, plaster of Paris, spoon Important notes.
Paper Planes with a Straw. Because the straw plane is in town! I don't know what you call this thing but we referred to it as a strawplane. Whatever you want to call it, it's pretty cool! You'll need some heavier paper (we used 3x5 index cards), a straw, scissors or something to cut the paper with, and tape. You will need to cut 3 pieces of paper about 1" wide and 5" long. Tape two of the pieces together "long ways" and then tape to form a circle.
Use the remaining piece to form a small circle and tape the ends together. Now you have a large circle and a small circle. Tape the straw to the inside of the circles placing the small circle at one end and the large circle at the other end. Cool paper toy. Reusing.
Ant Farm Jar. This is a great project for kids who are interested in nature and bugs.
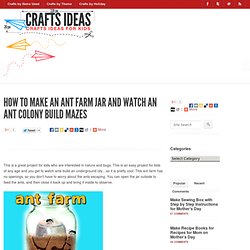
This is an easy project for kids of any age and you get to watch ants build an underground city…so it is pretty cool. This ant farm has no openings, so you don’t have to worry about the ants escaping. Craft Videos for kids. Water Blob. A few weeks ago I saw this idea for water blobs floating around online and decided to try it ourselves the next time we were having friends over to play.

Can I just say that this “water blob” was amazing amounts of fun. I layed on it, the kids jumped on it, slid across it and spent the entire day doing all sorts of crazy acrobatics. Stuffed animal. Homemade Sidewalk Chalk. By Michelle Vackar, Modern Handmade Child One of our favorite outside activities at our home is drawing with chalk on the driveway.

You can play hopscotch, four-square, and of course draw and create silly stories. My daughters and I were talking one day as we played hopscotch about how to make chalk and I thought to myself, let’s try it! It ended up being quite a lot of fun. What you will need: • Toilet paper or paper towel tubes • Scissors • Duct tape • Wax paper • Small bucket or disposable container to make the recipe • ¾ cup of warm water • 1 ½ cups Plaster of Paris • 2-3 tablespoons of tempera paint • Paper bag or a “mess mat” ** we made six tubes of chalk – we simply doubled the above recipe Step 1: If you are using paper towel tubes, cut each tube in half, so it is roughly the length of a toilet paper roll tube.
Step 2: Cover one end of each tube with duct table to hold the contents within. Step 3: Cut as many pieces of wax paper as you have tubes. Any color chalkboard. We love using chalkboards as backdrops for displays and parties (like this one here!).
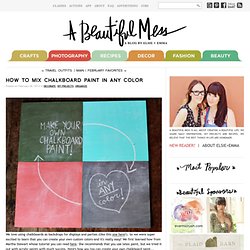
So we were super excited to learn that you can create your own custom colors-and it's really easy! We first learned how from Martha Stewart whose tutorial you can read here. She recommends that you use latex paint, but we tried it out with acrylic paints with much success. Here's how you too can create your own chalkboard paint... Supplies: 1/2 cup acrylic paint (choose any color you like, or mix colors together to make the perfect shade!) 1. 2. Once your chalkboard has fully dried be sure to slate the surface before using it for the first time. Treats for classmates. My youngest son has already finished up the school year (kindergarten ends early) and I wanted to bring in a little treat for him to hand out to his classmates at the end-of-school party.
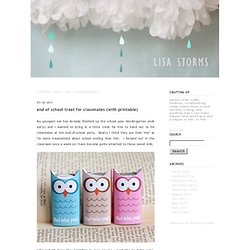
Really I think they are from *me* as I'm more traumatized about school ending than him. I helped out in the classroom once a week so I have become quite attached to these sweet kids. I figured I'd share the printable in case anyone would like to make some, too. They are made to fit around Hershey Miniatures Chocolate Bars. Just cut out, fold at each vertical line, and adhere around bar on the adhesive tab. Print onto white cardstock and *be sure* to set the Page Scaling to None when printing or they won't be the right size. I also kept with the owl theme for "wrapping" the teacher gift. At first I thought he looked too mad, but now I just can't get enough of him.