DIY Crepe Paper Flowers
I recently spotted a sensational bouquet of paper flowers inside my favorite (and the ultimate) boutique for creative inspiration, Castles In The Air. A combination of Mexican paper flowers and those ever so popular tissue paper pom poms, these vibrant and cheerful flowers make perfect ornaments for any celebration. Plus, they’re incredibly easy to make! You’ll need:6 – 7 pieces of 180 gram florist crepe paper cut into 20″ x 30″ sheets (it’s important to use heavyweight crepe paper for it’s stretchiness and strength)6 – 7 small binder clips or large paper clips16 gauge floral wire (last seen here)heavy duty scissors
DIY Gold Tube Bracelets
I have very vivid memories of walking into a bead store for the first time, almost 15 years ago, and being overwhelmed by the million and ten ideas that filled my mind. I was immediately hooked on the concept of transforming simple and unexpected elements into something beautiful and wearable. That moment was the catalyst for my eventual path into jewelry design and craft – my higher calling, if you will. Today’s tutorial takes me back to my first foray into jewelry making, where I’ll show you how to make two delightful bracelets using the same basic component. Get inspired and have fun!
15 DIY Hacks for Scarves
I've always been a huge fan of repurposing things in the name of fashion. From using a zipper for a headband or thumbtacks on shoes, I just can't help myself. I've got to say, though, out of all the things I love to refashion, scarves are my favorite. Maybe it's because they are just huge hunks of pretty fabric, there are many ways you can use, decorate, and wear scarves that are a bit out of the ordinary.
The Beauty Of Cinemagraph GIFs
Developed in 2011 by Jamie Beck and Kevin Burg, cinemagraphs are GIF images that combine still photography and video to produce a stunning effect. Typically, the entire GIF is motionless except for one or two elements, providing a brilliant juxtaposition between the motion and the motionless. For your viewing pleasure, we’ve collected 43 beautiful cinemagraph GIFs:
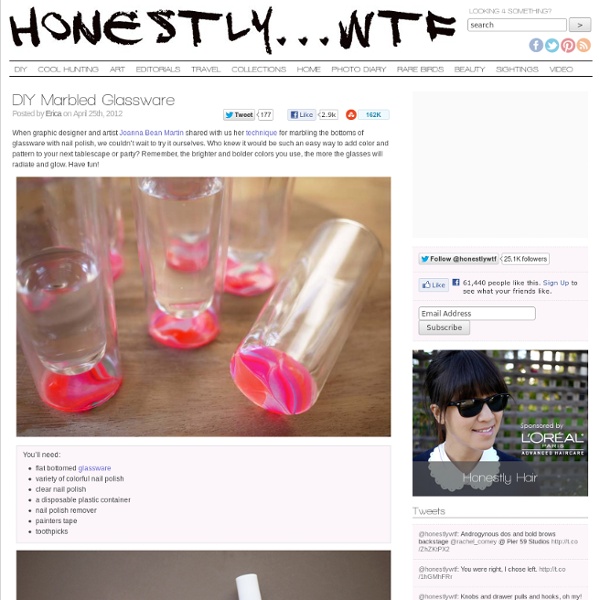
DIY Gold Dipped Glassware
I haven’t stopped thinking about Front‘s gold dipped glassware set ever since it circulated through the blogosphere last holiday season. So after recently spotting a tutorial on how to DIY gold dipped stemware, I was inspired to create my own version of these luxurious golden vessels. And of course, just in time for that New Year’s Eve party I’ll be hosting this year!
diy rope bowls
so it's been a while since i've posted anything remotely crafty lately...i suppose i must be getting lazy (technically lazy-er). anyway, i saw this cute bowl on craftgawker over the weekend so i decided to make my own-with my own tutorial 'cause i need the practice anyway right? anyway, it's a pretty simple process, it's actually really similar to my recycle magazine bowl but with rope instead. basically just glue, wrap, glue, wrap, etc, etc. all you need is a hot glue gun and rope. i got my rope for $2-it's 50 ft, 1/4 inch, manila rope (i almost went with the sisal but i liked the color of the manila more). start wrapping in a circular motion to form the base. if you plan on making several i might consider making all the bases first just to make sure they're the same size. when i made my second i tried to make it the same size...which of course, it isn't. but that could just be the fact that i can almost never make the same thing twice...
DIY Rhinestone Sliding Knot Bracelet
I suppose we can call this week’s tutorial somewhat of a refresher course on how to master the perfect sliding knot. But the real reason why I had to recreate this familiar DIY with you is to share a little thing I recently discovered called a crimp end, that’s especially made for rhinestone chain. It’s a nifty finding that attaches to the ends, allowing you to finally put some use to all those few leftover inches of sparkle. Pay close attention and I’ll show you how to add to your growing and ever changing stack! You’ll need:
DIY - Tutorial - How to make a leather bow cuff bracelet
You will need : - A piece of leather, approx. 22cm x 10cm (approx. 8.7" x 4") - Scissors - Leather glue or super glue - Thread - A snap button 1. Cut an oval piece of leather, approx. 22cm x 10cm (approx. 8.7" x 4"). You can make it longer or smaller, depending on the size of your wrist.


