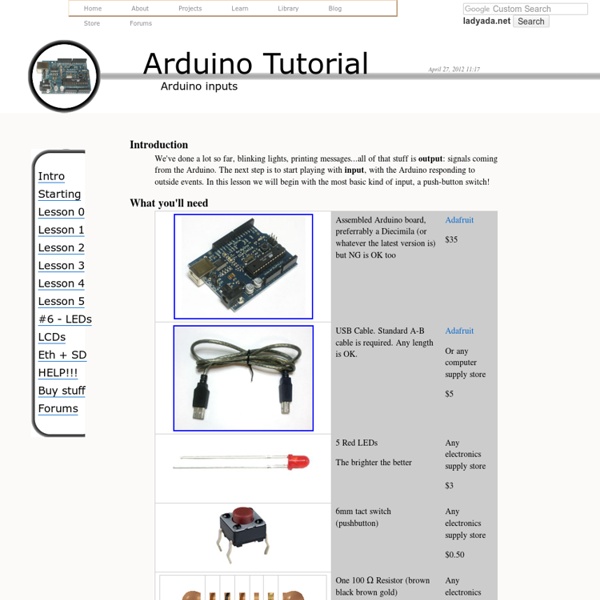
Arduino Tutorial - Lesson 5

Arduino Tutorial: An Introductory Guide
Update! Don’t miss our famous article:Â Top 40 Arduino Projects of the Web. Previously we introduced you to the Arduino and it’s awe-inspiring incredibleness. Arduino Tutorials: As usual, Instructables has plenty of tutorials also.If you’ve ever thought, “Can the arduino do…?” The Arduino uses the ATmega168.
Proto Shield for Arduino
This is a design for an open-source prototyping shield for Arduino NG/Diecimila. It has tons of cool features, to make prototyping on your Arduino easy. Compatible with NG, Diecimila, Duemilanove and any Arduino-clone in the 'classic' shape and pinout.Reset button up topICSP headerLots of GND and +5V rails.DIP prototyping area makes it easy to add more chips.SOIC prototyping area above USB jack for up to 14-pin SOIC chip, narrow medium or wide package.Use 'mini' or 'medium' breadboard.Two 3mm LEDs with matching resistors.Extra 6mm button Ideas for use Larger breadboard for tons of working space! Tiny breadboard fits nicely on top. 2 LEDs and one button are availble for general purpose use!
Engineering ToolBox
Cheap Arduino Wireless Communications
I was looking for a way to handle wireless communications between two Arduino boards. Other options like Xbee or Bluetooth were going to cost $50 to over $100. Then I found a cheap RF transmitter and receiver at Sparkfun. Here are a few limitations to RF solution: Communications is only one way. The advantages are that it is cheap and it is pretty easy to use. Below are some images showing how I hooked up the receiver and transmitter to two different Arduino boards. Here’s a picture of the my actual bread boarded circuit. Since the receiver is constantly picking up random noise I add a few extra bytes to every data packet. I broke the Arduino code into two files. I did all of my initial testing without any of these improvement and everything worked fine with these devices inside the same room. Add an antenna. I got a lot of help from the transmitter/receiver data sheets, and from this article. I’ll mention an even cheaper idea I had while doing this. Permalink
MicroPython pyboard [v1.0] ID: 2390 - $44.95
The pyboard is a compact and powerful electronics development board that runs MicroPython. It connects to your PC over USB, giving you a USB flash drive to save your Python scripts, and a serial Python prompt (a REPL) for instant programming. Works with Windows, Mac and Linux.MicroUSB cable not included, but you can pick one up from the store!MicroPython is a complete re-write of the Python (version 3.4) programming language so that it fits and runs on a microcontroller. It includes many optimisations so that it runs efficiently and uses very little RAM.MicroPython runs bare-metal on the pyboard, and essentially gives you a Python operating system.
Beginners Guide
Beginners Guide to Electronics by Martin T. Pickering Last updated on November 23, 2008 This book gives simplified explanations of how some electronic components work in a circuit. I first became interested in electronics when I was age 10 (as long ago as 1961). ©2008 Martin T. What's the Difference between A.C. and D.C.? How does a Resistor Work? All the colours for 5% tolerance resistors: How do Diodes Work? How do Transistors Work? Abbreviations Although we use the Greek symbol Omega W to represent “Ohms” it is frequently written as “R”. How does a Capacitor Work? What does a capacitor look like? How do Inductors Work? The Relay Bread Board and building a LED Flasher Building the LED Flasher Astable Multivibrator using two transistors
The World Famous Index of Arduino & Freeduino Knowledge
Audio FX Mini Sound Board - WAV/OGG Trigger 16MB Flash ID: 2341 - $19.95
Would you like to add audio/sound effects to your next project, without an Arduino+Shield? Or maybe you don't even know how to use microcontrollers, you just want to make a sound play whenever you press a button. What about something that has to be very small and portable? Don't get me wrong, I love the MP3 Music Maker shield and the Audio FX Sound Board + 2x2W Amp. The Sound Board has a lot of amazing features that make it the easiest thing ever: No Arduino or other microcontroller required! What do we mean by trigger effects? The sound board is designed to be simple: it does not have polyphonic ability, can't play MP3's (MP3 is patented and costs $ to license, so this board uses the similar but not-patented OGG format, there's tons of free converters that will turn an MP3 into OGG), isn't reprogrammable or scriptable, and you can't have any other kind of trigger type.
Hobby Engineering Home Page
Related:


